Free Shipping on Domestic Orders $75+

Panasonic PV-GS9 Lens Replacement

What you need

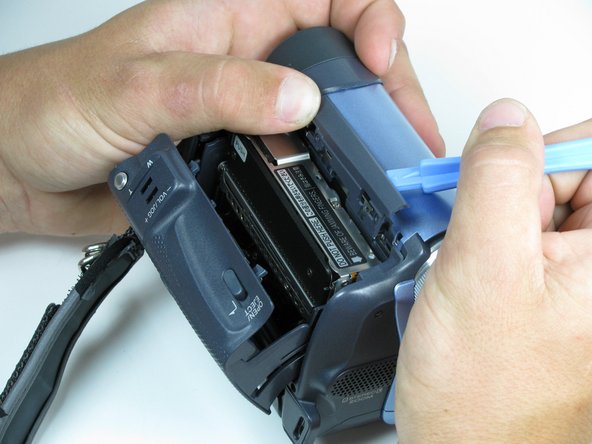
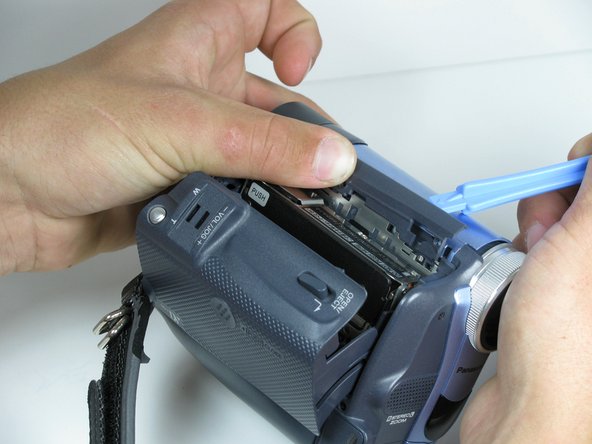
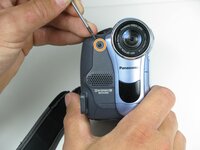
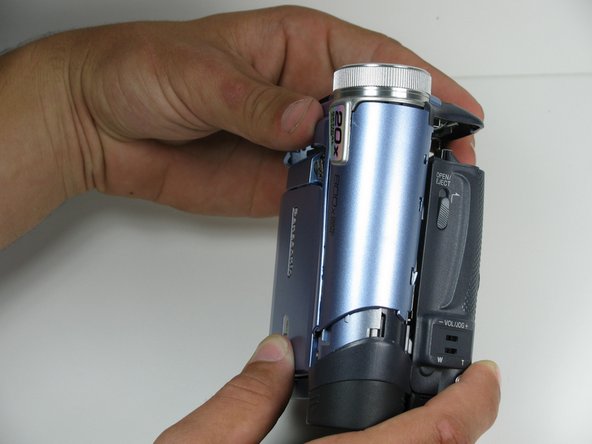
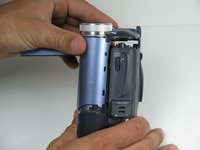
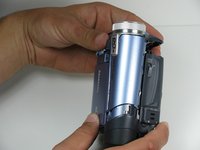
    1. Panasonic PV-GS9 Lens Replacement, Microphone Replacement: step 1, image 1 of 3 Panasonic PV-GS9 Lens Replacement, Microphone Replacement: step 1, image 2 of 3 Panasonic PV-GS9 Lens Replacement, Microphone Replacement: step 1, image 3 of 3
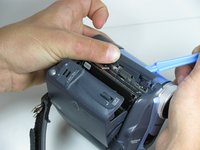
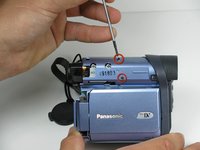
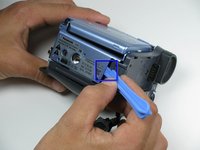
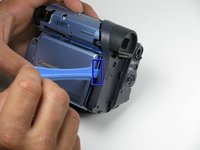
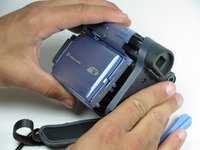
      • Locate the blue plastic tool opener, then remove both the round record/playback and record/power control knobs by prying it open from the camcorder.

      Ask FixBot

      Add Comment

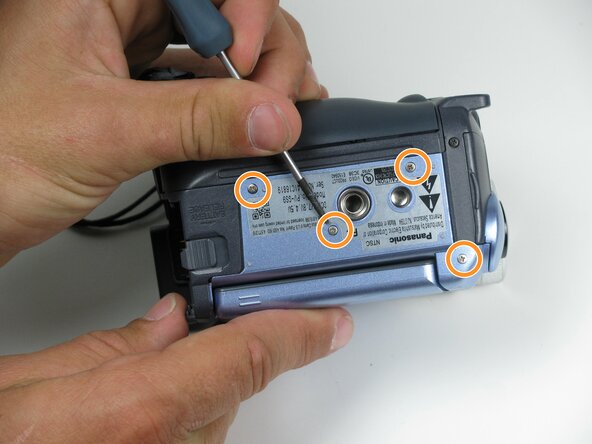
    2. Panasonic PV-GS9 Lens Replacement: step 2, image 1 of 2 Panasonic PV-GS9 Lens Replacement: step 2, image 2 of 2
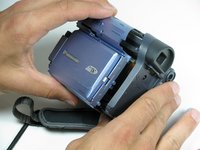
      • Open the tape compartment.

      • Flip over the camcorder and find the two 4.5mm screws, which are approximately 2 inches apart.

      • Using a #00 Phillips screwdriver, remove the screws

      Ask FixBot

      Add Comment

    3. Panasonic PV-GS9 Lens Replacement: step 3, image 1 of 3 Panasonic PV-GS9 Lens Replacement: step 3, image 2 of 3 Panasonic PV-GS9 Lens Replacement: step 3, image 3 of 3
      • Use a plastic prying tool, remove the gray trim piece by opening and gently prying it off from top of the camcorder.

      • Be gentle when removing the trim piece. The plastic parts are fragile and can break easily.

      Ask FixBot

      Add Comment

    4. Panasonic PV-GS9 Lens Replacement: step 4, image 1 of 1
      • Rotate the camcorder so that the camera lens is facing you.

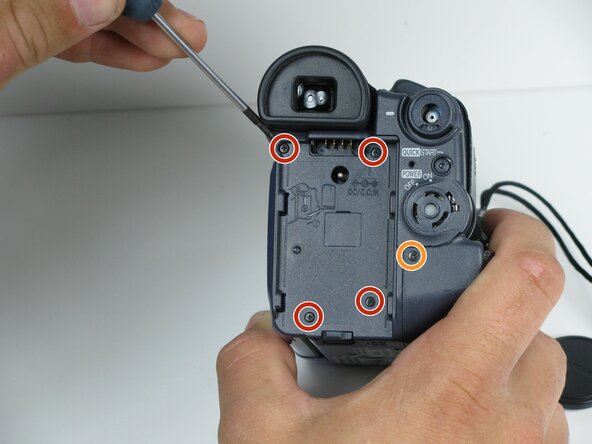
      • Remove the four black 4.5mm screws, sitting behind the battery.

      • Remove the 5th screw to the right of the battery dock.

      • Remove the battery by gently pulling away from the camcorder.

      • Organize the screws in a sorting compartment to avoid losing them.

      Ask FixBot

      Add Comment

    5. Panasonic PV-GS9 Lens Replacement: step 5, image 1 of 2 Panasonic PV-GS9 Lens Replacement: step 5, image 2 of 2
      • Rotate the camcorder so that the tape compartment is facing you.

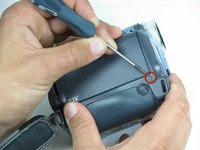
      • Remove the single 4.5mm black screw above the hook for the hand strap.

      • Undoing the strap on one end may help.

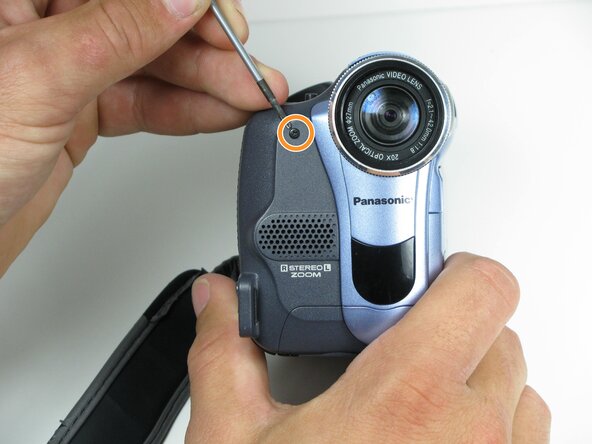
      • Rotate the camcorder so that the lens is facing you.

      • Remove the single 4.5mm black screw from the front panel.

      Ask FixBot

      Add Comment

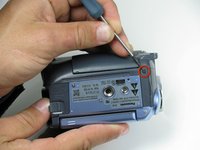
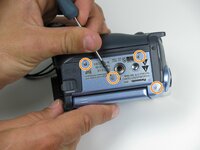
    6. Panasonic PV-GS9 Lens Replacement: step 6, image 1 of 2 Panasonic PV-GS9 Lens Replacement: step 6, image 2 of 2
      • Rotate the camcorder so that the bottom is facing towards you.

      • Remove the single remaining 4.5mm black screw from the bottom.

      • Remove the four silver 4.5mm screws from the body.

      Ask FixBot

      Add Comment

    7. Panasonic PV-GS9 Lens Replacement: step 7, image 1 of 1
      • Open the LCD screen on the side of the camcorder.

      • Using a #00 screwdriver, remove the two 4.5mm silver screws located on either side of the hinge of the LCD screen.

      Ask FixBot

      Add Comment

    8. Panasonic PV-GS9 Lens Replacement: step 8, image 1 of 2 Panasonic PV-GS9 Lens Replacement: step 8, image 2 of 2
      • Carefully detatch the front cover from the body of the camcorder.

      • This should come apart with relative ease; however, a plastic pryer tool may help remove the panel if it is struggling to come apart.

      • Be careful as there is a ribbon cable attached to the front panel and the camcorder body, DO NOT tug at it when you remove this panel.

      Ask FixBot

      Add Comment

    9. Panasonic PV-GS9 Lens Replacement: step 9, image 1 of 2 Panasonic PV-GS9 Lens Replacement: step 9, image 2 of 2
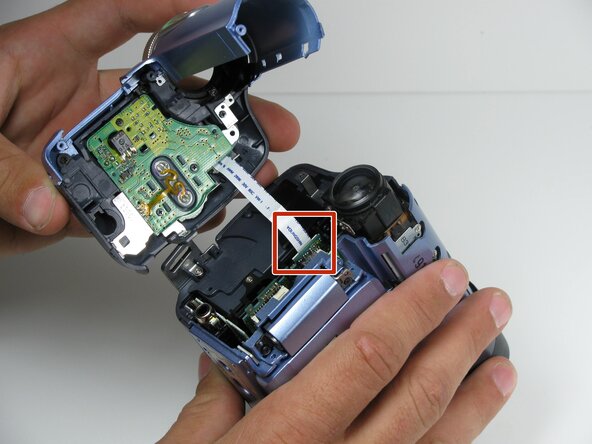
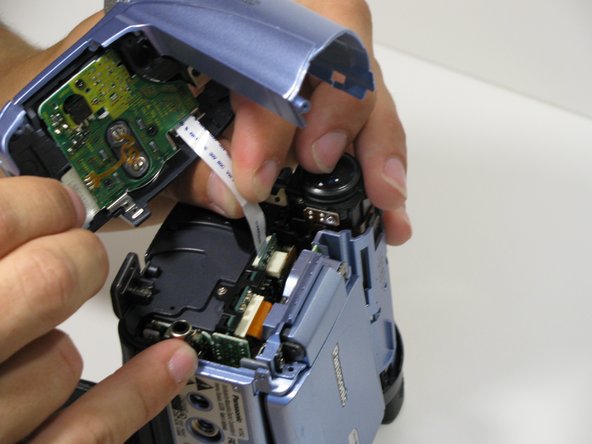
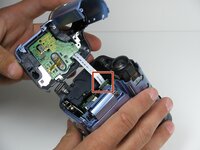
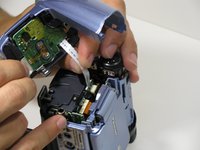
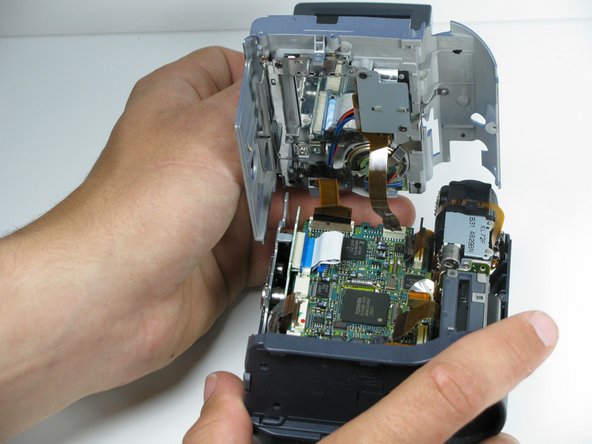
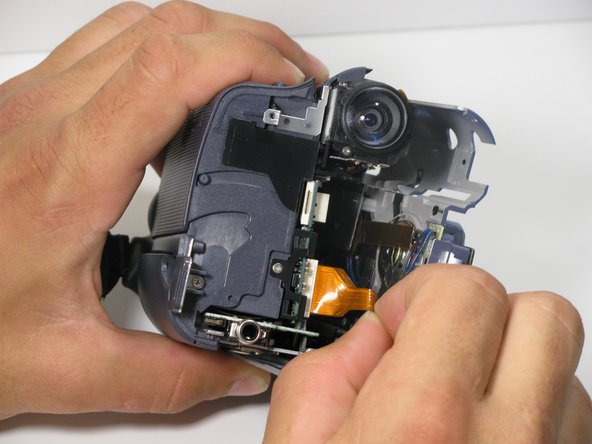
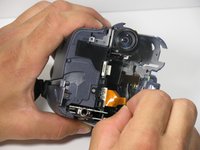
      • Using your fingers, carefully pull the ribbon cable away from the logic board to disconnect it.

      Ask FixBot

      Add Comment

    1. Panasonic PV-GS9 Lens Replacement, LCD Panel Removal: step 10, image 1 of 2 Panasonic PV-GS9 Lens Replacement, LCD Panel Removal: step 10, image 2 of 2
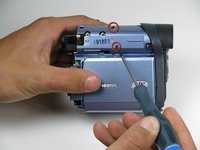
      • Remove the indicated 4.5mm screws from the LCD side of the camera.

      Ask FixBot

      Add Comment

    2. Panasonic PV-GS9 Lens Replacement: step 11, image 1 of 3 Panasonic PV-GS9 Lens Replacement: step 11, image 2 of 3 Panasonic PV-GS9 Lens Replacement: step 11, image 3 of 3
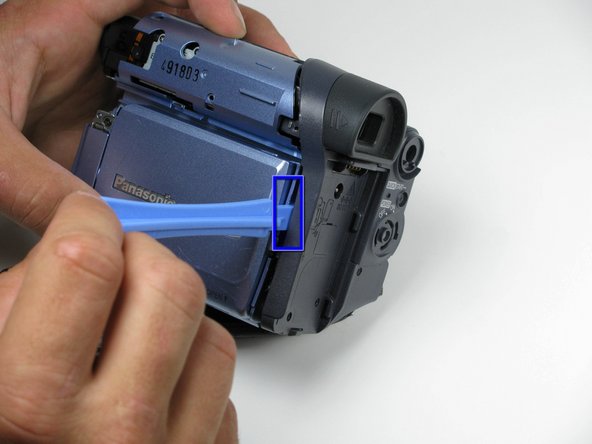
      • Place a plastic opening tool under the bottom of the blue panel beneath the camcorder.

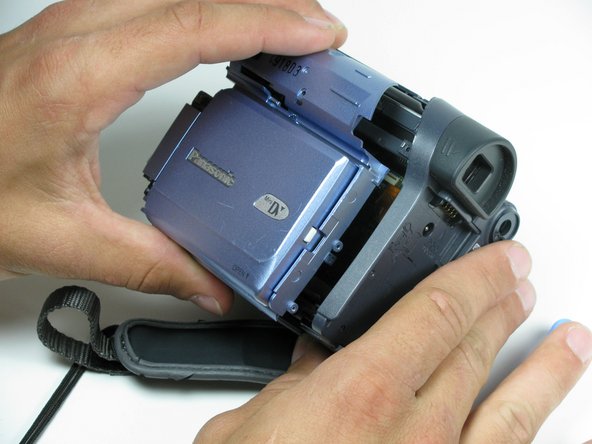
      • Move the plastic opening tool up the side of the camcorder as shown. Carefully separate the LCD panel from the rest of the camcorder.

      • Remove the panel from the camcorder.

      • Using two tools can help for stability.

      Ask FixBot

      Add Comment

    3. Panasonic PV-GS9 Lens Replacement: step 12, image 1 of 3 Panasonic PV-GS9 Lens Replacement: step 12, image 2 of 3 Panasonic PV-GS9 Lens Replacement: step 12, image 3 of 3
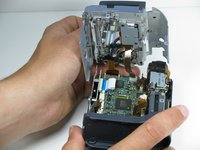
      • Before removing the LCD panel from the camcorder, disconnect all the ribbon cables joining the LCD panel to the logic board.

      • There may be multiple ribbon cables attached to the same point on the logic board.

      Ask FixBot

      Add Comment

    1. Panasonic PV-GS9 Lens Replacement, Lens: step 13, image 1 of 2 Panasonic PV-GS9 Lens Replacement, Lens: step 13, image 2 of 2
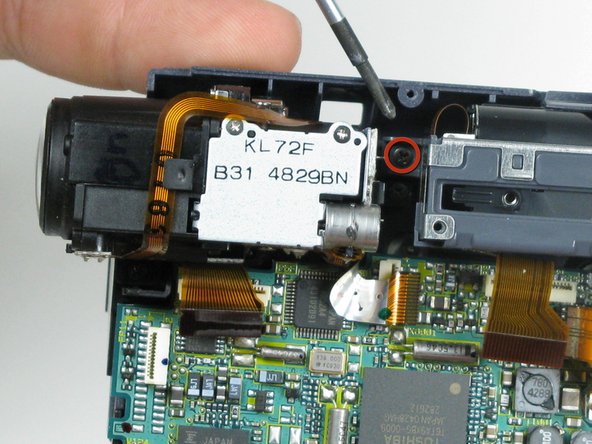
      • Using #00 phillips screwdriver, remove two 4.5mm black screws holding lens in place.

      Ask FixBot

      Add Comment

    2. Panasonic PV-GS9 Lens Replacement: step 14, image 1 of 1
      • Remove third 4.5mm lens mount screw near front of camera.

      Ask FixBot

      Add Comment

    3. Panasonic PV-GS9 Lens Replacement: step 15, image 1 of 3 Panasonic PV-GS9 Lens Replacement: step 15, image 2 of 3 Panasonic PV-GS9 Lens Replacement: step 15, image 3 of 3
      • Careful that both lens ribbon cables are removed from logic board, remove lens.

      Ask FixBot

      Add Comment

Conclusion

To reassemble your device, follow these instructions in reverse order.

Cancel: I did not complete this guide.

One other person completed this guide.

Tommy

Member since: 04/18/10

136 Reputation

2 Guides authored

Team

Cal Poly, Team 7-9, Maness Spring 2010 Member of Cal Poly, Team 7-9, Maness Spring 2010

CPSU-MANESS-S10S7G9

4 Members

96 Guides authored

0 Guide Comments

Add Comment

View Statistics:

Past 24 Hours: 3

Past 7 Days: 6

Past 30 Days: 34

All Time: 2,561