Free Shipping on Domestic Orders $75+

Panasonic Lumix ZS50 Lens Assembly Replacement

What you need

  1. Panasonic Lumix ZS50 Lens Assembly Replacement, Battery: step 1, image 1 of 2 Panasonic Lumix ZS50 Lens Assembly Replacement, Battery: step 1, image 2 of 2
    • Turn the camera off and identify the battery door located on the bottom of the camera.

    Ask FixBot

    Add Comment

  2. Panasonic Lumix ZS50 Lens Assembly Replacement: step 2, image 1 of 2 Panasonic Lumix ZS50 Lens Assembly Replacement: step 2, image 2 of 2
    • Slide the "open" latch to the left: the battery door should spring open.

    • If your battery door doesn't open you may have to pry it open using a plastic opening tool or a standard spudger.

    Ask FixBot

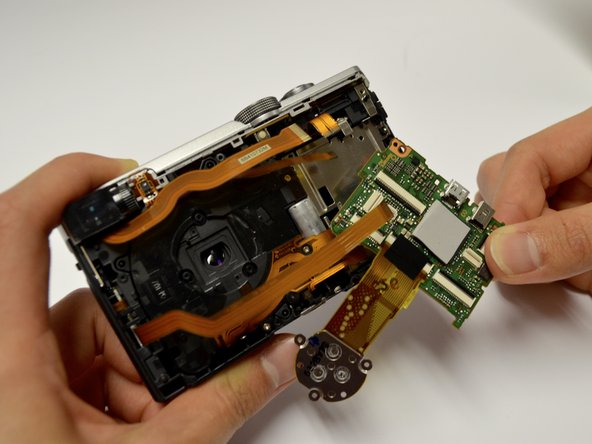
    Add Comment

  3. Panasonic Lumix ZS50 Lens Assembly Replacement: step 3, image 1 of 1
    • To release the battery, slide the white release lever next to the SD card slot.

    • If you find the battery release lever to be jammed you can push it using a plastic opening tool or standard spudger.

    Ask FixBot

    Add Comment

  4. Panasonic Lumix ZS50 Lens Assembly Replacement: step 4, image 1 of 1
    • The battery should now be released; you may now remove the battery from the camera body.

    Ask FixBot

    Add Comment

  5. Panasonic Lumix ZS50 Lens Assembly Replacement, LCD Screen: step 5, image 1 of 3 Panasonic Lumix ZS50 Lens Assembly Replacement, LCD Screen: step 5, image 2 of 3 Panasonic Lumix ZS50 Lens Assembly Replacement, LCD Screen: step 5, image 3 of 3
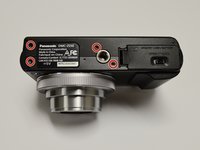
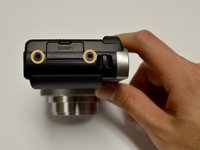
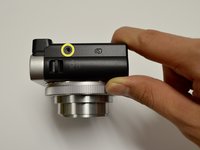
    • Orient the camera so the bottom is facing up and the battery door is on the right side.

    • Remove four black screws from the bottom of the camera.

    • Remove two black screws from the right side of the camera.

    • Remove one black screw from the left side of the camera.

    Ask FixBot

    Add Comment

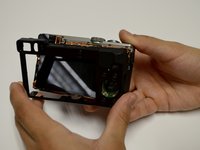
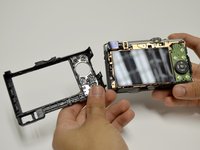
  6. Panasonic Lumix ZS50 Lens Assembly Replacement: step 6, image 1 of 2 Panasonic Lumix ZS50 Lens Assembly Replacement: step 6, image 2 of 2
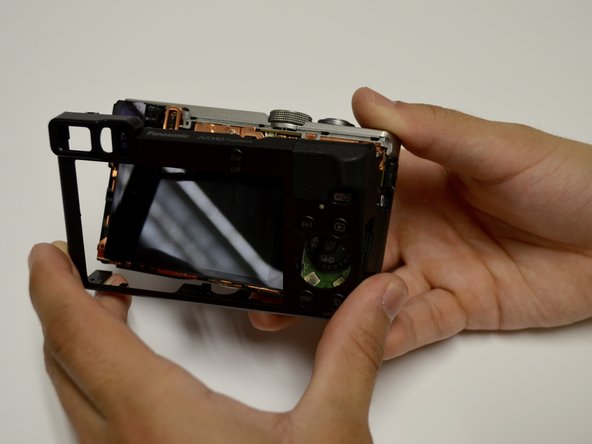
    • Remove the casing from the camera by hand or using a plastic opening tool.

    Ask FixBot

    Add Comment

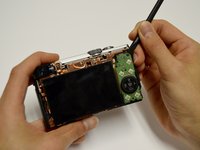
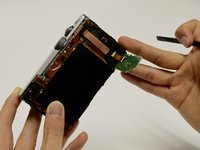
  7. Panasonic Lumix ZS50 Lens Assembly Replacement: step 7, image 1 of 2 Panasonic Lumix ZS50 Lens Assembly Replacement: step 7, image 2 of 2
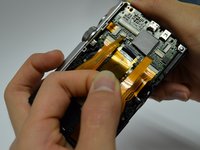
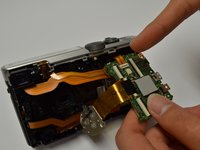
    • Use a spudger to lift up and tug off the green button board.

    • Be careful to not damage the attached ribbon cable.

    Ask FixBot

    Add Comment

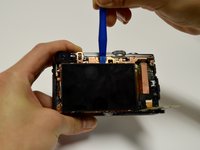
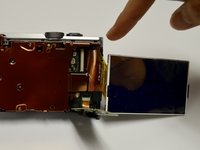
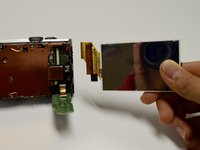
  8. Panasonic Lumix ZS50 Lens Assembly Replacement: step 8, image 1 of 3 Panasonic Lumix ZS50 Lens Assembly Replacement: step 8, image 2 of 3 Panasonic Lumix ZS50 Lens Assembly Replacement: step 8, image 3 of 3
    • Remove the screen using the plastic opening tool, prying from the top.

    • Once it's lifted up, tug lightly on the large ribbon cable to detach the screen from the camera body.

    Ask FixBot

    Add Comment

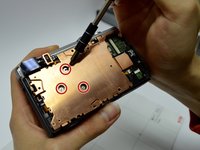
  9. Panasonic Lumix ZS50 Lens Assembly Replacement, Lens Assembly: step 9, image 1 of 3 Panasonic Lumix ZS50 Lens Assembly Replacement, Lens Assembly: step 9, image 2 of 3 Panasonic Lumix ZS50 Lens Assembly Replacement, Lens Assembly: step 9, image 3 of 3
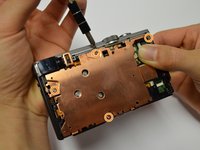
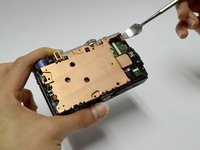
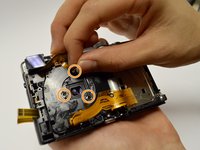
    • Remove the three screws from the center of the copper plate.

    • Remove the four screws from the outer edges of the copper plate.

    • Use a plastic or metal spudger to pry the copper plate out of place.

    Ask FixBot

    Add Comment

  10. Panasonic Lumix ZS50 Lens Assembly Replacement: step 10, image 1 of 2 Panasonic Lumix ZS50 Lens Assembly Replacement: step 10, image 2 of 2
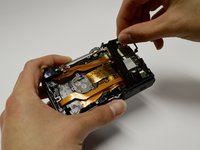
    • Remove the casing from the circuitboard by hand.

    • Remove the HDMI port casing by hand.

    Ask FixBot

    Add Comment

  11. Panasonic Lumix ZS50 Lens Assembly Replacement: step 11, image 1 of 3 Panasonic Lumix ZS50 Lens Assembly Replacement: step 11, image 2 of 3 Panasonic Lumix ZS50 Lens Assembly Replacement: step 11, image 3 of 3
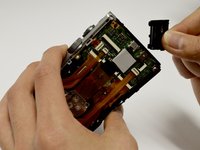
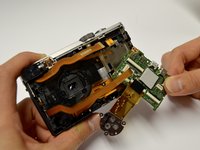
    • Disconnect all orange ribbon cables connecting to the circuitboard by hand.

    • Disconnect the circuitboard by hand.

    • There will be one orange ribbon cable attached to the top that can now be removed.

    Ask FixBot

    Add Comment

  12. Panasonic Lumix ZS50 Lens Assembly Replacement: step 12, image 1 of 3 Panasonic Lumix ZS50 Lens Assembly Replacement: step 12, image 2 of 3 Panasonic Lumix ZS50 Lens Assembly Replacement: step 12, image 3 of 3
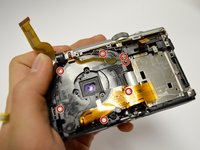
    • Remove the seven screws surrounding the lens assembly.

    • Move all ribbon cables out of your way while unscrewing.

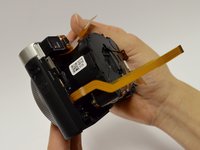
    • Remove the three springs surrounding the lens.

    • Apply pressure on the front of the lens to push the lens out.

    Ask FixBot

    Add Comment

Conclusion

To reassemble your device, follow these instructions in reverse order.

Cancel: I did not complete this guide.

Bridget Lathrop

Member since: 02/01/17

158 Reputation

2 Guides authored

Team

Baylor, Team 8-5, Whitney Spring 2017 Member of Baylor, Team 8-5, Whitney Spring 2017

BU-WHITNEY-S17S8G5

3 Members

7 Guides authored

0 Guide Comments

Add Comment

View Statistics:

Past 24 Hours: 6

Past 7 Days: 24

Past 30 Days: 77

All Time: 2,791