
Panasonic Lumix DMC-ZS25 Screen Replacement

Abbas Khan and 5 other contributors
Last updated on Sep 17, 2018
Views: 5.1K
View statistics:
- Past 24 Hours:
- 2
- Past 7 Days:
- 19
- Past 30 Days:
- 94
- All Time:
- 5,087
Comments: 2
1 comment on steps, 1 guide comment.
Go to guide commentsCompleted: 3 4
3 people have marked this guide "completed." Will you be next?
4 people have marked this guide "completed." Including you — great job!
Favorites: 0 1
No one has favorited (and subscribed to) this guide. Will you be the first?
1 person has favorited (and subscribed to) this guide — and that's you!
Introduction
Go to step 1 ↓These steps will guide to simply replace your camera's screen.
What you need
Tools
-
Spudger4.9


-
-
-
Open the four 3.40 mm screws from the right and left sides of your Panasonic Lumix Camera.
-
Remove the two 2.60 mm screws located next to the battery.
 Ask FixBot
-
-
-
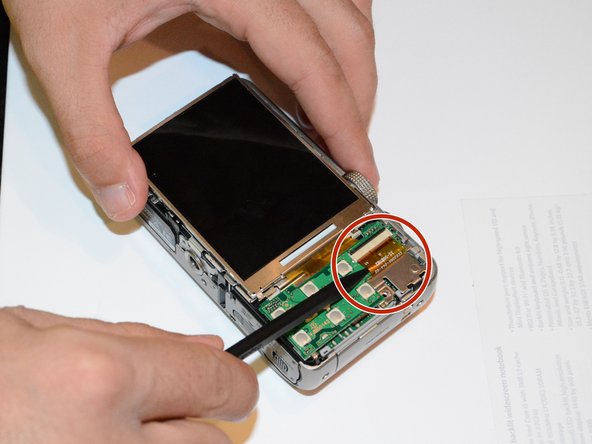
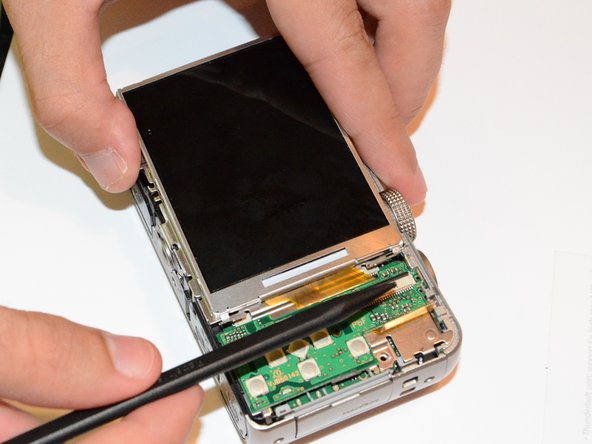
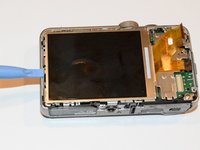
Use the plastic opening tool to open the outer cover of your device from the HDMI port.
-
-
-





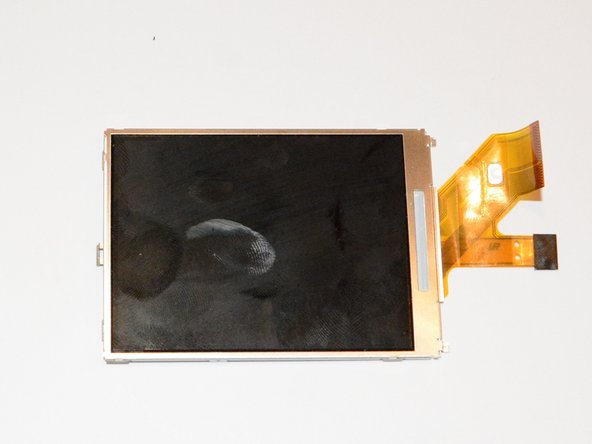
To reassemble your device, follow these instructions in reverse order.
Cancel: I did not complete this guide.
3 other people completed this guide.

Team

USF Tampa, Team 9-5, Brown Winter 2015 Member of USF Tampa, Team 9-5, Brown Winter 2015
USFT-BROWN-W15S9G5
3 Members
60 Guides authored
1 Guide Comment
- Of the two 2.60 mm screws on the bottom of the camera, only the one closest to the back needs to be removed.
- The correct screwdriver is JIS Type S #00. A Phillips driver can ruin the screws.
- The screen shown in step 5 consists of two parts: the LCD and a frame. The replacement LCD that I ordered came without the frame, so a little more disassembly was required, including a bit of delicate soldering: the narrow ribbon cable is really two cables, soldered together. The solder joints are hidden under the piece of black electric tape at the end.
