Repair Guides
Learn how to fix just about anything with our step-by-step guides.
App
Your pocket repair helper.
FixBot
The friendly AI repair assistant.
Repairability
Learn why fixable products make sense.
Teardowns
Get a sneak peek inside the latest gadgets.
Answers Forum
Share solutions and get help from a friend.
Find Your Community
Find teams, events, and fellow fixers.
Help Out
Help make repair knowledge free and accessible for everyone.
Right to Repair
Learn about the Right to Repair movement and how to be an advocate.
Featured
Quality parts and tools backed by our lifetime guarantee.
Tools
Shop our wide selection of precision tools.
Parts
Shop parts backed by our quality guarantee.
iPhone Batteries
Batteries tested and guaranteed plus a kit with everything you need.
Free Shipping on Domestic Orders $75+
Make sure the power is off by switching the power switch to the left.
Use a Phillips #00 screwdriver to remove the screws on the left side of the camera.
Remove the screws on the right side of the camera by using the Philips #00 screwdriver.
Remove the screws on the bottom side of the camera using the Philips #00 Screwdriver.
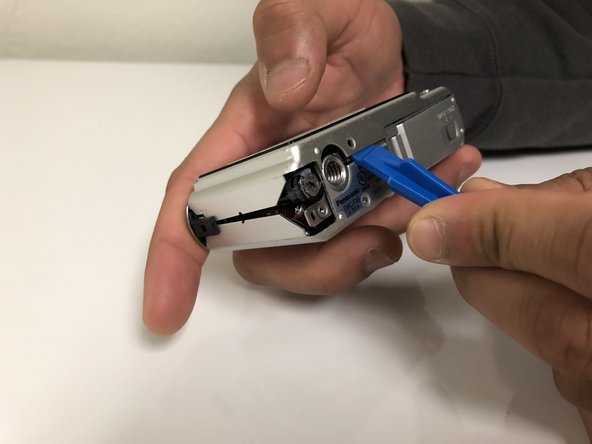
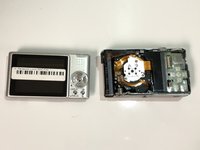
Separate the covers by gently applying force upwards, carefully placing the opening tool between the two covers.
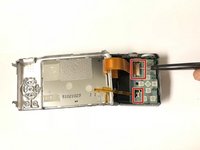
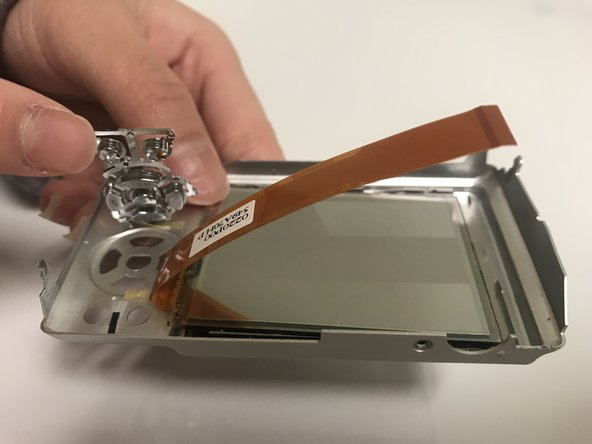
Lift the ZIF tabs up with the opening tool and carefully remove the digitizer ribbon cables.
Remove the LCD Screen from the glass frame carefully with the opening tool.
Push on the back panel buttons on the front side to remove the buttons.
Be cautious of the adhesive holding the button panels to the cover. Apply extra force if necessary.
To reassemble your device, follow these instructions in reverse order.

Cancel: I did not complete this guide.
with 3 other contributors
Member since: 02/21/18
133 Reputation
1 Guide authored
Badges: 2
UNT-THOMAS-S18S6G1
4 Members
9 Guides authored
Choose a size and copy the code below to embed this guide as a small widget on your site / forum.
Past 24 Hours: 1
Past 7 Days: 6
Past 30 Days: 41
All Time: 667