Introduction
This guide is fairly simple in regards to the general disassembly of the device. However, it does require caution when dealing with the delicate ribbon cables. Additionally, the LCD screen is secured in place by a small amount of adhesive. If you are having any difficulty prying free the screen, I would suggest applying a very low amount of heat to the front of the screen (display side) to melt the adhesive.
What you need
-
-
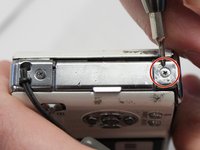
Remove both of the 3 mm screws on the bottom of the camera connected to the side panel.
 Ask FixBot
-
-
-
Remove the remaining 3 mm screw holding on the side panel and remove the panel entirely.
-
-
-
-
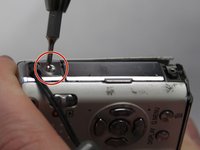
On the opposite side of the camera, remove the two 3 mm screws.
-
Remove the bottom side panel and place it with its respective 3 mm screw.
-
-
-
Remove the front panel (the panel around the lens casing) from the camera.
-
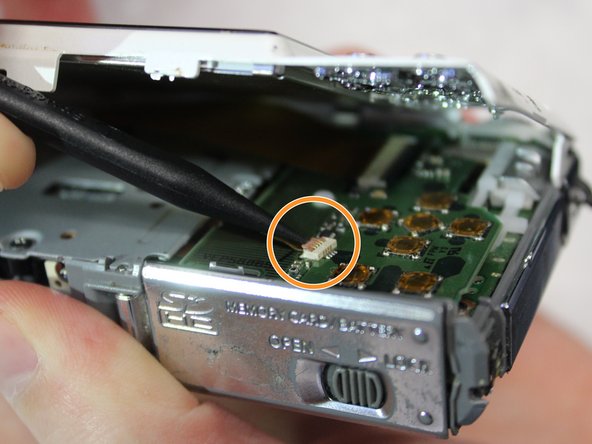
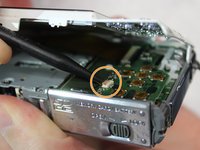
Remove the two ribbon cables connected to the back panel (the panel this the LCD screen) by lifting up on their respective tabs and gently pulling out the cord.
-
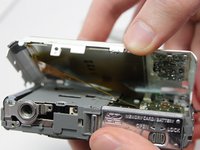
Remove the back panel from the camera.
-
-
-
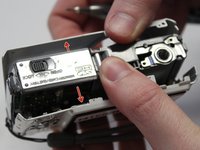
Remove the top control panel (connected to the flash battery) from the camera.
-






To reassemble your device, follow these instructions in reverse order.

Team

Baylor, Team S2-G3, Johnson Spring 2018 Member of Baylor, Team S2-G3, Johnson Spring 2018
BU-JOHNSON-S18S2G3
3 Members
11 Guides authored
