
Panasonic Lumix DMC-FX37 Disassembly

Jackson O'DOnnell and 2 other contributors
Last updated on May 4, 2018
Views: 1.9K
View statistics:
- Past 24 Hours:
- 0
- Past 7 Days:
- 21
- Past 30 Days:
- 97
- All Time:
- 1,891
Comments: 0
No one has left comments on this guide. Will you be first?
Go to guide commentsCompleted: 0 1
No one has marked this guide "completed." Will you be the first?
1 person has marked this guide "completed." It's you — great job!
Favorites: 0 1
No one has favorited (and subscribed to) this guide. Will you be the first?
1 person has favorited (and subscribed to) this guide — and that's you!
Introduction
Go to step 1 ↓If you have not disassembled a device similar to this in the past, here are a few tips:
1) Always place the screws you remove with their respective slots, this will prevent you from trying to insert a screw that is too big and causing internal damage. (A magnetic mat can help with this!)
2) Because this is a smaller device and you will be interacting with some of the circuit boards directly, you may wish to wear an anti-static wrist wrap to prevent damage.
3) Ribbon cables (named due to their shape) are quite delicate and should be handled gently if possible. We will be sure to warn you when dealing with these.
Otherwise, this guide will mainly be unscrewing screws.
What you need
Tools
-
Spudger4.9


-
-
-
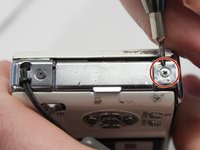
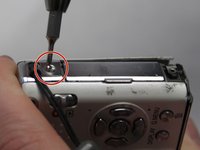
Remove both of the 3 mm screws on the bottom of the camera connected to the side panel.
 Ask FixBot
-
-
-
Remove the remaining 3 mm screw holding on the side panel and remove the panel entirely.
-
-
-
-
On the opposite side of the camera, remove the two 3 mm screws.
-
Remove the bottom side panel and place it with its respective 3 mm screw.
-
-
-
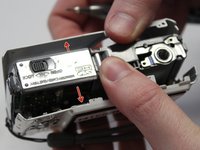
Remove the front panel (the panel around the lens casing) from the camera.
-
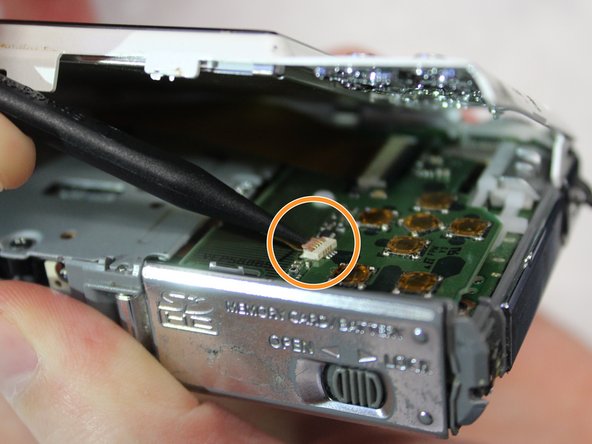
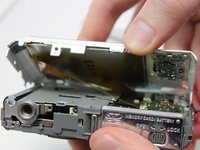
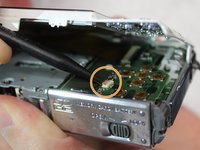
Remove the two ribbon cables connected to the back panel (the panel this the LCD screen) by lifting up on their respective tabs and gently pulling out the cord.
-
Remove the back panel from the camera.
-
-
-
Remove the top control panel (connected to the flash battery) from the camera.
-
-





To reassemble your device, follow these instructions in reverse order.

Team

Baylor, Team S2-G3, Johnson Spring 2018 Member of Baylor, Team S2-G3, Johnson Spring 2018
BU-JOHNSON-S18S2G3
3 Members
72 Guides authored
