Introduction
This guide helps you replace the LCD on the Panasonic Lumix DMC-FS10 compact camera.
What you need
-
-
-
Remove the PH00 screw in the right side of the camera. Then remove the plastic cover like in the image.
-
-
-
On the right side of the camera remove the 2 PH00 screws then remove the plastic cover.
-
Remove the PH00 screw behind the removed cover.
-
-
-
Now that the bottom and side screws are out of their places you can pop out the back panel.
-
-
-
-
Using a spudger on the bottom right side of the daughterboard disconnect the connector.
-
After removing the daughterboard gently remove the plastic layer on the logic board.
-
-
-
Remove the PH00 screw then flip the LCD to the right.
-
Remove the 3 PH00 screws that keep the aluminum plate the the camera then remove the panel.
-
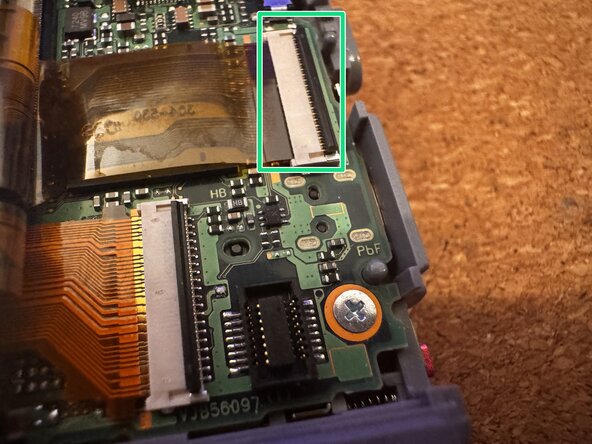
Gently open the connector's black tension lock with a spudger and remove the LCD's wires. Now the LCD can be removed from the camera.
-
-
-
Gently press on the plastic as shown to release the latch holding the front metal cover.
-
-
-
Remove the part that allows the camera to be mounted.
-
Pull the upper part of the camera gently to separate it from the logic board.
-
Disconnect the camera module's cables, then pull out the camera module of the frame.
-
-
-
Unscrew the last PH00 screw then gently remove the logic board from the plastic housing.
-
-
-
-
To disassemble the camera follow the teardown until section 'LCD removal' and to assemble it go backwards from section 'LCD removal'.
-
-

 Ask FixBot




To reassemble your device, follow these instructions in reverse order.
Cancel: I did not complete this guide.
One other person completed this guide.

