
Panasonic Lumix DMC-F7 Back Case Replacement

Alex Penman and 14 other contributors
Last updated on Jun 13, 2023
Views: 1.6K
View statistics:
- Past 24 Hours:
- 3
- Past 7 Days:
- 16
- Past 30 Days:
- 87
- All Time:
- 1,584
Comments: 0
No one has left comments on this guide. Will you be first?
Go to guide commentsCompleted: 1 2
1 person has marked this guide "completed." Will you be next?
2 people have marked this guide "completed." Including you — great job!
Favorites: 0 1
No one has favorited (and subscribed to) this guide. Will you be the first?
1 person has favorited (and subscribed to) this guide — and that's you!
Inconsistent Images
Updating the images on this guide to be more consistent with the prerequisites would increase its awesomeness.
Action Shots
Be an action hero! This guide needs images that better demonstrate how to perform specific actions.
Introduction
Go to step 1 ↓Steps for removing the back half of the case and replacing it with a new one.
What you need
Tools
-
Spudger4.9


-
-
-
Slide the lock switch to the right so that it is in the unlocked position.
-
Use your finger to slide the battery hatch in the direction of the downward arrow so that the hatch is open.
 Ask FixBot
-
-
-
Open the battery hatch and then the black cover to expose the battery compartment.
-
Remove the battery.
-
-
-
-
-
Using the Phillips #00 screwdriver, remove the two 2.8 mm screws located under the hatch.
-
-
-
Use the Phillips #00 screwdriver to remove the three 2.8 mm screws on the bottom of the camera.
-
-
-
Use the Phillips #00 screwdriver to remove the two 2.8 mm screws on the side of the camera.
-
-
-
-
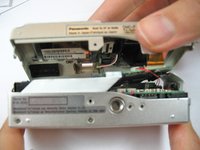
Use your fingers to carefully remove the back casing from the front of the camera.
-
-
-
Place the camera on a flat surface with the front side facing down.
-
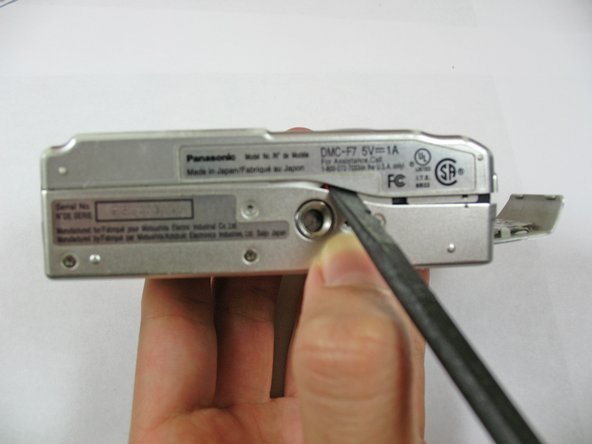
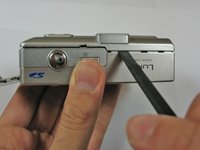
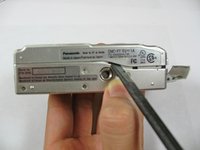
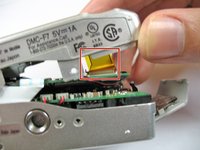
Use the spudger to flip up the retaining flap and slide the ribbon cable out of the connector.
-
Hold down on the camera's metal casing with one hand. Using your other hand, remove the back case from the rest of the camera.
-
-





To reassemble your device, follow these instructions in reverse order.
Cancel: I did not complete this guide.
One other person completed this guide.

Team

Cal Poly, Team 7-35, Regan Winter 2011 Member of Cal Poly, Team 7-35, Regan Winter 2011
CPSU-REGAN-W11S7G35
4 Members
60 Guides authored
