Free Shipping on Domestic Orders $75+

Panasonic HDC-TM15 Record Button Replacement

What you need

    1. Panasonic HDC-TM15 Record Button Replacement, Record Button: step 1, image 1 of 1
      • Using the Phillips #00 Screwdriver, unscrew the five .5 mm Phillips #00 screws on the hand-strap side of the camcorder.

      Ask FixBot

      Add Comment

    2. Panasonic HDC-TM15 Record Button Replacement: step 2, image 1 of 1
      • Unscrew the six .5 mm Phillips #00 screws on the bottom of the camcorder.

      Ask FixBot

      Add Comment

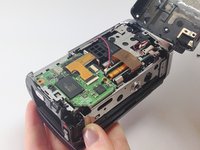
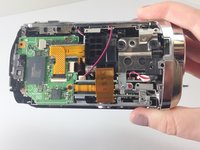
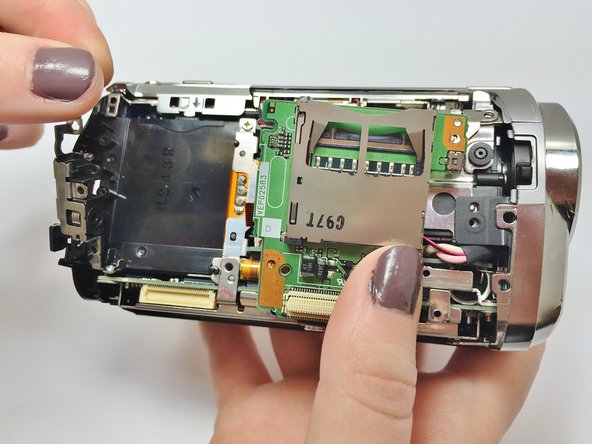
    3. Panasonic HDC-TM15 Record Button Replacement: step 3, image 1 of 3 Panasonic HDC-TM15 Record Button Replacement: step 3, image 2 of 3 Panasonic HDC-TM15 Record Button Replacement: step 3, image 3 of 3
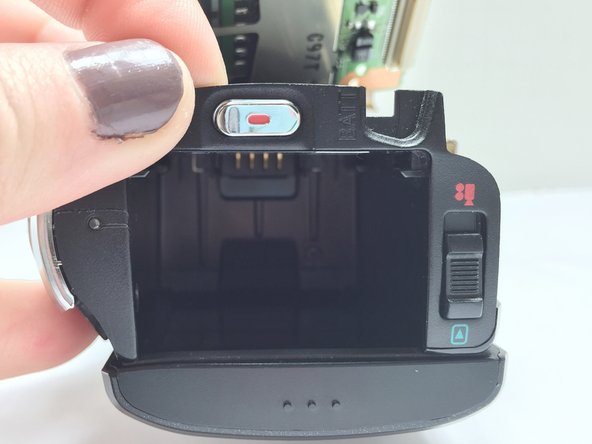
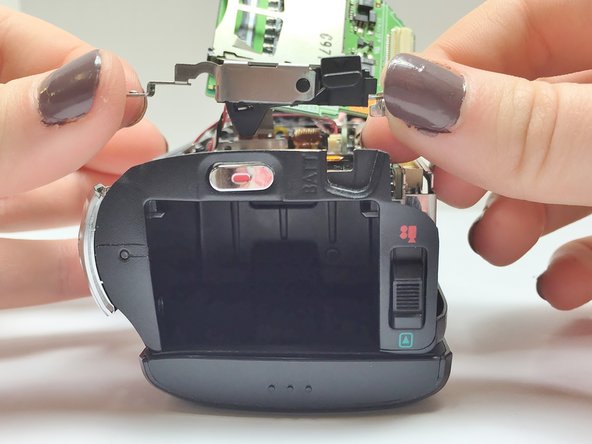
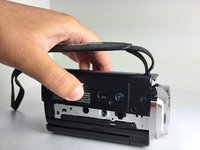
      • Once all eleven screws have been removed, put your hand through the hand-strap and tug on the side cover until it comes off completely.

      • The inside of your camcorder should now be completely exposed, as shown in the photos.

      Ask FixBot

      Add Comment

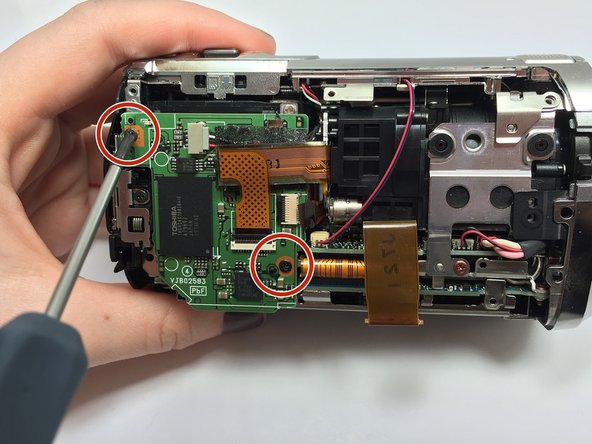
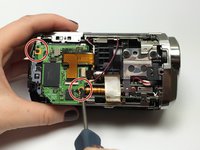
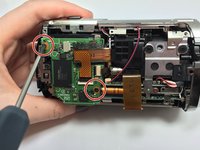
    4. Panasonic HDC-TM15 Record Button Replacement: step 4, image 1 of 2 Panasonic HDC-TM15 Record Button Replacement: step 4, image 2 of 2
      • Unscrew the two 1 mm Phillips #00 black screws in the corners of the green memory card reader.

      • The screws should be surrounded by orange circles.

      Ask FixBot

      Add Comment

    5. Panasonic HDC-TM15 Record Button Replacement: step 5, image 1 of 1
      • Unscrew the black 1 mm Phillips #00 black screw in the left center beside the green motherboard.

      Ask FixBot

      Add Comment

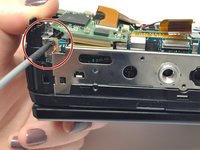
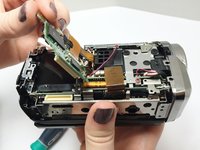
    6. Panasonic HDC-TM15 Record Button Replacement: step 6, image 1 of 2 Panasonic HDC-TM15 Record Button Replacement: step 6, image 2 of 2
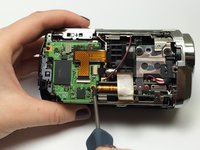
      • Unscrew the 1.2 mm Phillips #00 black screw beneath the motherboard on the bottom of the camcorder.

      • The green motherboard should now be partially detached, as shown in the photo.

      Ask FixBot

      Add Comment

    7. Panasonic HDC-TM15 Record Button Replacement: step 7, image 1 of 3 Panasonic HDC-TM15 Record Button Replacement: step 7, image 2 of 3 Panasonic HDC-TM15 Record Button Replacement: step 7, image 3 of 3
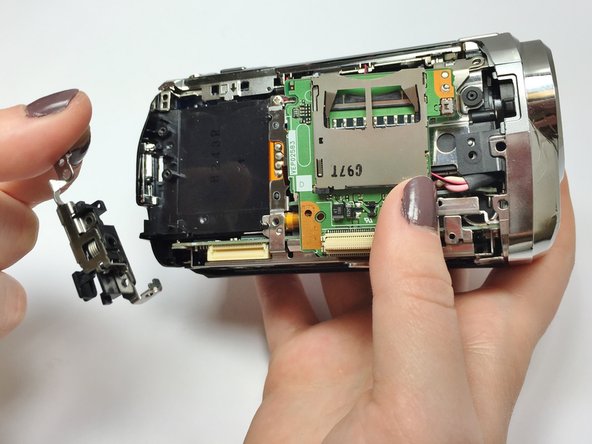
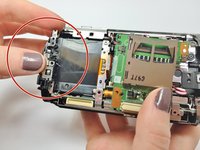
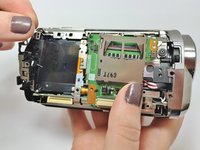
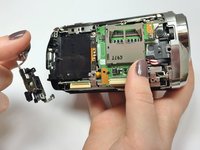
      • Remove the long silver plate that secures the record button.

      Ask FixBot

      Add Comment

    8. Panasonic HDC-TM15 Record Button Replacement: step 8, image 1 of 1
      • Remove the old record button from beneath the silver plate.

      Ask FixBot

      Add Comment

    9. Panasonic HDC-TM15 Record Button Replacement: step 9, image 1 of 2 Panasonic HDC-TM15 Record Button Replacement: step 9, image 2 of 2
      • Place the new Record button into the open slot.

      Ask FixBot

      Add Comment

    10. Panasonic HDC-TM15 Record Button Replacement: step 10, image 1 of 2 Panasonic HDC-TM15 Record Button Replacement: step 10, image 2 of 2
      • Slide the silver plate into place beside the new Record button.

      • Ensure that the Battery Eject button is lined up properly.

      Ask FixBot

      Add Comment

    11. Panasonic HDC-TM15 Record Button Replacement: step 11, image 1 of 2 Panasonic HDC-TM15 Record Button Replacement: step 11, image 2 of 2
      • Re-screw the green motherboard into place and re-attach the side cover to your camcorder.

      • When the side cover is securely fastened, you have completed the Record Button replacement of your Panasonic HDC-TM15 camcorder.

      Ask FixBot

      Add Comment

Conclusion

To reassemble your device, follow these instructions in reverse order.

Cancel: I did not complete this guide.

Emma

Member since: 03/11/15

176 Reputation

1 Guide authored

Team

Marist, Team 1-4, Laflen Spring 2015 Member of Marist, Team 1-4, Laflen Spring 2015

MARS-LAFLEN-S15S1G4

3 Members

36 Guides authored

0 Guide Comments

Add Comment

View Statistics:

Past 24 Hours: 0

Past 7 Days: 0

Past 30 Days: 20

All Time: 546