
Panasonic EB-GD88 Camera Replacement

Patricia Taggart and 2 other contributors
Last updated on May 9, 2016
Views: 536
View statistics:
- Past 24 Hours:
- 0
- Past 7 Days:
- 5
- Past 30 Days:
- 28
- All Time:
- 536
Comments: 0
No one has left comments on this guide. Will you be first?
Go to guide commentsCompleted: 0 1
No one has marked this guide "completed." Will you be the first?
1 person has marked this guide "completed." It's you — great job!
Favorites: 0 1
No one has favorited (and subscribed to) this guide. Will you be the first?
1 person has favorited (and subscribed to) this guide — and that's you!
Needs Better Images
Better photos will improve this guide. Help out by taking, editing, or uploading new ones!
Better Introduction
Improve this guide by completing or revising its introduction.
Missing Details
Some of this guide's details are missing. Help users by adding tools, difficulty, or time.
What you need
Tools


-
-
Tool used on this step:Tweezers$4.99
-
Flip cellphone open.
-
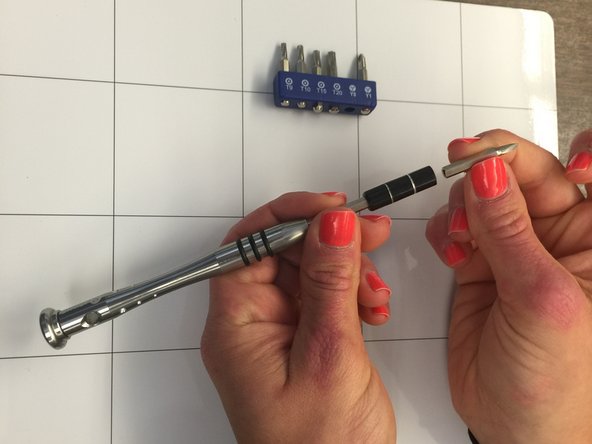
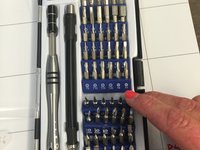
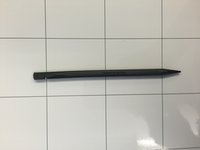
Out of the iFixit tool kit remove the black plastic opening tool, curved tweezers, and 54 bit driver kit.
 Ask FixBot
-
-
-
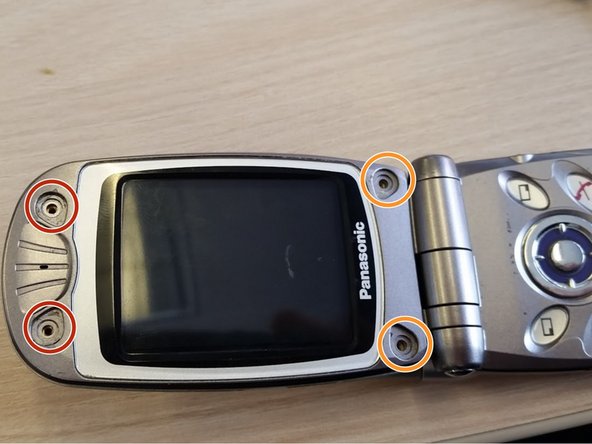
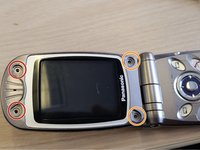
Remove 4 rubber covers on the corners of the cellphone screen by prying them off with flat end of nylon spudger.
-
-
-
Using a Y0 tri-wing screwdriver, found in the 54 bit driver kit, remove the two screws above the screen. Twist the screws counterclockwise to remove.
-
Using a Y0 tri-wing screwdriver, remove the two screws below the screen. Twist the screws counterclockwise to remove.
-
-
-
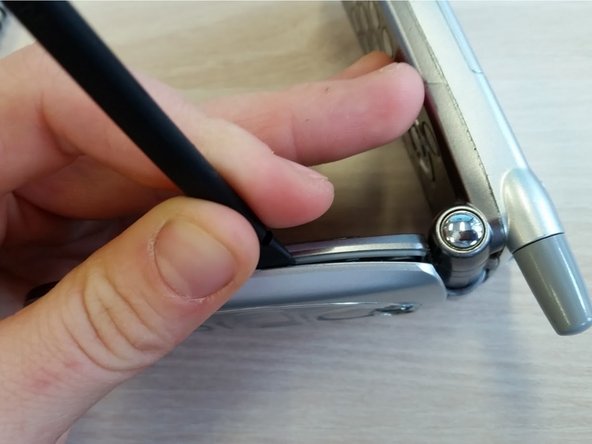
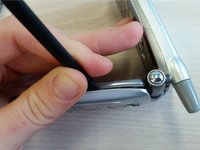
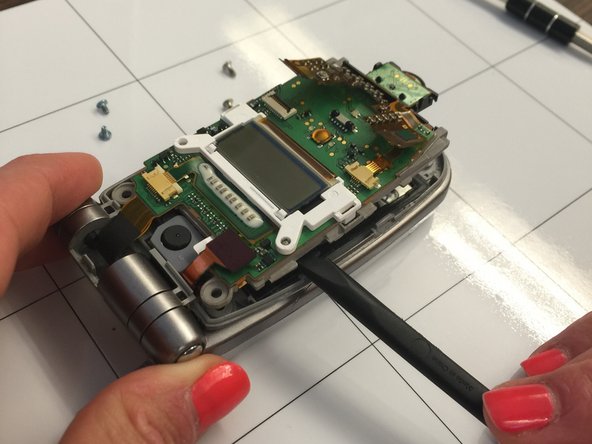
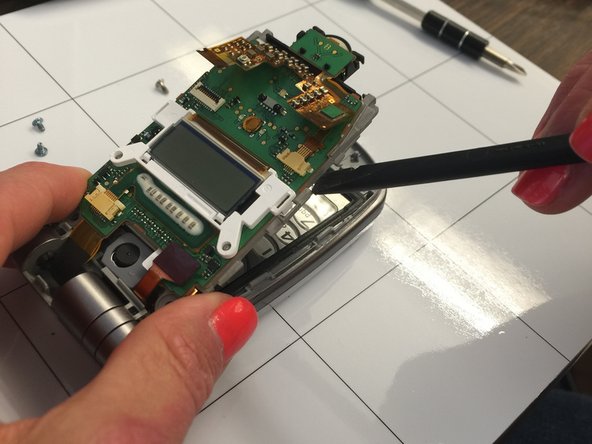
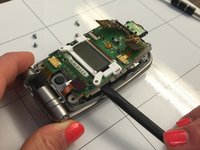
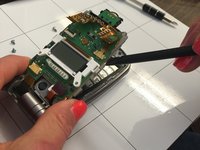
Insert nylon spudger or curved tweezers into small gap between the phone's outer gray casing and the inner gray plastic compartment (which holds the green circuit board and screen together). This gap is indicated by red arrows.
-
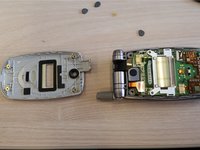
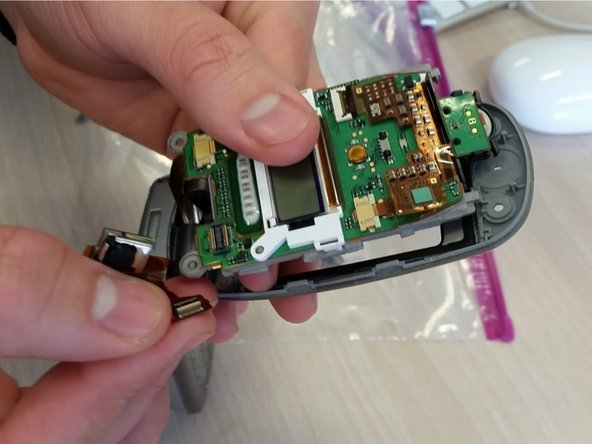
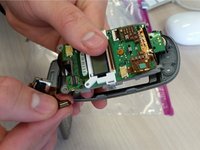
Use the tools as leverage to pop out inner gray compartment unit (screen, gray plastic, and circuit board) away from the phones outer casing .
-
-
-
-
-
-
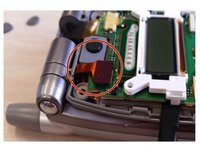
Pull off gray cover with black circular camera piece at the bottom of the screen.
-








To reassemble your device, follow these instructions in reverse order.

Team

Ohio State, Team 1-4, Garvin Spring 2016 Member of Ohio State, Team 1-4, Garvin Spring 2016
OSU-GARVIN-S16S1G4
2 Members
36 Guides authored
