Free Shipping on Domestic Orders $75+

Panasonic DMP-BD89 Disk Drive Replacement

What you need

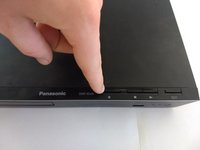
  1. Panasonic DMP-BD89 Disk Drive Replacement, Disk Tray Cover: step 1, image 1 of 2 Panasonic DMP-BD89 Disk Drive Replacement, Disk Tray Cover: step 1, image 2 of 2
    • First, before powering off, press the eject button to open the tray.

    Ask FixBot

    Add Comment

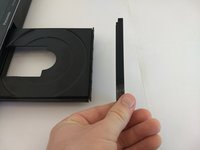
  2. Panasonic DMP-BD89 Disk Drive Replacement: step 2, image 1 of 3 Panasonic DMP-BD89 Disk Drive Replacement: step 2, image 2 of 3 Panasonic DMP-BD89 Disk Drive Replacement: step 2, image 3 of 3
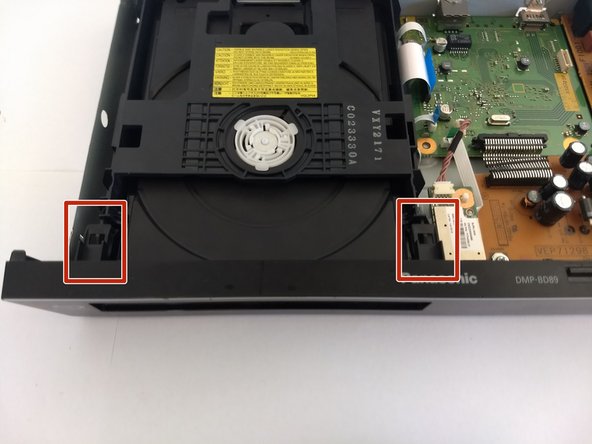
    • Remove the front cover of the tray.

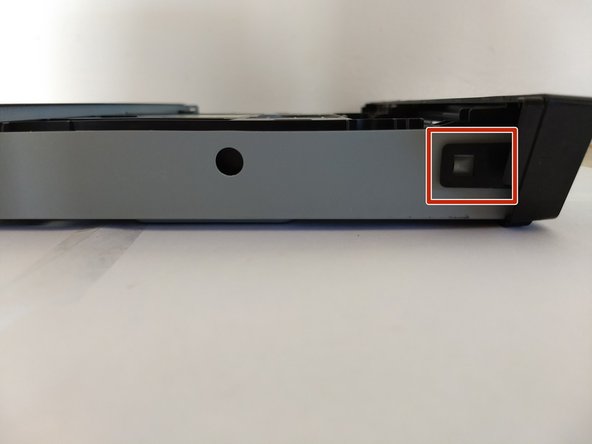
    • Do so by gently pushing it out, away from the player, ensuring the pictured tabs clear the tray.

    • Then slide it vertically up and away.

    Ask FixBot

    Add Comment

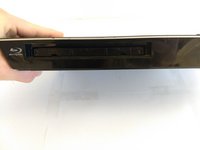
  3. Panasonic DMP-BD89 Disk Drive Replacement: step 3, image 1 of 2 Panasonic DMP-BD89 Disk Drive Replacement: step 3, image 2 of 2
    • Press eject button to close the tray.

    • Make sure to unpower and unplug device before continue work on other fixes.

    Ask FixBot

    Add Comment

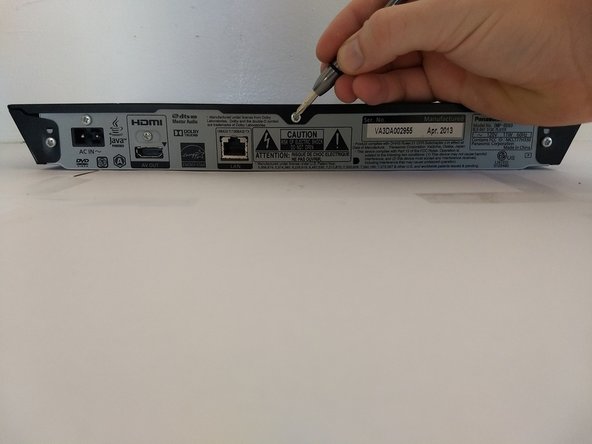
  4. Panasonic DMP-BD89 Disk Drive Replacement, Exterior Cover: step 4, image 1 of 2 Panasonic DMP-BD89 Disk Drive Replacement, Exterior Cover: step 4, image 2 of 2
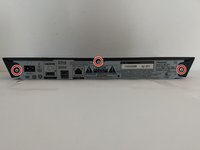
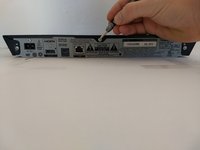
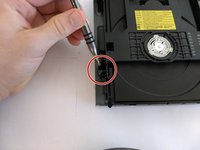
    • Using a Phillips #1 screwdriver, unscrew the back three screws.

    Ask FixBot

    Add Comment

  5. Panasonic DMP-BD89 Disk Drive Replacement: step 5, image 1 of 1
    • Slide the top panel horizontally to remove it.

    Ask FixBot

    Add Comment

  6. Panasonic DMP-BD89 Disk Drive Replacement: step 6, image 1 of 3 Panasonic DMP-BD89 Disk Drive Replacement: step 6, image 2 of 3 Panasonic DMP-BD89 Disk Drive Replacement: step 6, image 3 of 3
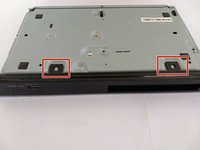
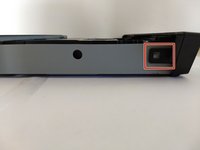
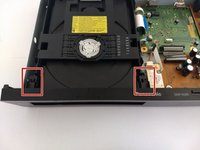
    • Locate 6 tabs across the device.

    • 2 are on the bottom, 1 is on the left and right, and 2 are are on the inside.

    Ask FixBot

    Add Comment

  7. Panasonic DMP-BD89 Disk Drive Replacement: step 7, image 1 of 1
    • Pop the 6 markers out.

    • Then take off the cover.

    Ask FixBot

    Add Comment

  8. Panasonic DMP-BD89 Disk Drive Replacement, Disk Drive: step 8, image 1 of 2 Panasonic DMP-BD89 Disk Drive Replacement, Disk Drive: step 8, image 2 of 2
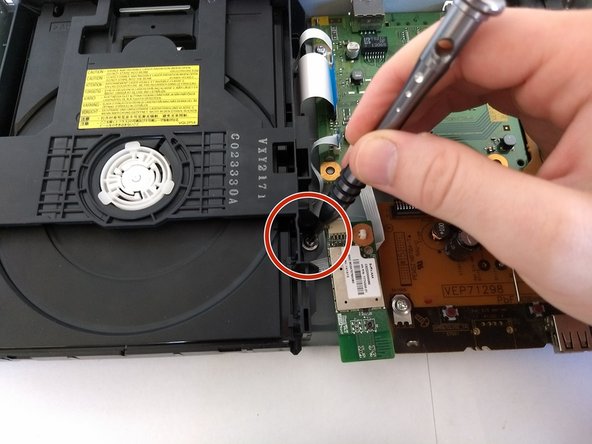
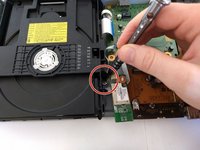
    • Remove screws surrounding disk drive that attach it to outer cover.

    Ask FixBot

    Add Comment

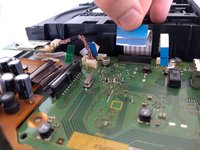
  9. Panasonic DMP-BD89 Disk Drive Replacement: step 9, image 1 of 2 Panasonic DMP-BD89 Disk Drive Replacement: step 9, image 2 of 2
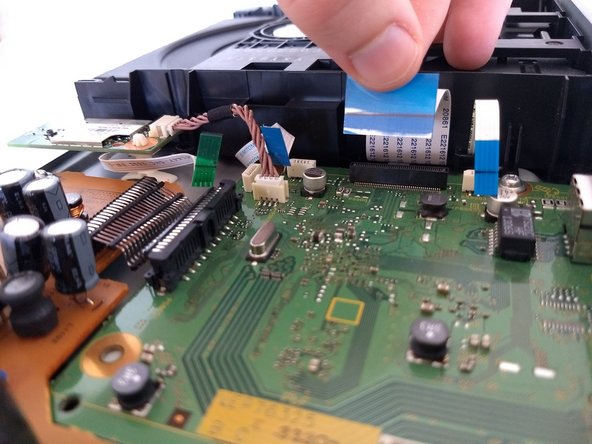
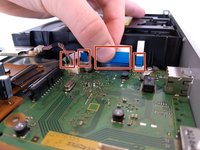
    • Remove the one green andthree blue tabs pictured that connect the disk drive to the board. Try to do so carefully, to avoid damage to the hardware.

    Ask FixBot

    Add Comment

  10. Panasonic DMP-BD89 Disk Drive Replacement: step 10, image 1 of 1
    • Carefully take the drive out of the device. Note where the feet need to go back in for reassembly.

    Ask FixBot

    Add Comment

Conclusion

To reassemble your device, follow these instructions in reverse order. Ensure the feet of the disk drive go back in the holes.

Cancel: I did not complete this guide.

Julian

Member since: 10/17/17

113 Reputation

1 Guide authored

0 Guide Comments

Add Comment

View Statistics:

Past 24 Hours: 2

Past 7 Days: 9

Past 30 Days: 63

All Time: 1,563