Free Shipping on Domestic Orders $75+

PalmOne Zire 72 Screen Replacement

What you need

  1. PalmOne Zire 72 Screen Replacement, Screen: step 1, image 1 of 2 PalmOne Zire 72 Screen Replacement, Screen: step 1, image 2 of 2
    • Using a T5 Torx screwdriver, unscrew the two 5mm screws located at the bottom of the device.

    Ask FixBot

    Add Comment

  2. PalmOne Zire 72 Screen Replacement: step 2, image 1 of 1
    • Peel back the adhesive label below the camera on the rear to reveal a hidden screw, circled in the picture to the left.

    • If you peel the entire label off, two holes underneath will be exposed to future damage. Try to preserve the label to reapply later.

    • Alternate Procedure: Underneath the camera, feel for a depression and cut the sticker directly above the depression to reveal the hidden screw.

    Ask FixBot

    Add Comment

  3. PalmOne Zire 72 Screen Replacement: step 3, image 1 of 1
    • Use a #00 Philips screwdriver to remove the 2.5mm hidden screw.

    Ask FixBot

    Add Comment

  4. PalmOne Zire 72 Screen Replacement: step 4, image 1 of 1
    • Use either side of the spudger to carefully pry off the camera lens mesh cover.

    Ask FixBot

    Add Comment

  5. PalmOne Zire 72 Screen Replacement: step 5, image 1 of 1
    • Using the #00 Phillips screwdriver, remove the two 9mm screws on the top corners of the device.

    Ask FixBot

    Add Comment

  6. PalmOne Zire 72 Screen Replacement: step 6, image 1 of 2 PalmOne Zire 72 Screen Replacement: step 6, image 2 of 2
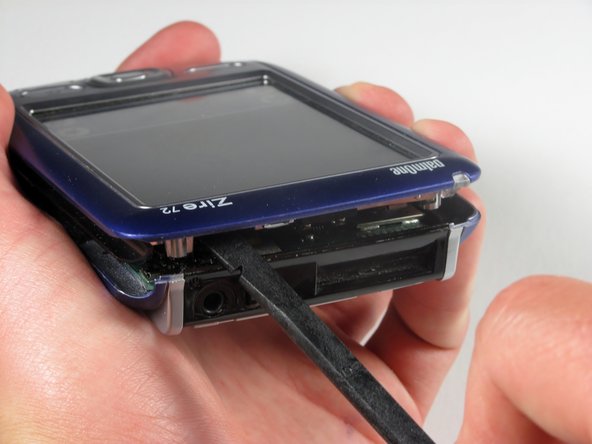
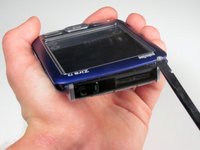
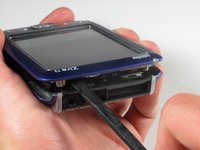
    • Spin the phone around so that the headphone jack is facing you. Run the flat end of the spudger around the entire edge of the device to gently pry the case off.

    • Gently remove the case to avoid damaging it. Do not try to force the case open.

    • The L shaped latches located on the bottom of the device make it hard to remove the case; you should run the spudger around the device's edges again if you are having problems.

    Ask FixBot

    Add Comment

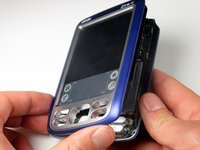
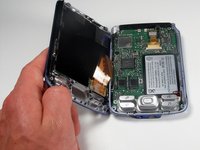
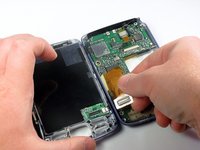
  7. PalmOne Zire 72 Screen Replacement: step 7, image 1 of 2 PalmOne Zire 72 Screen Replacement: step 7, image 2 of 2
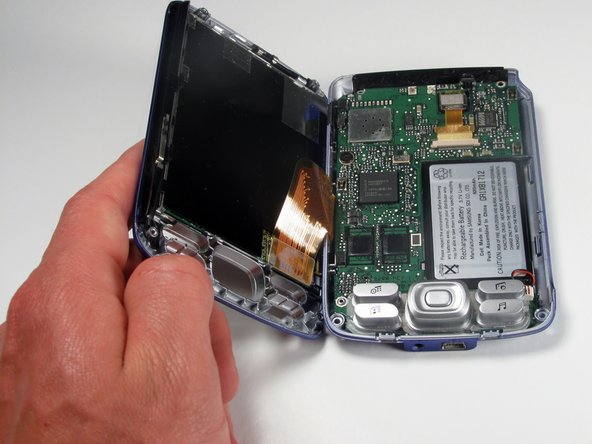
    • Remove the cover by lifting it from right to left.

    • This should be similar to the action of the opening of a book.

    • The brown film connecting the motherboard to the screen may tear if this is not done correctly.

    Ask FixBot

    Add Comment

  8. PalmOne Zire 72 Screen Replacement: step 8, image 1 of 1
    • Lift the control buttons off of the motherboard.

    Ask FixBot

    Add Comment

  9. PalmOne Zire 72 Screen Replacement: step 9, image 1 of 1
    • Wedge the flat end of the spudger underneath the battery and gently pry it out.

    • Be cautious of the red and black wires on the battery, which may rip easily.

    • The battery may have adhesive holding it to the device.

    • The battery connector may rip if the battery is not removed carefully.

    Ask FixBot

    Add Comment

  10. PalmOne Zire 72 Screen Replacement: step 10, image 1 of 1
    • Gently disconnect the white component connecting the battery to the motherboard.

    • The connector should be pulled upward.

    Ask FixBot

    Add Comment

  11. PalmOne Zire 72 Screen Replacement: step 11, image 1 of 1
    • Unscrew the single 3.5mm screw attaching the motherboard to the case with a #00 Phillips screwdriver.

    Ask FixBot

    Add Comment

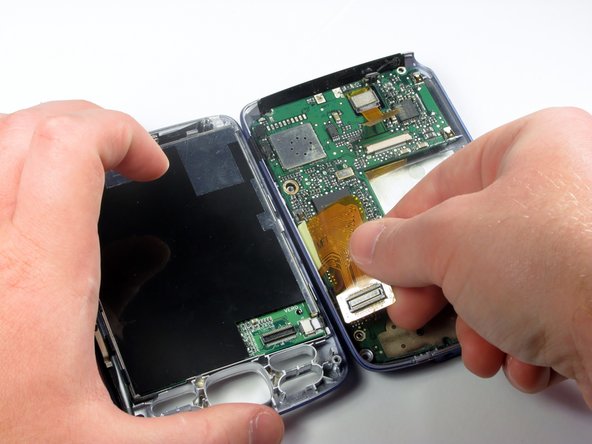
  12. PalmOne Zire 72 Screen Replacement: step 12, image 1 of 2 PalmOne Zire 72 Screen Replacement: step 12, image 2 of 2
    • Disconnect the orange video connector leading from the lower case to the upper case with the pointed end of the spudger.

    • The orange video connector is the cable that connects the motherboard to the screen.

    Ask FixBot

    Add Comment

  13. PalmOne Zire 72 Screen Replacement: step 13, image 1 of 1
    • Use the spudger to unclip the screen in the lower left corner and gently pry it from its clips.

    Ask FixBot

    Add Comment

  14. PalmOne Zire 72 Screen Replacement: step 14, image 1 of 1
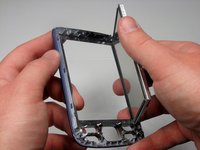
    • Grabbing the left and right edges of the front panel, flex the front panel outward until the screen pops out.

    • The panel should only be flexed to the point that the screen can come out. Flexing it more will most likely break it.

    Ask FixBot

    Add Comment

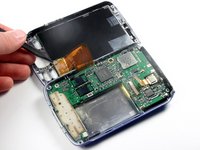
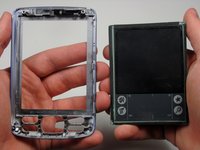
  15. PalmOne Zire 72 Screen Replacement: step 15, image 1 of 2 PalmOne Zire 72 Screen Replacement: step 15, image 2 of 2
    • Lift screen from panel.

    Ask FixBot

    Add Comment

Conclusion

To reassemble your device, follow these instructions in reverse order.

Cancel: I did not complete this guide.

One other person completed this guide.

Michelle Medina

Member since: 04/10/12

89 Reputation

5 Guides authored

Team

Cal Poly, Team 6-49, Amido Spring 2012 Member of Cal Poly, Team 6-49, Amido Spring 2012

CPSU-AMIDO-S12S6G49

4 Members

15 Guides authored

0 Guide Comments

Add Comment

View Statistics:

Past 24 Hours: 2

Past 7 Days: 11

Past 30 Days: 37

All Time: 1,427