Free Shipping on Domestic Orders $75+

Palm v LCD screen assembly replacement

What you need

    1. Palm v LCD screen assembly replacement, Outer Case: step 1, image 1 of 1
      • Lay device face down on surface.

      Ask FixBot

      Add Comment

    2. Palm v LCD screen assembly replacement: step 2, image 1 of 2 Palm v LCD screen assembly replacement: step 2, image 2 of 2
      • Heat the left and top edges with hairdryer for one minute.

      • Move hairdryer back and forth to evenly heat up surface.

      • Caution: directly heating the screen can melt or distort the screen.

      Ask FixBot

      Add Comment

    3. Palm v LCD screen assembly replacement: step 3, image 1 of 1
      Tool used on this step:
      Tweezers
      $4.99
      Buy
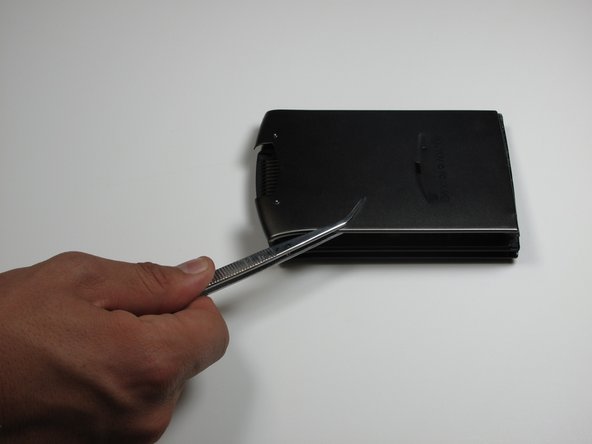
      • Use tweezers to hold Palm right side down on it's side.

      • Use a plastic opening tool to pry open front and back casing.

      • If you are unable to open you may need to heat with hairdryer for longer.

      • Be sure not to touch case directly with fingers, it will be hot!

      Ask FixBot

      Add Comment

    4. Palm v LCD screen assembly replacement: step 4, image 1 of 1
      • Leave plastic opening tools in between front and back casing.

      • Rotate Palm and repeat steps 2 and 3 for right and back edges.

      Ask FixBot

      Add Comment

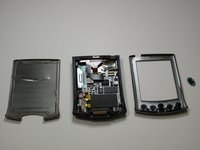
    5. Palm v LCD screen assembly replacement: step 5, image 1 of 3 Palm v LCD screen assembly replacement: step 5, image 2 of 3 Palm v LCD screen assembly replacement: step 5, image 3 of 3
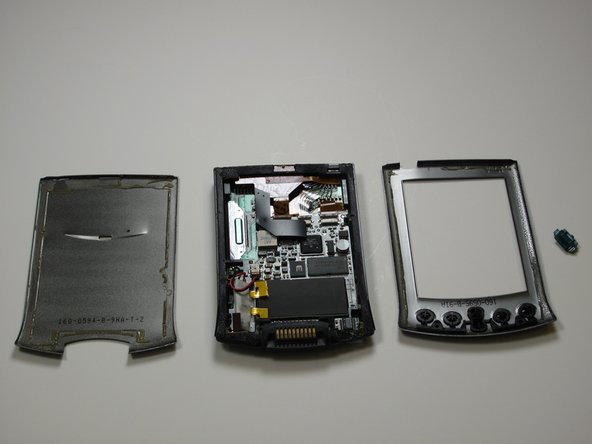
      • Now pry open front and back casing with plastic opening tools.

      • Separate front and back casing completely.

      • Power button will fall off once front and back casing have been removed. Be sure not to lose it.

      Ask FixBot

      Add Comment

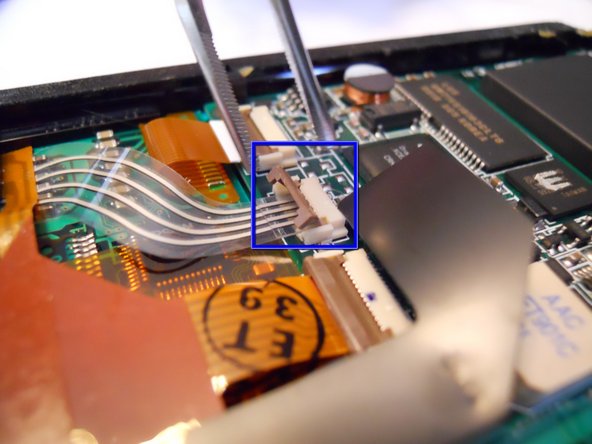
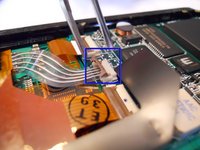
    1. Palm v LCD screen assembly replacement, Screen: step 6, image 1 of 2 Palm v LCD screen assembly replacement, Screen: step 6, image 2 of 2
      Tool used on this step:
      Tweezers
      $4.99
      Buy
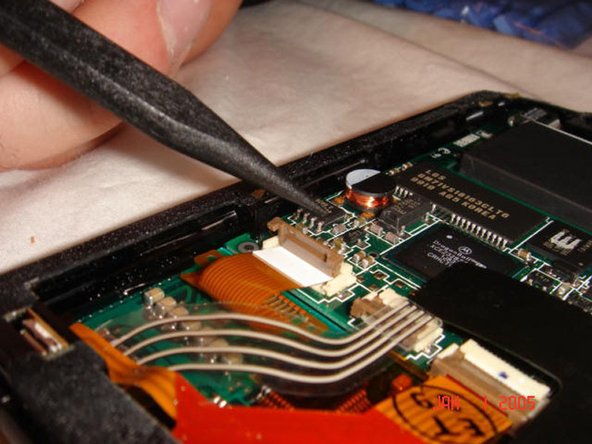
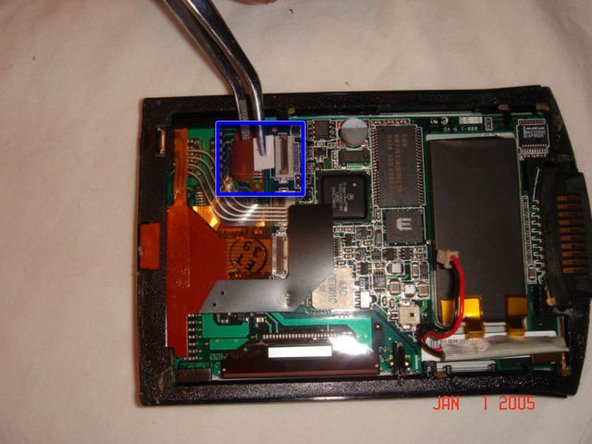
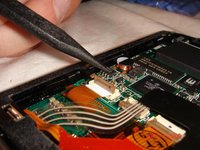
      • In order to seperate the screen from the motherboard you must disconnect the ribbon attached to the screen.

      • To do this, using tweezers, flip up the cable clamp that is connecting the ribbon to the screen.

      • Once the clamp is up you can use the tweezers to gently detach the ribbon.

      Ask FixBot

      Add Comment

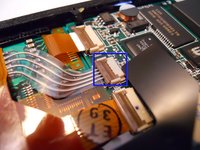
    2. Palm v LCD screen assembly replacement: step 7, image 1 of 3 Palm v LCD screen assembly replacement: step 7, image 2 of 3 Palm v LCD screen assembly replacement: step 7, image 3 of 3
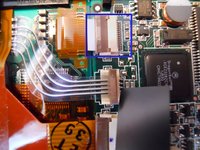
      • Now you must flip up the adjacent clamp as well, using tweezers like before.

      • After the clamp is flipped you can gently remove the second ribbon with tweezers.

      Ask FixBot

      Add Comment

    3. Palm v LCD screen assembly replacement: step 8, image 1 of 2 Palm v LCD screen assembly replacement: step 8, image 2 of 2
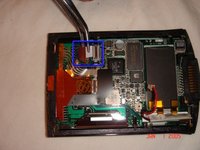
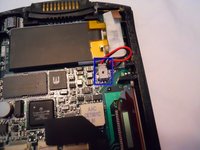
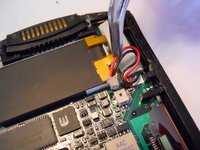
      • Before removing the screen you must detach one more wire, the battery connector.

      • Using the tweezers, squeeze the connector attached to the wire and genlty pull.

      • Do not pull from the wire.

      Ask FixBot

      Add Comment

    4. Palm v LCD screen assembly replacement: step 9, image 1 of 1
      • Now that both ribbons and the wire are disconeccted, you can apply a downward pressure to the battery. You will have to carefully rotate the frame so that the battery can go through.

      Ask FixBot

      Add Comment

Finish Line

Cancel: I did not complete this guide.

One other person completed this guide.

Adam Rianda

Member since: 01/19/10

22 Reputation

1 Guide authored

Team

Cal Poly, Team 13-25, Maness Winter 2010 Member of Cal Poly, Team 13-25, Maness Winter 2010

CPSU-MANESS-W10S13G25

4 Members

48 Guides authored

1 Guide Comment

Can the electroluminescent backlight panel be separated from the LCD? Then clip out the wires related to the LCD? Is that possible or are they fused?

Daniel Hargett - Reply Share

Add Comment

View Statistics:

Past 24 Hours: 1

Past 7 Days: 3

Past 30 Days: 23

All Time: 3,642