
Palm v Battery Replacement

Anthony Platt and 3 other contributors
Last updated on May 7, 2024
Views: 12K
View statistics:
- Past 24 Hours:
- 4
- Past 7 Days:
- 35
- Past 30 Days:
- 149
- All Time:
- 11,876
Comments: 0
No one has left comments on this guide. Will you be first?
Go to guide commentsCompleted: 3 4
3 people have marked this guide "completed." Will you be next?
4 people have marked this guide "completed." Including you — great job!
Favorites: 0 1
No one has favorited (and subscribed to) this guide. Will you be the first?
1 person has favorited (and subscribed to) this guide — and that's you!
Introduction
Go to step 1 ↓A brief guide on how to replace the battery for your Palm V
What you need
Tools
-
-
Spudger4.9
-


-
-
-
Heat the left and top edges with hairdryer for one minute.
-
Move hairdryer back and forth to evenly heat up surface.
-
-
Tool used on this step:Tweezers$4.99
-
Use tweezers to hold Palm right side down on it's side.
-
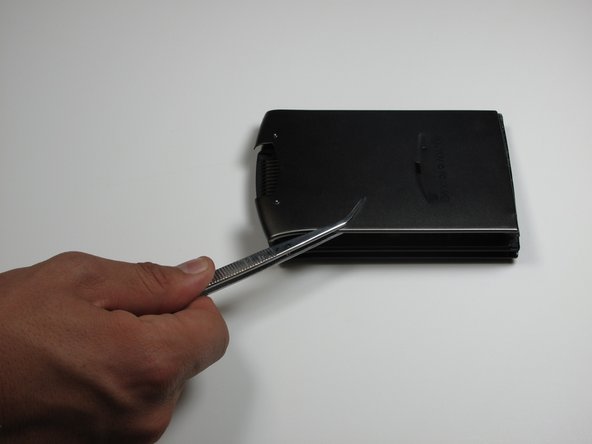
Use a plastic opening tool to pry open front and back casing.
-
-
-
Leave plastic opening tools in between front and back casing.
-
Rotate Palm and repeat steps 2 and 3 for right and back edges.
-
-
-
Now pry open front and back casing with plastic opening tools.
-
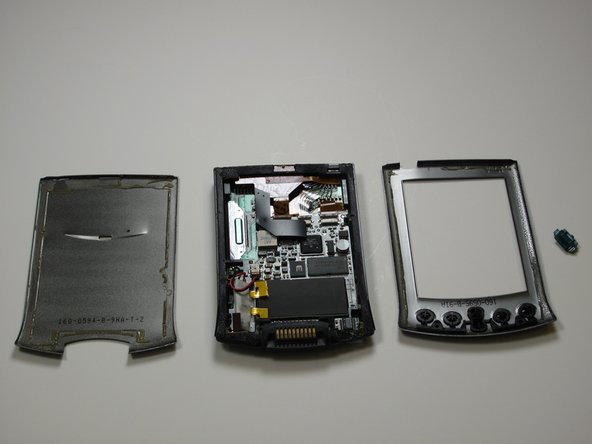
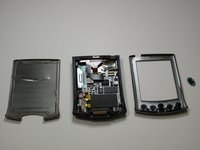
Separate front and back casing completely.
-
-
-
Tool used on this step:Tweezers$4.99
-
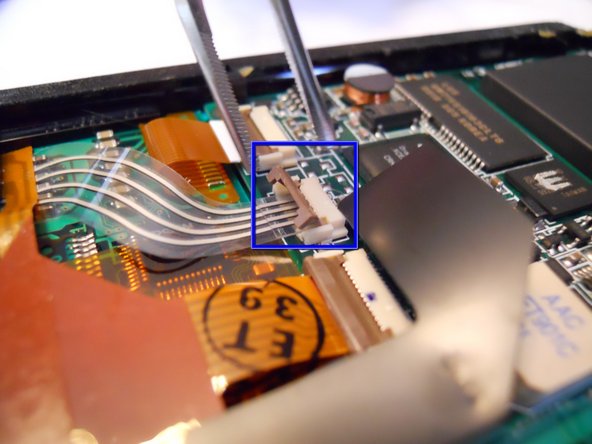
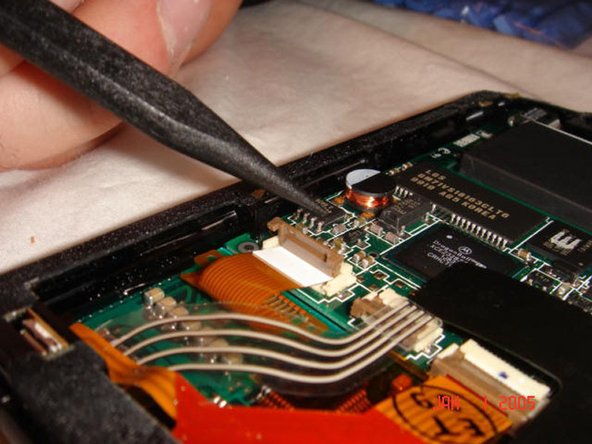
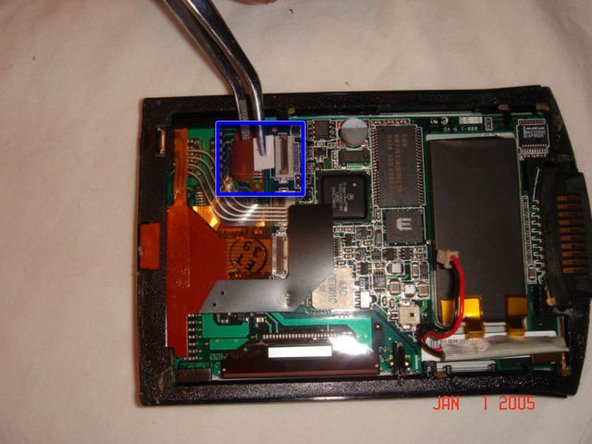
In order to seperate the screen from the motherboard you must disconnect the ribbon attached to the screen.
-
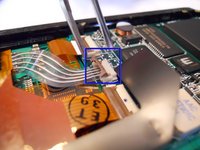
To do this, using tweezers, flip up the cable clamp that is connecting the ribbon to the screen.
-
Once the clamp is up you can use the tweezers to gently detach the ribbon.
-
-
-
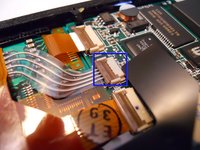
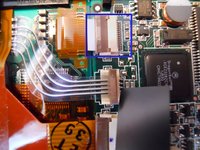
Now you must flip up the adjacent clamp as well, using tweezers like before.
-
After the clamp is flipped you can gently remove the second ribbon with tweezers.
-
-
-
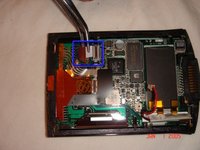
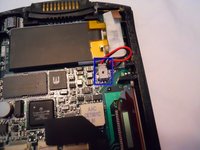
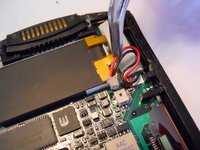
Before removing the screen you must detach one more wire, the battery connector.
-
Using the tweezers, squeeze the connector attached to the wire and genlty pull.
-
-
-
-
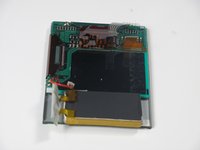
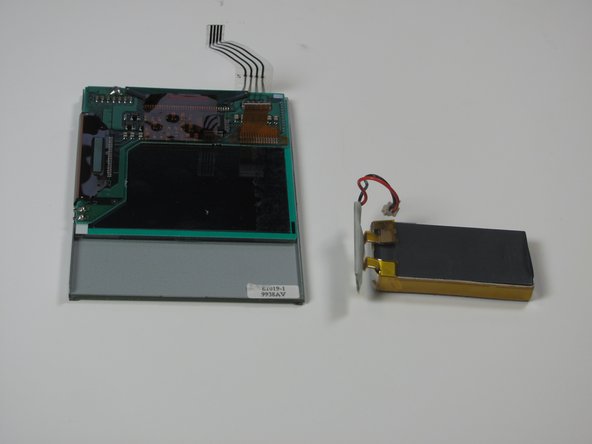
Now that both ribbons and the wire are disconeccted, you can apply a downward pressure to the battery. You will have to carefully rotate the frame so that the battery can go through.
-
-
-
-
-
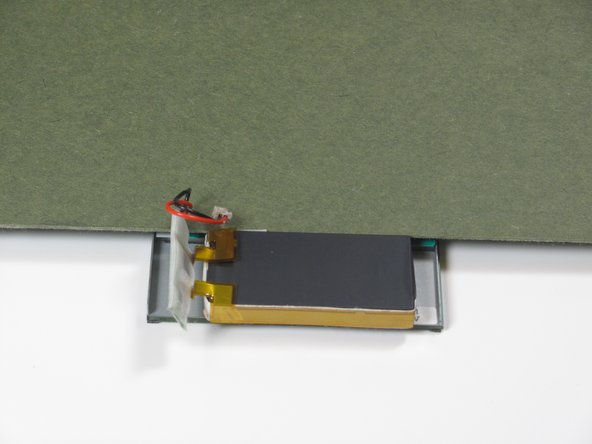
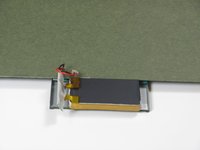
Lay screen face down so the battery is facing upwards.
-
Cover the upper back portion of the device so the battery is the only exposed part.
-
-
Tool used on this step:Tweezers$4.99
-
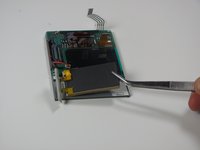
Using the tweezers or the spudger, pry off the battery from the screen.
-
-

 Ask FixBot










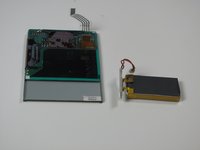
To reassemble your device, follow these instructions in reverse order.
Cancel: I did not complete this guide.
3 other people completed this guide.

Team

Cal Poly, Team 13-25, Maness Winter 2010 Member of Cal Poly, Team 13-25, Maness Winter 2010
CPSU-MANESS-W10S13G25
4 Members
48 Guides authored
