
Palm m105 Display Screen Replacement

Erik Thompson and 7 other contributors
Last updated on Jun 30, 2025
Views: 1.2K
View statistics:
- Past 24 Hours:
- 2
- Past 7 Days:
- 4
- Past 30 Days:
- 34
- All Time:
- 1,170
Comments: 0
No one has left comments on this guide. Will you be first?
Go to guide commentsCompleted: 0 1
No one has marked this guide "completed." Will you be the first?
1 person has marked this guide "completed." It's you — great job!
Favorites: 1 2
1 person has favorited (and subscribed to) this guide. Will you be next?
2 people have favorited (and subscribed to) this guide — including you!
Introduction
Go to step 1 ↓This guide will help you remove and replace the screen found in the Palm m105.
The Palm m105 has a LCD screen with a thin plastic cover. It not only allows the stylus to interact with its different applications but also displays the information necessary for a PDA. Problems can arise from the screen's cheap wiring and damage to the plastic digitizers caused by stylus use over time. Thus, the device becomes unusable because nothing is displayed. This means a screen replacement in most cases but see the Palm m105 troubleshooting page to see if other issues are preventing it from working correctly. Also make sure to remove the two AAA batteries before getting started.
What you need
Tools

-
-
-
Flip the protective cover open and pull it straight away from the device to release the two clips.
 Ask FixBot
-
-
-
To remove the faceplate, locate the tab at the top of the device.
-
Lift the tab upwards with your finger.
-
-
Tool used on this step:T5 Torx Screwdriver$5.49
-
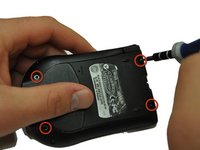
Using a T5 Torx screwdriver, remove the four screws located on the back of the device.
-
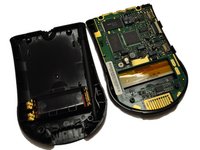
With the screws removed, the device is separated into two parts (the empty back cover and the back case holding the main components).
-
-
-
Slowly lift the motherboard and the screen from the back case.
-
Gently hold the screen back so that you see the cables between it and the motherboard.
-
-
-
-
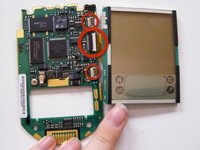
Detach the screen from the motherboard by carefully pulling up on the three tabs.
-
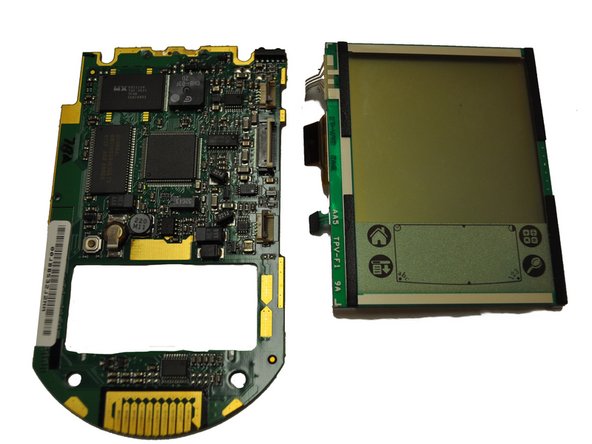
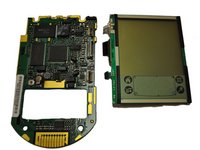
The motherboard and screen separate once the three tabs are released.
-
Recycle the old screen.
-
-




To reassemble your device, follow these instructions in reverse order.

Team

UW Stout, Team 1-3, Zhou Fall 2011 Member of UW Stout, Team 1-3, Zhou Fall 2011
UWSTOUT-ZHOU-F11S1G3
4 Members
84 Guides authored
