Free Shipping on Domestic Orders $75+

Palm Treo 680 Back Panel Replacement

What you need

    1. Palm Treo 680 Back Panel Replacement, Battery: step 1, image 1 of 2 Palm Treo 680 Back Panel Replacement, Battery: step 1, image 2 of 2
      • Remove the battery cover by pressing on the small rectangular button located on the back of the phone.

      Ask FixBot

      Add Comment

    2. Palm Treo 680 Back Panel Replacement: step 2, image 1 of 1
      • Remove the battery by pulling it out towards you.

      Ask FixBot

      Add Comment

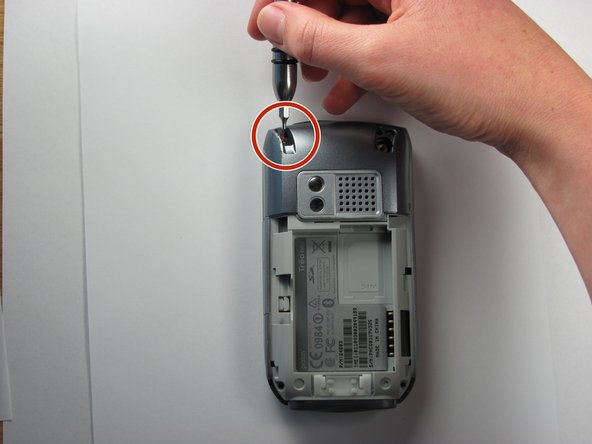
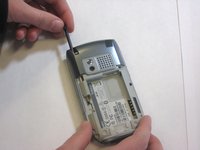
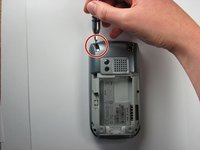
    1. Palm Treo 680 Back Panel Replacement, Back Panel: step 3, image 1 of 2 Palm Treo 680 Back Panel Replacement, Back Panel: step 3, image 2 of 2
      • Remove the stylus in order to access the screw.

      • Remove the 27mm top-left screw using a T6 Torx screwdriver.

      Ask FixBot

      Add Comment

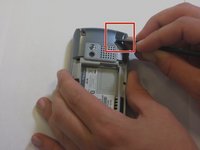
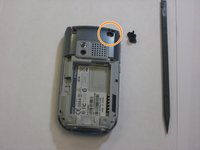
    2. Palm Treo 680 Back Panel Replacement: step 4, image 1 of 2 Palm Treo 680 Back Panel Replacement: step 4, image 2 of 2
      • Using the spudger, remove the rubber rectangular cover located in the upper rear, right-hand corner.

      • Remove the 27mm screw using the T6 Torx screwdriver.

      • If there is a red Palm sticker covering this screw, puncture it to access the screw.

      Ask FixBot

      Add Comment

    3. Palm Treo 680 Back Panel Replacement: step 5, image 1 of 1
      • Remove the remaining two 27mm screws from the bottom using the T6 screwdriver.

      Ask FixBot

      Add Comment

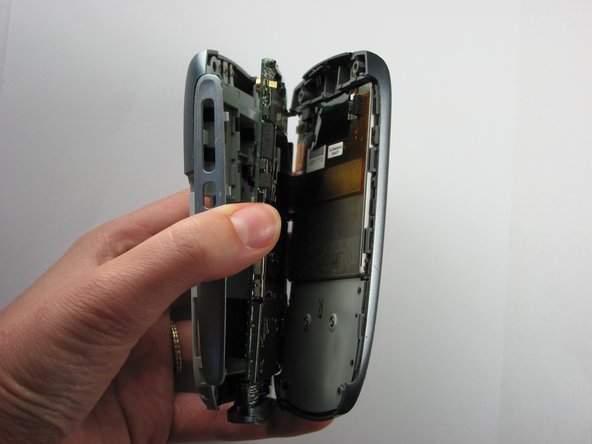
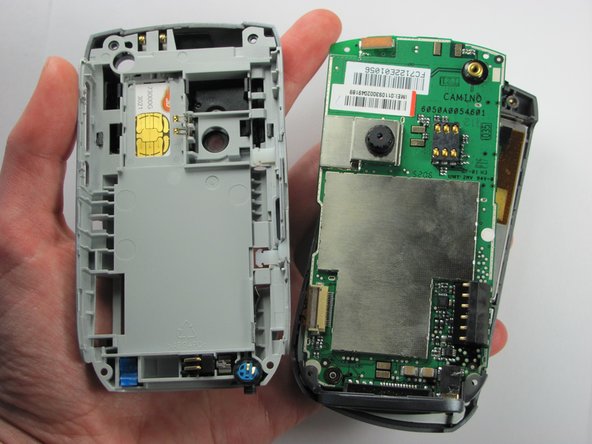
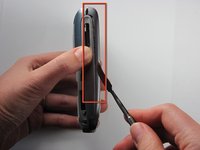
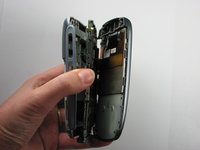
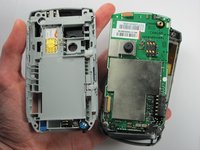
    4. Palm Treo 680 Back Panel Replacement: step 6, image 1 of 3 Palm Treo 680 Back Panel Replacement: step 6, image 2 of 3 Palm Treo 680 Back Panel Replacement: step 6, image 3 of 3
      • Turn the phone so the screen is facing the right side.

      • Use a spudger to carefully separate the back panel from the front panel to access components inside the phone.

      • Separate the covers from the left side of the device as indicated in the picture.

      • The right side contains orange ribbons that are easily damaged.

      Ask FixBot

      Add Comment

Conclusion

To reassemble your device, follow these instructions in reverse order.

Cancel: I did not complete this guide.

2 other people completed this guide.

Maiya123

Member since: 10/22/09

99 Reputation

6 Guides authored

Team

Cal Poly, Team 6-4, Maness Fall 2009 Member of Cal Poly, Team 6-4, Maness Fall 2009

CPSU-MANESS-F09S6G4

4 Members

72 Guides authored

0 Guide Comments

Add Comment

View Statistics:

Past 24 Hours: 0

Past 7 Days: 4

Past 30 Days: 44

All Time: 3,617