Free Shipping on Domestic Orders $75+

Palm Treo 650 LCD Screen Replacement

Views: 5.8K

View statistics:

Past 24 Hours:
2
Past 7 Days:
15
Past 30 Days:
99
All Time:
5,766
Comments: 0

No one has left comments on this guide. Will you be first?

Go to guide comments
Completed: 4

4 people have marked this guide "completed." Will you be next?

Favorites: 3

3 people have favorited (and subscribed to) this guide. Will you be next?

Time Required: 15 minutes
Difficulty: Moderate
Inconsistent Images

Updating the images on this guide to be more consistent with the prerequisites would increase its awesomeness.

Incorrect Tools

Help make this guide better by using the correct tools in images and/or text.

Better Introduction

Improve this guide by completing or revising its introduction.

Palm Treo 650 LCD Screen Replacement

Introduction

Go to step 1 ↓

This is a repair guide to access and replace the LCD screen.

What you need

Tools

    1. Palm Treo 650 LCD Screen Replacement, Battery and Stylus: step 1, image 1 of 1
      • Position the phone so the screen faces down.

      • Remove the stylus found on the back of the phone.

      Ask FixBot

      Add Comment

    2. Palm Treo 650 LCD Screen Replacement: step 2, image 1 of 1
      • Hold the button in the middle of the phone's back to remove the battery cover.

      • Slide the cover down to remove it, and set the cover aside.

      Ask FixBot

      Add Comment

    3. Palm Treo 650 LCD Screen Replacement: step 3, image 1 of 2 Palm Treo 650 LCD Screen Replacement: step 3, image 2 of 2
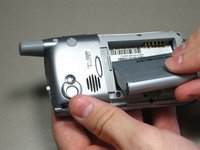
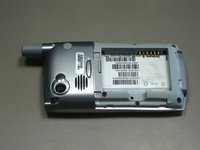
      • Lift the edge of the battery, separating contact points, and pull out as pictured.

      Ask FixBot

      Add Comment

    1. Palm Treo 650 LCD Screen Replacement, Case: step 4, image 1 of 1
      • Remove the round, rubber cover to expose a screw that will be removed in the next step.

      Ask FixBot

      Add Comment

    2. Palm Treo 650 LCD Screen Replacement: step 5, image 1 of 2 Palm Treo 650 LCD Screen Replacement: step 5, image 2 of 2
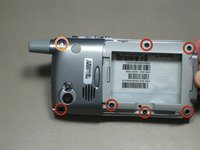
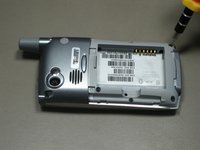
      • Remove the six 6.9 mm screws as pictured with a T5 Torx screwdriver.

      • Remove the single 9.8 mm screw next to the antenna on the back plate, using a Phillips #00 screwdriver.

      Ask FixBot

      Add Comment

    3. Palm Treo 650 LCD Screen Replacement: step 6, image 1 of 1
      • Pull the antenna outward to remove the antenna from the body of the phone.

      Ask FixBot

      Add Comment

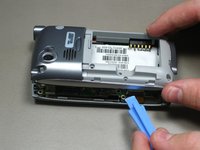
    4. Palm Treo 650 LCD Screen Replacement: step 7, image 1 of 2 Palm Treo 650 LCD Screen Replacement: step 7, image 2 of 2
      • Pry the back cover off using an iFixit opening tool.

      • Several small clips on the inside attach to the back cover.

      Ask FixBot

      Add Comment

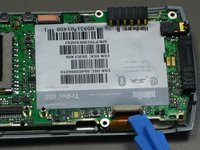
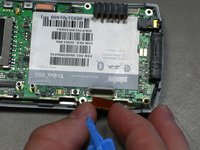
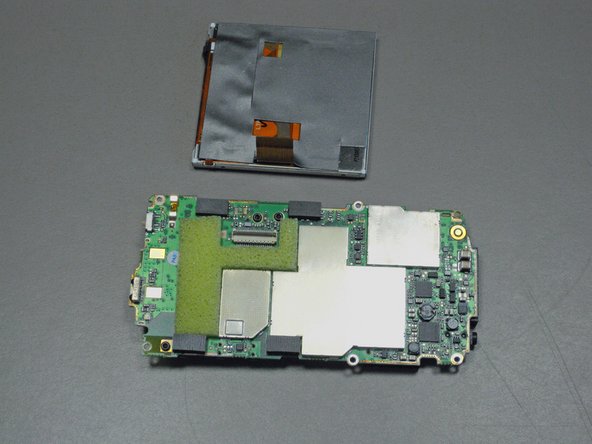
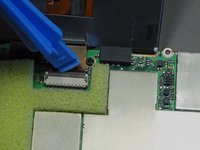
    1. Palm Treo 650 LCD Screen Replacement, Motherboard: step 8, image 1 of 3 Palm Treo 650 LCD Screen Replacement, Motherboard: step 8, image 2 of 3 Palm Treo 650 LCD Screen Replacement, Motherboard: step 8, image 3 of 3
      • Disconnect the ribbon cable before removing the motherboard.

      • Unclip the gray tab.

      • Pull out the orange ribbon cable.

      Ask FixBot

      Add Comment

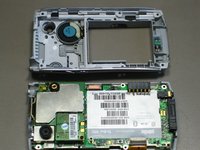
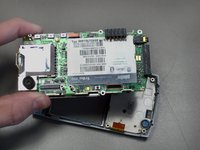
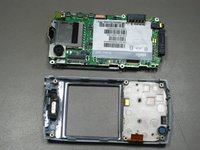
    2. Palm Treo 650 LCD Screen Replacement: step 9, image 1 of 2 Palm Treo 650 LCD Screen Replacement: step 9, image 2 of 2
      • Pull off the motherboard.

      Ask FixBot

      Add Comment

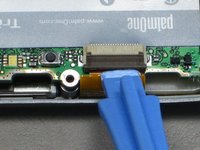
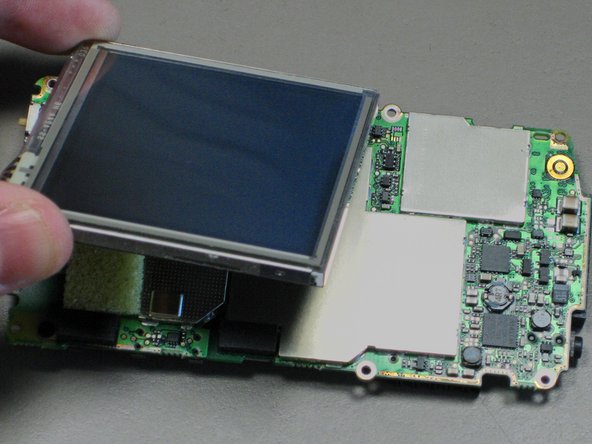
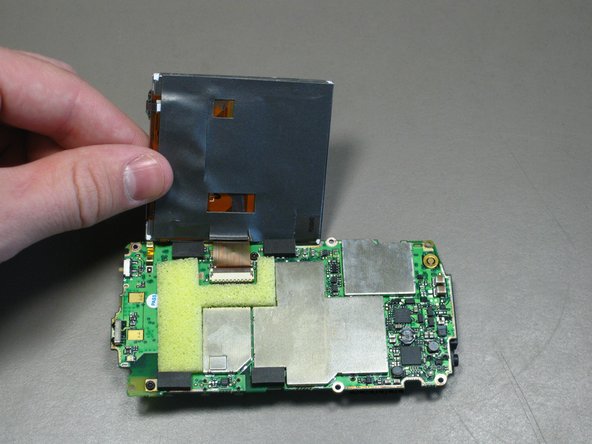
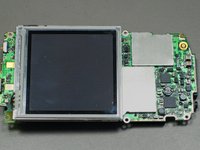
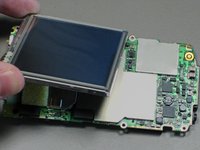
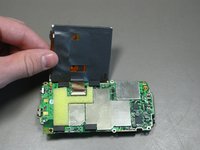
    1. Palm Treo 650 LCD Screen Replacement, LCD Screen: step 10, image 1 of 3 Palm Treo 650 LCD Screen Replacement, LCD Screen: step 10, image 2 of 3 Palm Treo 650 LCD Screen Replacement, LCD Screen: step 10, image 3 of 3
      • Lift up the LCD screen so that the ribbon strip connecting it to the motherboard can be accessed.

      • Only lift the screen high enough to access the ribbon cable.

      Ask FixBot

      Add Comment

    2. Palm Treo 650 LCD Screen Replacement: step 11, image 1 of 2 Palm Treo 650 LCD Screen Replacement: step 11, image 2 of 2
      • Unclip the gray tab.

      • Pull out the orange ribbon strip.

      • Remove the LCD screen.

      Ask FixBot

      Add Comment

Conclusion

To reassemble your device, follow these instructions in reverse order.

Cancel: I did not complete this guide.

4 other people completed this guide.

cgood

Member since: 10/28/09

134 Reputation

7 Guides authored

Team

Cal Poly, Team 19-3, Maness Fall 2009 Member of Cal Poly, Team 19-3, Maness Fall 2009

CPSU-MANESS-F09S19G3

4 Members

108 Guides authored

0 Guide Comments

Add Comment

View Statistics:

Past 24 Hours: 2

Past 7 Days: 15

Past 30 Days: 99

All Time: 5,766