
Packard Bell ms-Hera c Disassembly

Smilzo and 2 other contributors
Last updated on Jul 17, 2023
Views: 2.2K
View statistics:
- Past 24 Hours:
- 5
- Past 7 Days:
- 20
- Past 30 Days:
- 70
- All Time:
- 2,210
Comments: 0
No one has left comments on this guide. Will you be first?
Go to guide commentsCompleted: 3 4
3 people have marked this guide "completed." Will you be next?
4 people have marked this guide "completed." Including you — great job!
Favorites: 0 1
No one has favorited (and subscribed to) this guide. Will you be the first?
1 person has favorited (and subscribed to) this guide — and that's you!
Bullets!
Better coordination with markups and the color/type of bullets will help make this guide more clear!
Community-Contributed Guide
An awesome member of our community made this guide. It was not created by iFixit staff.
Better Introduction
Improve this guide by completing or revising its introduction.
-
-
-
Remove the battery.
-
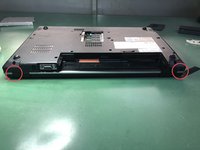
Unscrew the red marked screws with a Phillips screwdriver.
-
Remove the DVD reader.
 Ask FixBot
-
-
-
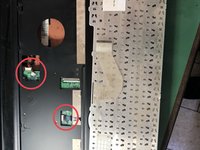
Pry in the red marked spots to release the keyboard
-
Unplug the keyboard connector.
-
-
-
Unplug the 3 connectors on the motherboard
-
Remove the 2 screws holding the display in place
-
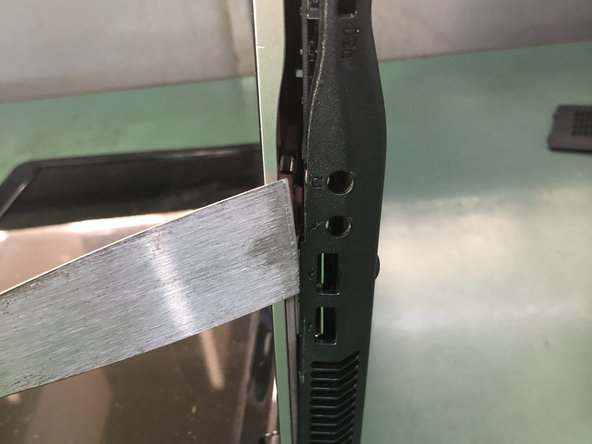
Use a thin tool to pry up the back cover of the laptop on the side
-
-
-
Remove the back cover.
-
Remove the HDD.
-
Remove the screws that hold the motherboard.
-
-
-
Remove the marked screws and connectors.
-
Disconnect the display connector.
-
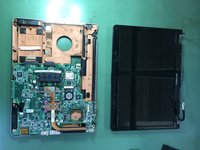
Remove the display.
-
-
-
-
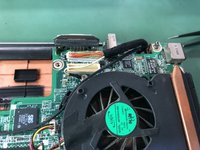
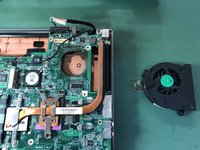
Remove the cooling fan.
-
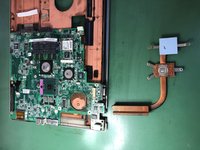
Remove the heatsink.
-
Remove the screws on the connector.
-
-




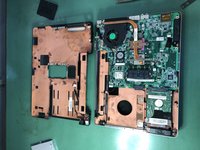
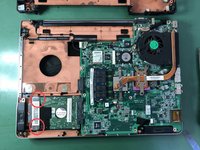
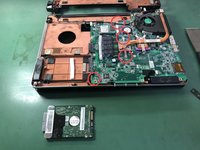


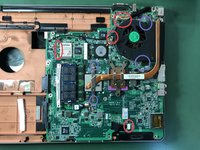


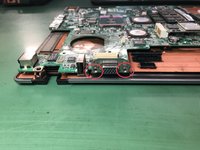

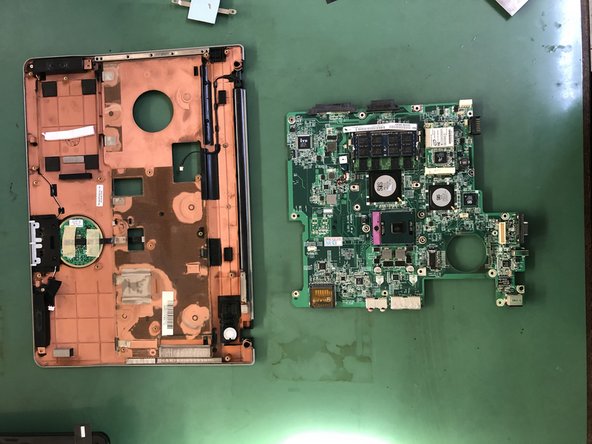
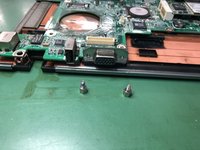
To reassemble your device, follow these instructions in reverse order.
Cancel: I did not complete this guide.
3 other people completed this guide.
Special thanks to these translators:
100%


These translators are helping us fix the world! Want to contribute?
Start translating ›

