
PSP 300xc LCD Replacement

Matthew Newsom and 3 other contributors
Last updated on Oct 5, 2016
Views: 7.8K
View statistics:
- Past 24 Hours:
- 17
- Past 7 Days:
- 39
- Past 30 Days:
- 178
- All Time:
- 7,816
Comments: 2
1 comment on steps, 1 guide comment.
Go to guide commentsCompleted: 11 12
11 people have marked this guide "completed." Will you be next?
12 people have marked this guide "completed." Including you — great job!
Favorites: 13 14
13 people have favorited (and subscribed to) this guide. Will you be next?
14 people have favorited (and subscribed to) this guide — including you!
Introduction
Go to step 1 ↓Did you drop your PSP? If your LCD is broken for any reason, you're in luck! This guide will show you how to replace that LCD with a brand new one.
What you need


-
-
-
Press the button securing the battery door to the PSP 300xc, and lift the battery door off.
-
Lift the battery out of the PSP.
 Ask FixBot
-
-
-
-
-
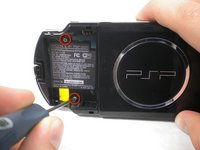
Use a spudger or your fingernail to remove the warranty sticker stuck to the inside of the battery tray
-
-
-
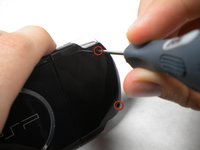
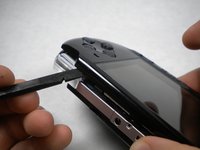
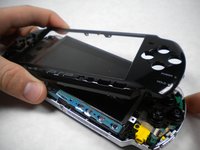
Insert a spudger between the front case and PSP, and slide the spudger along the perimeter of the front case to remove it.
-
-
-
-
-
Push the home bar to the right about 1cm to release a tab, and begin to lift the right end of the home bar slightly.
-
-
-
-
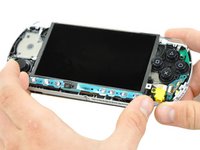
Insert a spudger under the LCD, beside the black plastic tab.
-
Push the LCD to the left and pry up to release the left edge of the LCD from under the plastic tab.
-
-
-
Insert a spudger under the LCD, beside the black plastic tab.
-
Push the LCD to the right and pry up to release the right edge of the LCD from under the plastic tab.
-
-
-
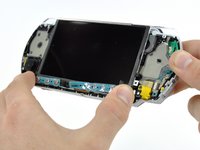
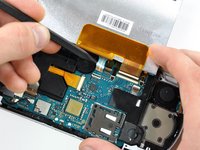
Rotate the LCD away from the PSP to reveal the LCD and home bar ribbon cables.
-
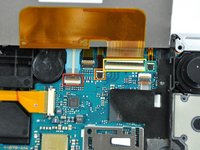
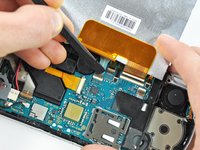
Use your fingernail or the edge of a plastic opening tool to flip up the retaining flap on the following four ZIF connectors:
-
Home bar cable
-
Microphone cable
-
LCD display data cable
-
Touchscreen cable
-
After flipping up the locking tabs on all four connectors, use your fingers or a spudger to gently pull the cables straight out of the connectors.
-









To reassemble your device, follow these instructions in reverse order.
Cancel: I did not complete this guide.
11 other people completed this guide.

