
PSP 300x LCD Screen Replacement

mbnewsom and 15 other contributors
Last updated on Jan 3, 2023
Views: 126K
View statistics:
- Past 24 Hours:
- 53
- Past 7 Days:
- 257
- Past 30 Days:
- 1,283
- All Time:
- 125,796
Comments: 12
11 comments on steps, 1 guide comment.
Go to guide commentsCompleted: 54 55
54 people have marked this guide "completed." Will you be next?
55 people have marked this guide "completed." Including you — great job!
Favorites: 44 45
44 people have favorited (and subscribed to) this guide. Will you be next?
45 people have favorited (and subscribed to) this guide — including you!
Featured Guide
This guide has been found to be exceptionally cool by the iFixit staff.
Inconsistent Images
Updating the images on this guide to be more consistent with the prerequisites would increase its awesomeness.
Introduction
Go to step 1 ↓Guide for replacing the LCD Screen in a Sony PSP-3000
What you need


-
-
-
Place the PSP face down and locate the battery cover on the left side of the device.
-
Lift and remove the battery cover to reveal the battery.
-
Remove the battery.
 Ask FixBot
-
-
-
-
-
Peel back the warranty sticker that is behind the battery with a spudger or your fingernail.
-
-
-
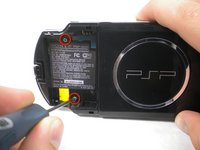
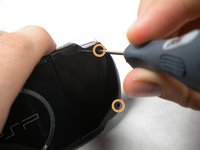
Unscrew all four screws from the back of the PSP with the Phillips #00 Screwdriver.
-
Two are located behind the battery's warranty sticker.
-
Two are located on the right side of the PSP.
-
-
-
Then, remove the single screw from the bottom edge of the PSP (which is positioned next to the barcode).
-
-
-
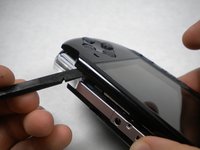
Slide the spudger in between the outer casing of the PSP, beginning at the "R" shoulder button, and gently pry off the casing.
-
Remove the front casing completely.
-
-
-
-
-
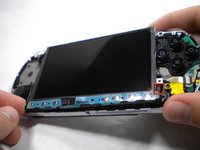
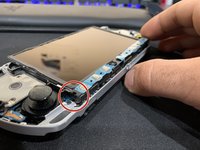
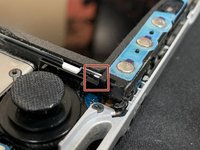
Push the homebar to the right to release the tab located on the right side of the LCD screen.
-
-
-
-
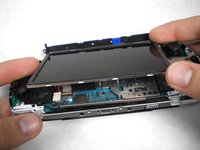
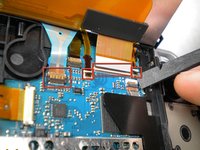
Flip the small brown locks on the four ribbon cable connectors up using a spudger or fingernail.
-
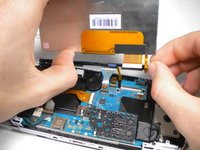
Pull all four ribbon cables out.
-
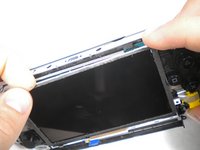
Now remove the LCD screen and homebar from the PSP.
-
-











To reassemble your device, follow these instructions in reverse order.
Cancel: I did not complete this guide.
54 other people completed this guide.

1 Guide Comment
Y como quito los tornillos de la parte superior de la psp que están barridos?
