Free Shipping on Domestic Orders $75+

This translation was generated by a machine and has not been reviewed by a person yet. Speak this language? Review it.

PENTAX OPTIO 330 Internal Battery replacement

Views: 836

View statistics:

Past 24 Hours:
2
Past 7 Days:
21
Past 30 Days:
66
All Time:
836
Comments: 0

No one has left comments on this guide. Will you be first?

Go to guide comments
Completed: 0

No one has marked this guide "completed." Will you be the first?

Favorites: 0

No one has favorited (and subscribed to) this guide. Will you be the first?

Time Required: 10 - 20 minutes
Difficulty: Easy
Action Shots

Be an action hero! This guide needs images that better demonstrate how to perform specific actions.

Community-Contributed Guide

An awesome member of our community made this guide. It was not created by iFixit staff.

Missing Details

Some of this guide's details are missing. Help users by adding tools, difficulty, or time.

PENTAX OPTIO 330 Internal Battery replacement

Introduction

Go to step 1 ↓

This guide shows you how to replace the internal memory battery of a Pentax Optio 330 camera.

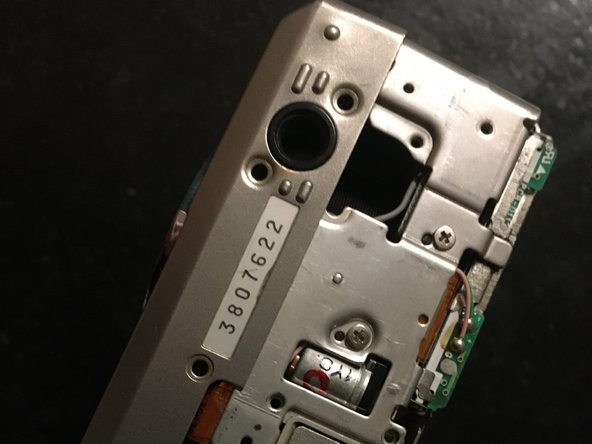
    1. PENTAX OPTIO 330 Internal Battery replacement, Remove rear bloc: step 1, image 1 of 1
      • remove the two 2.5mm screw of the left side

      Ask FixBot

      Add Comment

    2. PENTAX OPTIO 330 Internal Battery replacement, Remove rear bloc: step 2, image 1 of 1
      • Remove two 4mm screw of the right side

      Ask FixBot

      Add Comment

    3. PENTAX OPTIO 330 Internal Battery replacement, Remove rear bloc: step 3, image 1 of 1
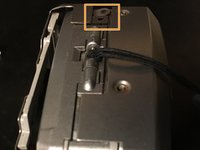
      • remove 2mm screw

      • remove 3mm screw

      • remove the three 3.5mm screw

      Ask FixBot

      Add Comment

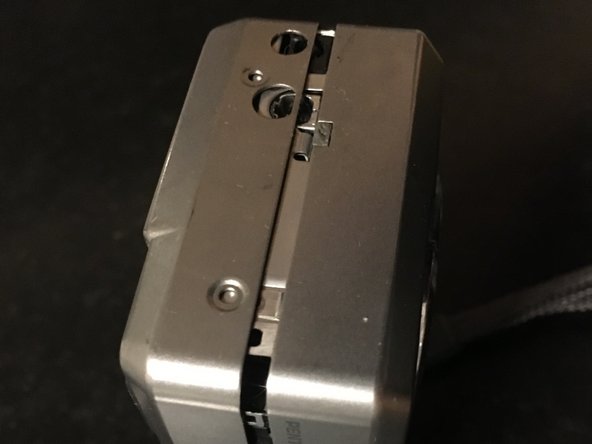
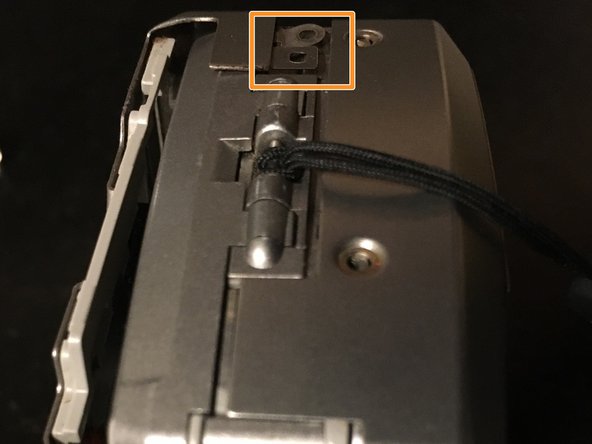
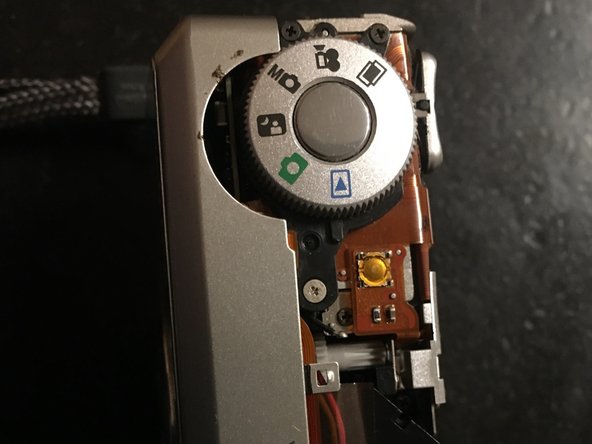
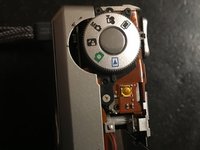
    4. PENTAX OPTIO 330 Internal Battery replacement, Remove rear cover: step 4, image 1 of 3 PENTAX OPTIO 330 Internal Battery replacement, Remove rear cover: step 4, image 2 of 3 PENTAX OPTIO 330 Internal Battery replacement, Remove rear cover: step 4, image 3 of 3
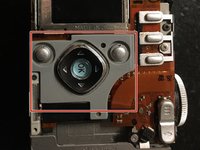
      • Open the memory protection

      • Remove gently the rear cover

      • When re-assembly take care to the thin tabs

      Ask FixBot

      Add Comment

    5. PENTAX OPTIO 330 Internal Battery replacement, Remove rear cover: step 5, image 1 of 2 PENTAX OPTIO 330 Internal Battery replacement, Remove rear cover: step 5, image 2 of 2
      • this part can fall down. So rome it before next step.

      Ask FixBot

      Add Comment

    6. PENTAX OPTIO 330 Internal Battery replacement, Front cover remove: step 6, image 1 of 3 PENTAX OPTIO 330 Internal Battery replacement, Front cover remove: step 6, image 2 of 3 PENTAX OPTIO 330 Internal Battery replacement, Front cover remove: step 6, image 3 of 3
      • Insérez ici votre traduction

      Ask FixBot

      Add Comment

    7. PENTAX OPTIO 330 Internal Battery replacement: step 7, image 1 of 1
      • Remove four screw

      • unplug the two Flex

      Ask FixBot

      Add Comment

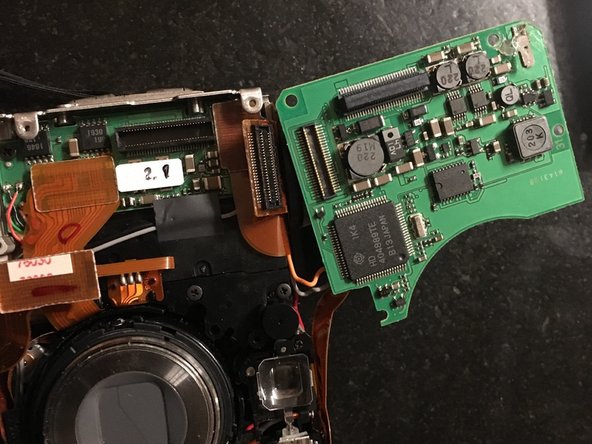
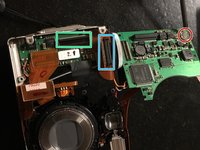
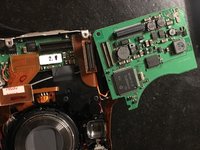
    8. PENTAX OPTIO 330 Internal Battery replacement, Battery replacement: step 8, image 1 of 2 PENTAX OPTIO 330 Internal Battery replacement, Battery replacement: step 8, image 2 of 2
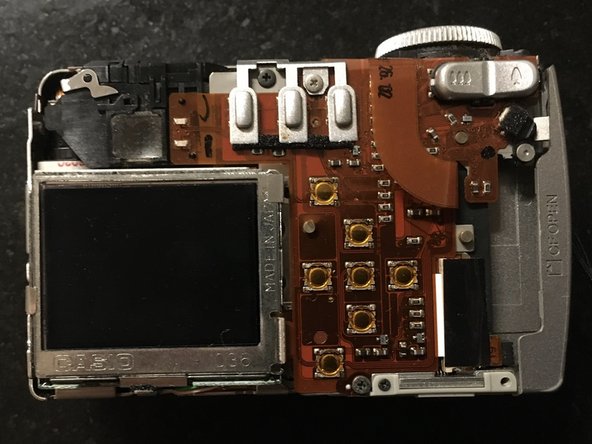
      • This connector is directly to the board

      • This Flex connector need to be unplug

      • The 321 battery is there

      • You can add some thermal glue to fix the battery

      • I did it with a small piece of scotch

      Ask FixBot

      Add Comment

Conclusion

To re-assembly your device follow the step backward

Cancel: I did not complete this guide.

Special thanks to these translators:

fr en

100%

Bertrand PIGEARD is helping us fix the world! Want to contribute?
Start translating ›

Bertrand PIGEARD

Member since: 12/11/21

235 Reputation

1 Guide authored

0 Guide Comments

Add Comment

View Statistics:

Past 24 Hours: 2

Past 7 Days: 21

Past 30 Days: 66

All Time: 836