Introduction
Here you will learn how to get to and remove the motherboard to replace it. The Controller would have major issues if you need to replace the motherboard such as: No lights, vibrations or response from the controller when it is plugged in. Controller spontaneously loses power, more than one button/trigger dies (has no response).
What you need
-
-
Grab the Directional-pad and pull it up & off the controller.
-
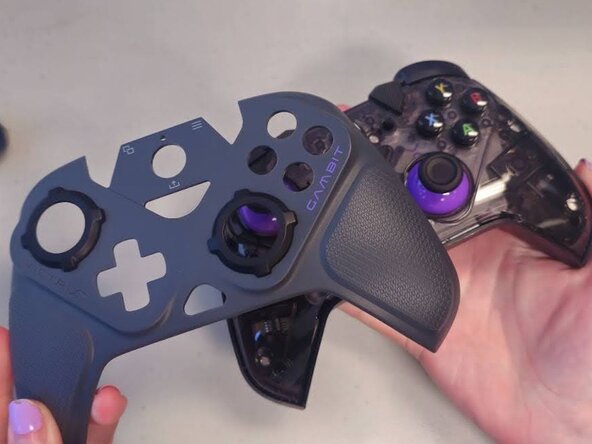
Grab the front casing by the indention at the bottom.
-
Using your fingers pull the front casing off the controller.
 Ask FixBot
-
-
-
Remove the seven 9 mm-long screws on the midframe with a Phillips #000 screwdriver.
-
Pull the mid-frame from the back casing.
-
-
-
-
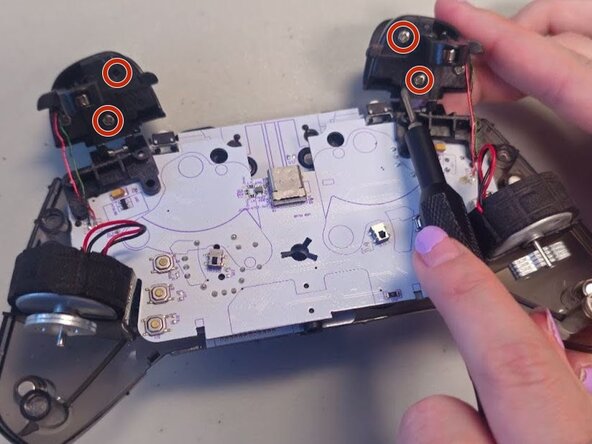
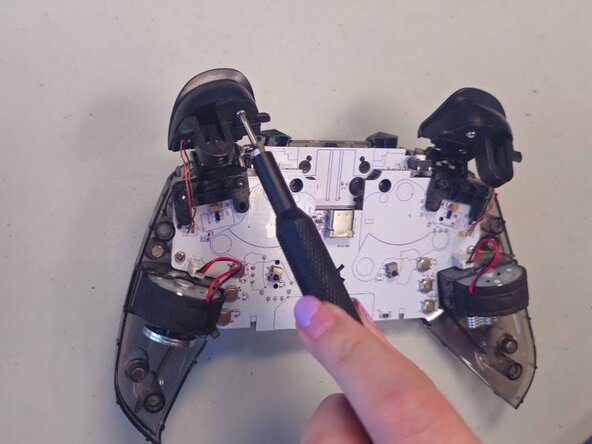
Remove the four 6 mm-long screws from the triggers using a Phillips #000 screwdriver.
-
Remove the triggers.
-
-
-
Use tweezers to carefully disconnect the rumble motor connectors from their sockets.
-
Carefully remove the rumble motors from their slots.
-






To reassemble your device, follow the above steps in reverse order.
Take your e-waste to an R2 or e-Stewards certified recycler.
Repair didn’t go as planned? Try some basic troubleshooting or ask our Answers community for help.

Team

University of North Texas, Team 3-3, Coppersmith Fall 2025 Member of University of North Texas, Team 3-3, Coppersmith Fall 2025
UNT-COPPERSMITH-F25S3G3
4 Members
4 Guides authored
