
PDP Rematch Top Left and Right Button(s) Replacement

GraceGrubbs and 3 other contributors
Last updated on Jun 18, 2024
Views: 680
View statistics:
- Past 24 Hours:
- 2
- Past 7 Days:
- 14
- Past 30 Days:
- 63
- All Time:
- 680
Comments: 1
1 comment on steps.
Completed: 0 1
No one has marked this guide "completed." Will you be the first?
1 person has marked this guide "completed." It's you — great job!
Favorites: 0 1
No one has favorited (and subscribed to) this guide. Will you be the first?
1 person has favorited (and subscribed to) this guide — and that's you!
Missing Steps
Oops! This guide is currently missing one or more important steps.
Introduction
Go to step 1 ↓If your PDP Rematch (model 500-134-1) top left and/or right button(s) take longer to pop back up after being pressed, use this guide to replace the buttons.
The top left and/or right button(s) interact with games. If the buttons are stuck, they will take longer to pop back up or may not pop back up at all.
Before beginning this guide, make sure to clean the buttons surface-level. Dirt and debris can usually be cleaned using alcohol wipes. You may press down on the buttons after a surface-level clean to confirm they still stick.
Step 5 requires you to solder the buttons have to the motherboard.
Before beginning this guide, disconnect the controller from any external power source.
What you need
Tools


-
-
-
Grip one side of the controller firmly.
-
Insert an opening pick into the crease between the faceplate and the body of the controller.
-
Once the pick creates a gap in the crease, gently insert another pick into a different section of the crease.
-
Carefully move the picks along the controller's crease line until you hear a popping sound.
-
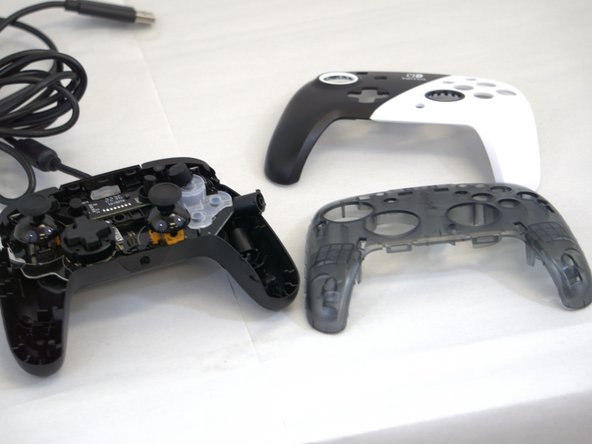
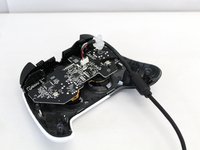
Gently lift off the faceplate by hand.
 Ask FixBot
-
-
-
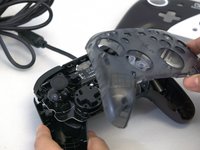
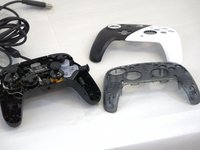
Gently lift off the hard cover with your hand; it should not need much force.
-
-
-
-
-
Remove the back panel by pulling it away from the front.
-
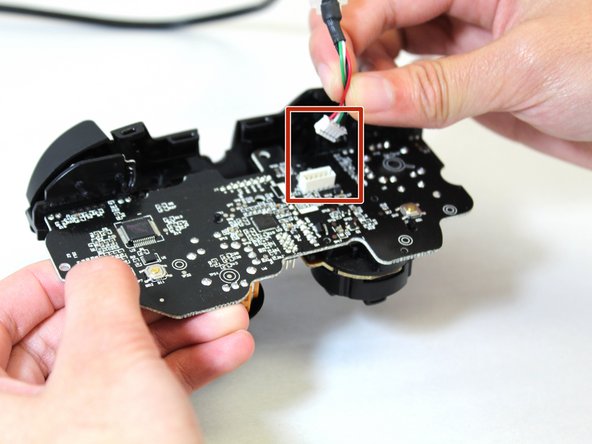
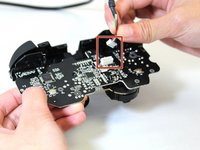
Disconnect the cable by squeezing the two sides while pulling the cable away from the motherboard.
-
-
-
-
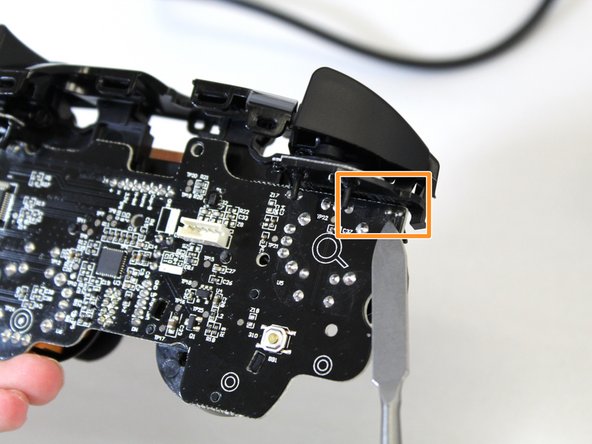
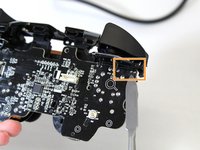
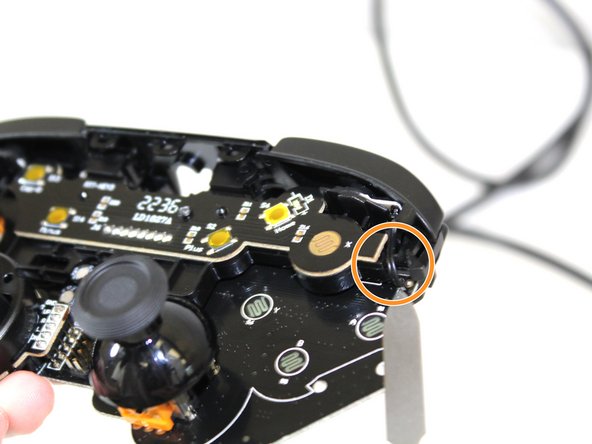
Touch the hot tip of the soldering iron to the first solder connecting the buttons to the motherboard until the solder melts.
-
Repeat this for the next solder. Verify solders have detached from motherboard.
-
-
-
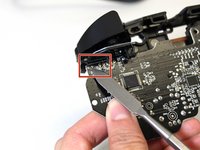
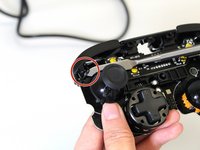
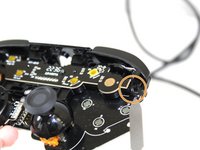
When the solder has completely melted, flip the controller and gently pull the wire free from the motherboard.
-
Repeat for the other black wire.
-
-





To reassemble your device, follow these instructions in reverse order.

Team

Tennessee Tech University, Team 1-3, Pickering Spring 2024 Member of Tennessee Tech University, Team 1-3, Pickering Spring 2024
TNTECH-PICKERING-S24S1G3
4 Members
60 Guides authored
