
PDP Rematch Advanced Trigger Springs Replacement

Jacob Thomas Wolgamott and one other contributor
Last updated on Jan 7, 2025
Views: 820
View statistics:
- Past 24 Hours:
- 3
- Past 7 Days:
- 31
- Past 30 Days:
- 95
- All Time:
- 820
Comments: 0
No one has left comments on this guide. Will you be first?
Go to guide commentsCompleted: 0 1
No one has marked this guide "completed." Will you be the first?
1 person has marked this guide "completed." It's you — great job!
Favorites: 0 1
No one has favorited (and subscribed to) this guide. Will you be the first?
1 person has favorited (and subscribed to) this guide — and that's you!
Introduction
Go to step 1 ↓If the triggers require extra force or do not return back to their original position the trigger springs need to be removed. This guide will show how to separate the controller and remove both trigger spring on the PDP Rematch Controller.
What you need
Tools


-
-
-
Orient the controller so the back side is facing you.
-
Use a Phillips #000 screwdriver to remove the seven 9 mm screws that secure the back shell.
 Ask FixBot
-
-
-
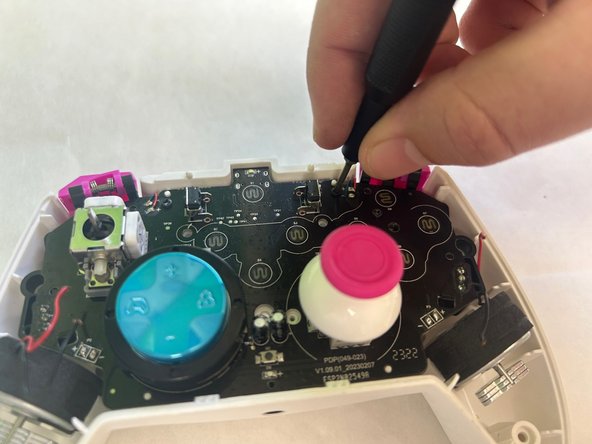
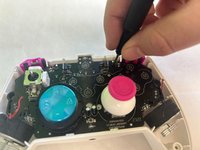
Use a Phillips #000 screwdriver to remove the two 5 mm screws that secure the motherboard.
-
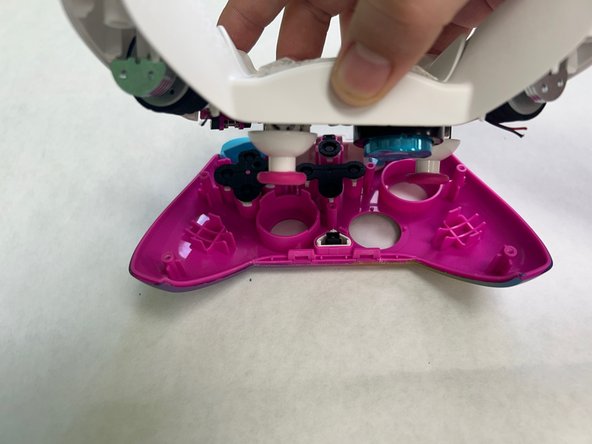
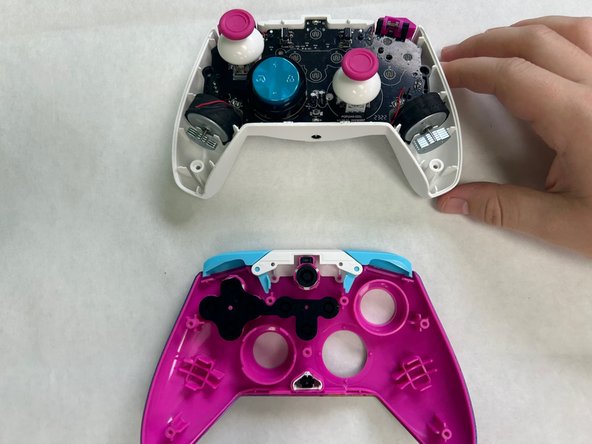
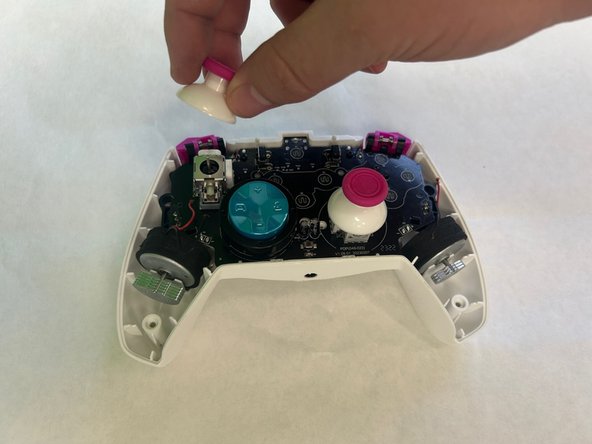
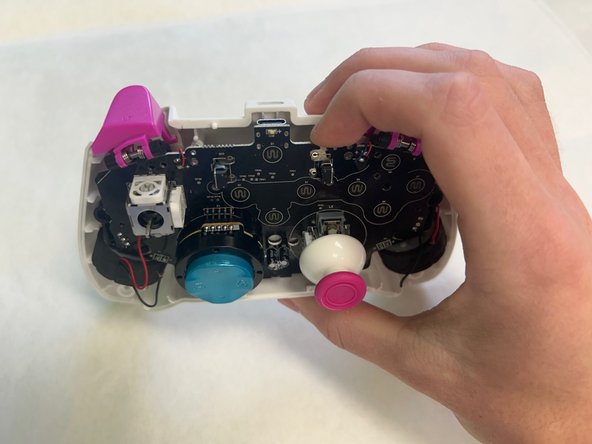
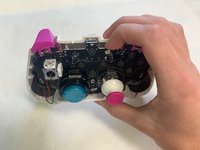
Remove the motherboard from the back shell using moderate force.
-
-
-
-
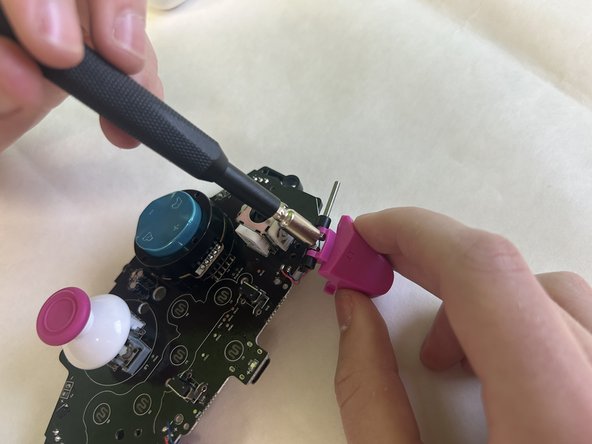
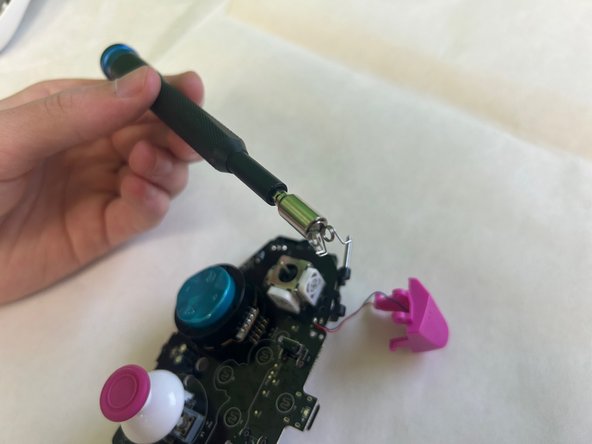
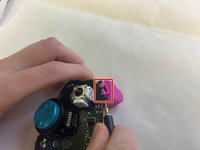
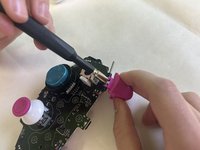
Punch out the metal pin holding in the trigger and the trigger spring. Repeat for both triggers.
-
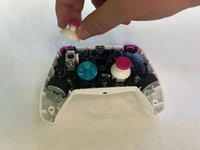
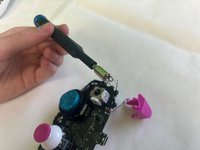
Remove the trigger and the trigger springs.
-
-





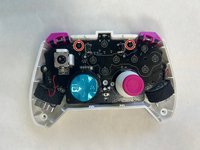

To reassemble your device, follow these instructions in reverse order.

Team

University of North Texas, Team 3-3, Coppersmith Fall 2024 Member of University of North Texas, Team 3-3, Coppersmith Fall 2024
UNT-COPPERSMITH-F24S3G3
3 Members
36 Guides authored
