
Ozeri Pronto ZK14-S Wire Replacement

Oneika White and 3 other contributors
Last updated on Jan 20, 2025
Views: 5.7K
View statistics:
- Past 24 Hours:
- 2
- Past 7 Days:
- 18
- Past 30 Days:
- 85
- All Time:
- 5,711
Comments: 1
1 guide comment.
Go to guide commentsCompleted: 0 1
No one has marked this guide "completed." Will you be the first?
1 person has marked this guide "completed." It's you — great job!
Favorites: 0 1
No one has favorited (and subscribed to) this guide. Will you be the first?
1 person has favorited (and subscribed to) this guide — and that's you!
Introduction
Go to step 1 ↓This guide explains how to remove the wires from the weight sensor each of the motherboards inside the Ozeri Pronto ZK14-S in separate steps. Assistance may be necessary if you do not feel confident about using the iOpener.
What you need
Tools


-
-
-
Lift up the sticker at the bottom where the “Ozeri” logo is to reveal a screw.
-
-
-
Using a 2.0 Flathead screwdriver, remove the 9.50 mm Phillips head screw under the sticker.
-
-
-
Using a 2.0 Flathead screwdriver, remove the two 18.76 mm Phillips head screws in the plate stand.
-
-
-
Using a 2.0 Flathead screwdriver, remove the 9.44 mm Phillips head screw on the edge opposite to the LCD screen.
-
-
-
Using the iFixit opening tool, pry off the two rubber stubs on the right side and the two rubber stubs on the left side of the bottom of the device.
-
-
-
Using a 2.0 Flathead screwdriver, remove the four 9.46 mm Phillips head screws that were under the rubber stubs.
-
-
-
Pry apart the two panels to separate them from each other.
-
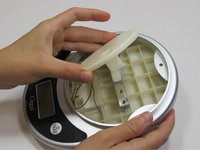
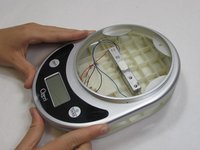
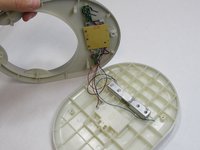
Flip the device over so the LCD is facing up. Flip the front panel over on its side.
-
-
-
Tool used on this step:Flathead 3/32" or 2.5 mm Screwdriver$5.49
-
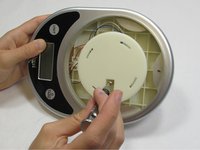
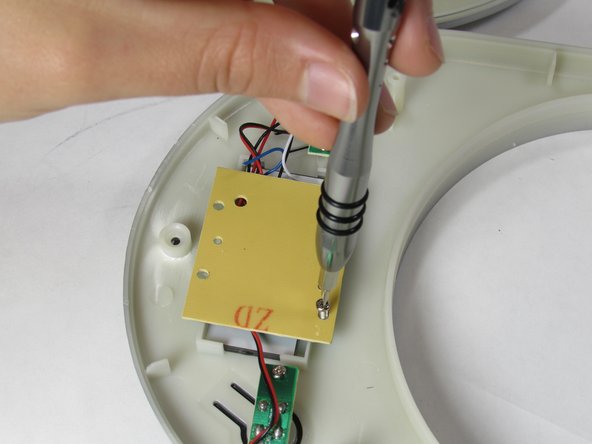
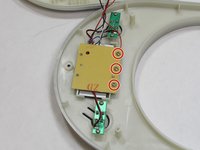
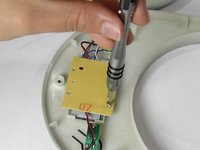
Using the 2.0 Flathead screwdriver, remove the three 7.20 mm screws on the back of the center LCD motherboard.
-
-
-
-
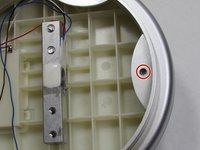
Using the iOpener, warm the glue on the weight sensor the other end of the damaged wire is attached to.
-
-
-
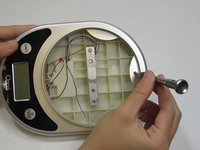
Using the nylon or metal spudger, detach the end of the damaged wire from the weight sensor.
-
-


 Ask FixBot










To reassemble your device, follow these instructions in reverse order.

Team

USF Tampa, Team 1-4, Leahy Fall 2015 Member of USF Tampa, Team 1-4, Leahy Fall 2015
USFT-LEAHY-F15S1G4
4 Members
60 Guides authored
