
Outdoor Gate Deadbolt Replacement

Kenneth and 3 other contributors
Last updated on Jul 1, 2025
Views: 3.7K
View statistics:
- Past 24 Hours:
- 3
- Past 7 Days:
- 38
- Past 30 Days:
- 272
- All Time:
- 3,699
Comments: 0
No one has left comments on this guide. Will you be first?
Go to guide commentsCompleted: 1 2
1 person has marked this guide "completed." Will you be next?
2 people have marked this guide "completed." Including you — great job!
Favorites: 2 3
2 people have favorited (and subscribed to) this guide. Will you be next?
3 people have favorited (and subscribed to) this guide — including you!
Missing Steps
Oops! This guide is currently missing one or more important steps.
Introduction
Go to step 1 ↓If the deadbolt in your gate is worn, malfunctioning, or damaged, you can easily replace it with a new one by following this guide. To do so, you will need a cross-head screwdriver and the new deadbolt.
There are a few common sizes for deadbolts. By using a tape measure to find the diameter of the pre-existing hole and the thickness of the gate, you can determine the correct choice for your gate.
What you need
Parts
Tools

-
-
-
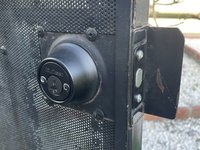
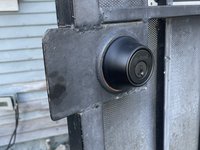
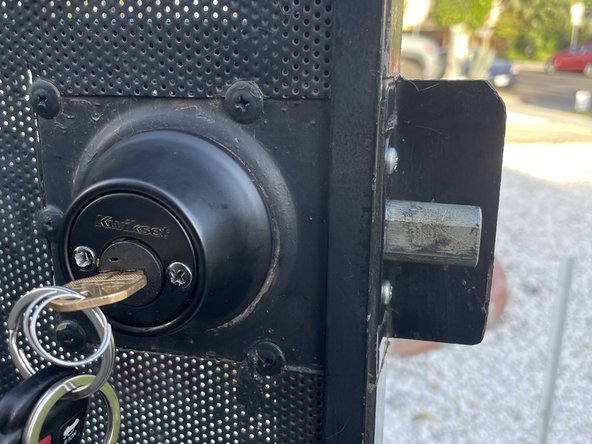
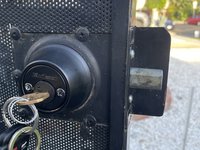
From the front side of the gate, push the latch into the center of the opening. Adjust as needed.
-
Screw both of the short screws into the panel to the right of the latch.
-
-
-
Grab both of the long screws.
-
Adjust the back head of the doorknob to be facing in a straight upward position.
-
Screw in the long screws.
-
-
-
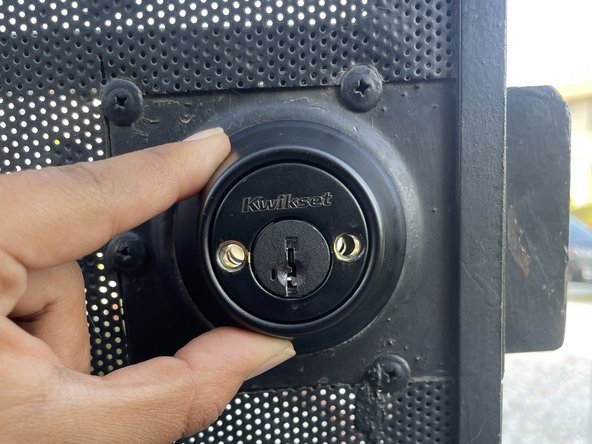
The back end and the front face of the deadbolt must line up.
-
Screw in the screws until they are fully tightened.
-
-
-
-
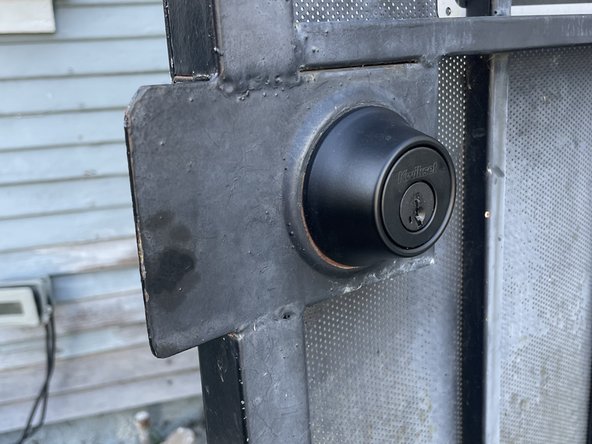
Test out the new deadbolt with a key or door handle, depending on which one you may have.
-


 Ask FixBot






To reassemble your device, follow these instructions in reverse order.
Cancel: I did not complete this guide.
One other person completed this guide.

Team

CSU Los Angeles, Team 1-26, Harris Spring 2024 Member of CSU Los Angeles, Team 1-26, Harris Spring 2024
CSULA-HARRIS-S24S1G26
1 Member
12 Guides authored
