Free Shipping on Domestic Orders $75+

Oster 3905 Retractable Cord Replacement

What you need

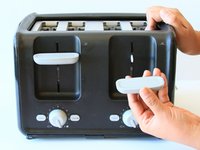
  1. Oster 3905 Retractable Cord Replacement, Slot Levers: step 1, image 1 of 1
    • Firmly grip your hand around the slot lever.

    Ask FixBot

    Add Comment

  2. Oster 3905 Retractable Cord Replacement: step 2, image 1 of 1
    • Stabilize the toaster by placing your hand on top.

    Ask FixBot

    Add Comment

  3. Oster 3905 Retractable Cord Replacement: step 3, image 1 of 2 Oster 3905 Retractable Cord Replacement: step 3, image 2 of 2
    • Forcefully pull the slot lever away from the toaster by keeping parallel to the table.

    Ask FixBot
    Add Comment

  4. Oster 3905 Retractable Cord Replacement: step 4, image 1 of 1
    • Both slot levers can be removed.

    Ask FixBot
    Add Comment

  5. Oster 3905 Retractable Cord Replacement, Outer Shell: step 5, image 1 of 1
    • Place the toaster upside down so the bottom is facing the ceiling.

    Ask FixBot
    Add Comment

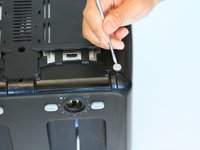
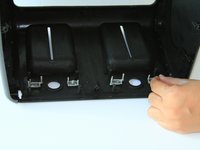
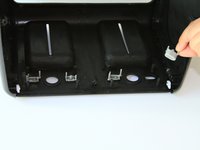
  6. Oster 3905 Retractable Cord Replacement: step 6, image 1 of 2 Oster 3905 Retractable Cord Replacement: step 6, image 2 of 2
    • Take off both rubber feet using a small metal spudger.

    • Wedge a spudger under the feet and pull up to pop off.

    Ask FixBot

    Add Comment

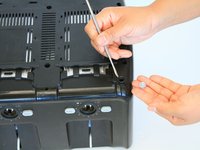
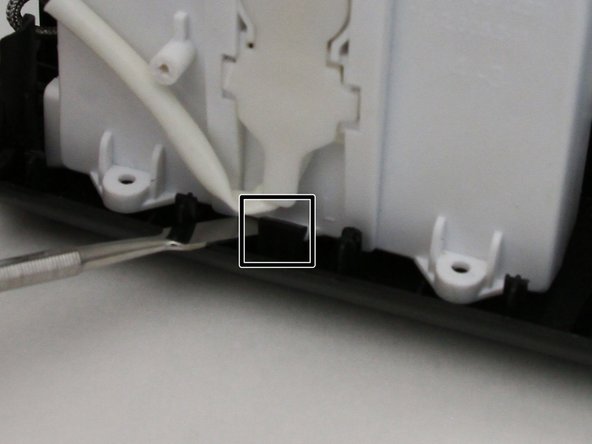
  7. Oster 3905 Retractable Cord Replacement: step 7, image 1 of 1
    • Use a PH#2 screw bit to remove eight 12mm screws that are located around the perimeter.

    • There are two screws under the rubber feet.

    Ask FixBot
    Add Comment

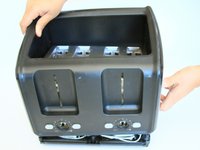
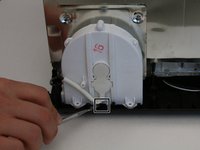
  8. Oster 3905 Retractable Cord Replacement: step 8, image 1 of 1
    • Place the toaster right side up.

    Ask FixBot
    Add Comment

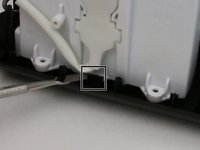
  9. Oster 3905 Retractable Cord Replacement: step 9, image 1 of 2 Oster 3905 Retractable Cord Replacement: step 9, image 2 of 2
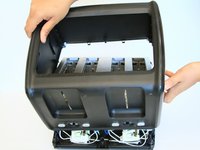
    • Grab the outer shell firmly and pull up towards the face of the toaster.

    Ask FixBot
    Add Comment

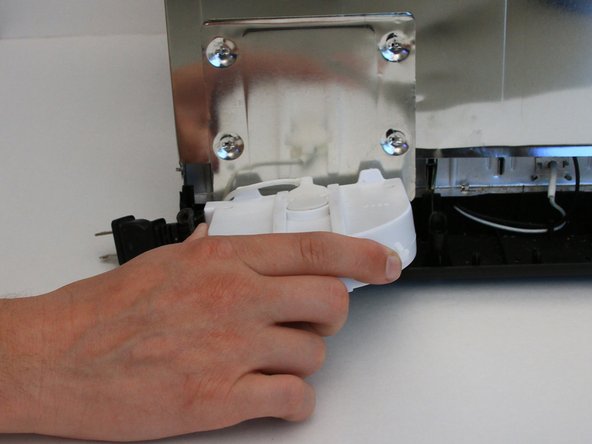
  10. Oster 3905 Retractable Cord Replacement: step 10, image 1 of 1
    • For this part, you might need to wiggle the toaster to get the outer shell off.

    • The shell will not completely come off until the motherboard is removed in the next step.
    Ask FixBot

    Add Comment

  11. Oster 3905 Retractable Cord Replacement: step 11, image 1 of 3 Oster 3905 Retractable Cord Replacement: step 11, image 2 of 3 Oster 3905 Retractable Cord Replacement: step 11, image 3 of 3
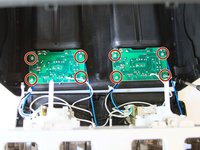
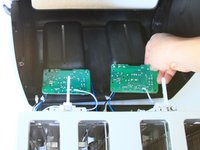
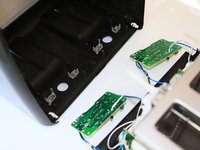
    • Use a J1 screw bit to unscrew eight 8mm screws from the motherboard.

    Ask FixBot

    Add Comment

  12. Oster 3905 Retractable Cord Replacement: step 12, image 1 of 2 Oster 3905 Retractable Cord Replacement: step 12, image 2 of 2
    • Take out the grey “cancel” and “bagel” buttons from the shell.

    Ask FixBot

    Add Comment

  13. Oster 3905 Retractable Cord Replacement, Retractable Cord: step 13, image 1 of 1
    • Rotate the toaster so that the back is facing towards you.

    Ask FixBot

    Add Comment

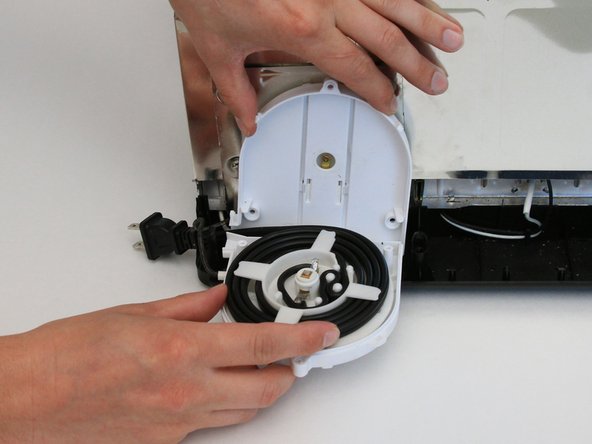
  14. Oster 3905 Retractable Cord Replacement: step 14, image 1 of 2 Oster 3905 Retractable Cord Replacement: step 14, image 2 of 2
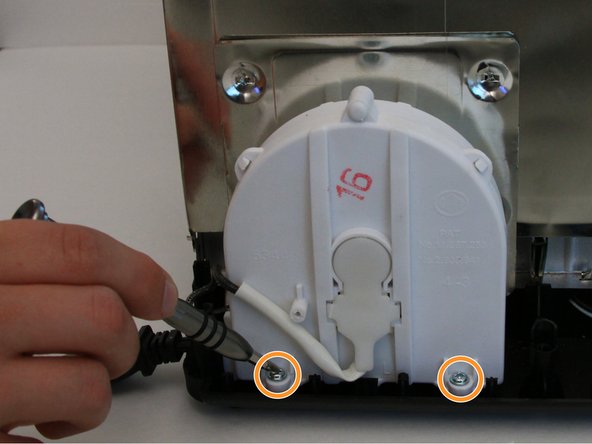
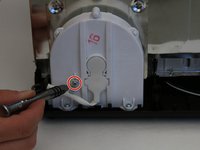
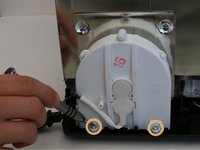
    • Use the PH#1 bit to remove one 8mm screw located above the wire on the casing.

    • Then use the same screw bit to remove two 10mm screws found at the bottom.

    Ask FixBot

    Add Comment

  15. Oster 3905 Retractable Cord Replacement: step 15, image 1 of 2 Oster 3905 Retractable Cord Replacement: step 15, image 2 of 2
    • Using the metal spudger, pry next to the black clip found at the base of the toaster and the casing.

    • Push down to separate the casing from the toaster.

    Ask FixBot

    Add Comment

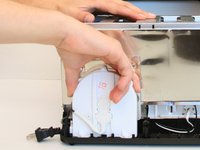
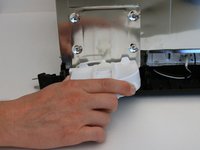
  16. Oster 3905 Retractable Cord Replacement: step 16, image 1 of 2 Oster 3905 Retractable Cord Replacement: step 16, image 2 of 2
    • Gently tilt the casing towards the toaster as you pull up from the base.

    Ask FixBot

    Add Comment

  17. Oster 3905 Retractable Cord Replacement: step 17, image 1 of 1
    • Use the PH#1 bit to remove the three 8mm screws located on the back side of the casing.

    Ask FixBot

    Add Comment

  18. Oster 3905 Retractable Cord Replacement: step 18, image 1 of 2 Oster 3905 Retractable Cord Replacement: step 18, image 2 of 2
    • When opening the casing a metal spring may suddenly pop out.

    • Use the metal spudger to pry open the two halves of the casing.

    • If you are having some trouble only using the metal spudger do not be afraid of using your fingers to pry the casing apart.

    Ask FixBot

    Add Comment

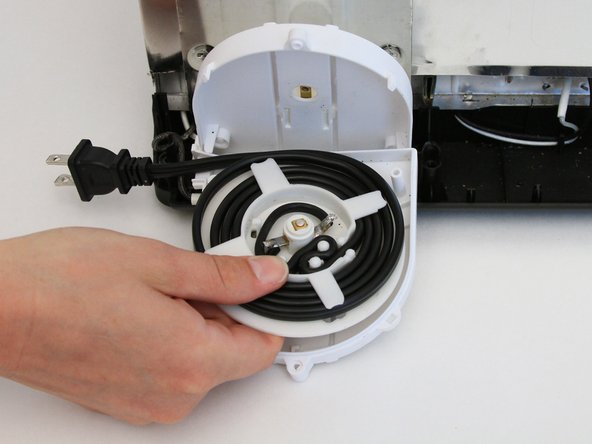
  19. Oster 3905 Retractable Cord Replacement: step 19, image 1 of 3 Oster 3905 Retractable Cord Replacement: step 19, image 2 of 3 Oster 3905 Retractable Cord Replacement: step 19, image 3 of 3
    • Carefully remove the spool keeping your fingers on either side of the casing.

    • Tape down the metal spring to keep it from unraveling out of place.

    Ask FixBot

    Add Comment

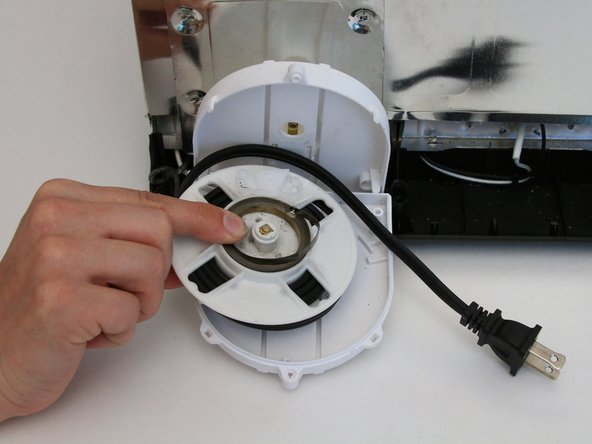
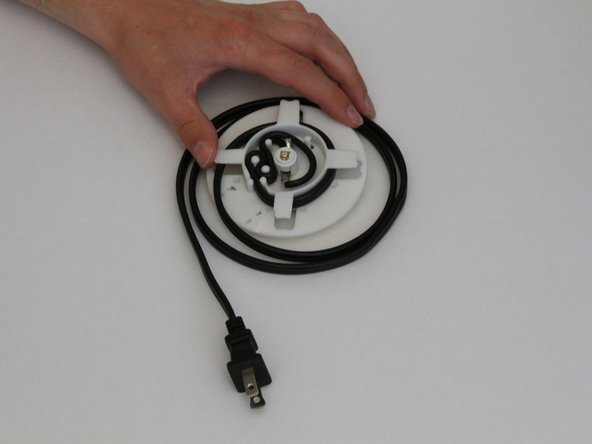
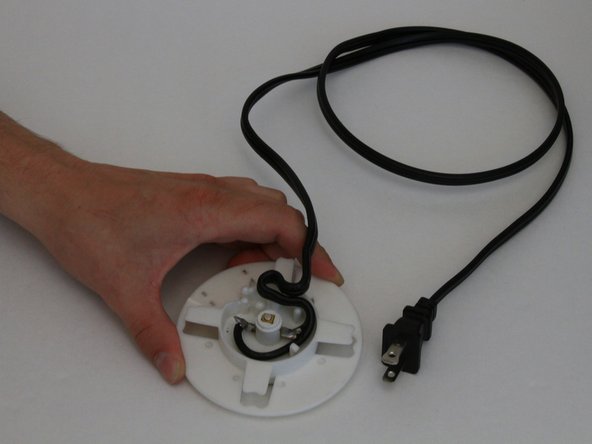
  20. Oster 3905 Retractable Cord Replacement: step 20, image 1 of 3 Oster 3905 Retractable Cord Replacement: step 20, image 2 of 3 Oster 3905 Retractable Cord Replacement: step 20, image 3 of 3
    • Carefully unwind the power cord from the spool.

    Ask FixBot

    Add Comment

Conclusion

To reassemble your device, follow these instructions in reverse order.

Cancel: I did not complete this guide.

One other person completed this guide.

Adam Dierkes

Member since: 09/12/16

140 Reputation

1 Guide authored

Team

CSU Fullerton, Team 2-1, Bruce Fall 2016 Member of CSU Fullerton, Team 2-1, Bruce Fall 2016

CSUF-BRUCE-F16S2G1

5 Members

6 Guides authored

0 Guide Comments

Add Comment

View Statistics:

Past 24 Hours: 0

Past 7 Days: 4

Past 30 Days: 18

All Time: 898