Introduction
If the LED light on your Ortizan X10 is no longer working or flickering, replacing it can restore the speaker’s visual appeal and proper function. This guide will walk you through the process of removing and replacing the faulty LED, helping extend the life of your speaker.
What you need
-
-
Use a Phillips screwdriver to remove the four screws (two on each end).
-
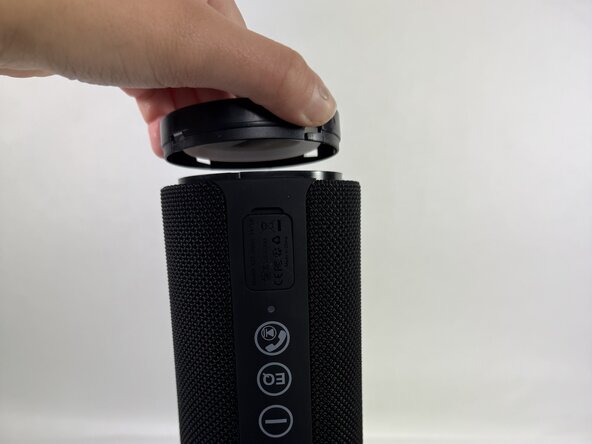
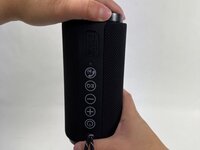
Firmly grip the top of the speaker, stabilize the base, and twist the cap counterclockwise to loosen and remove. Repeat this step for the bottom cap.
-
-
-
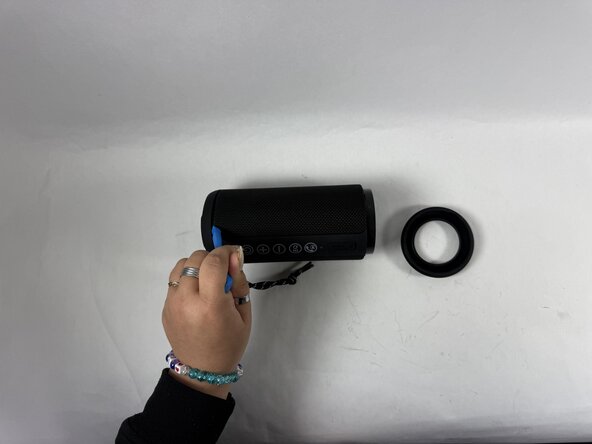
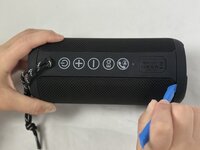
Insert an opening tool into the seam between the grille and body. Lift and crack it open just a little.
-
-
-
Using your hands, pull the speaker out of the casing by holding the speaker in one hand and the shell in the other.
-
-
-
-
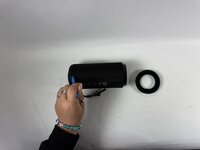
You can use the iFixit Opening Tool to carefully remove the silicone protective covers at the speaker's top and bottom.
-
-
-
Using the Mahi driver kit and a 1.5 screwdriver bit, remove the two screws that secure the top and bottom of the speaker. Apply firm, even pressure while turning counterclockwise.
-
-
-
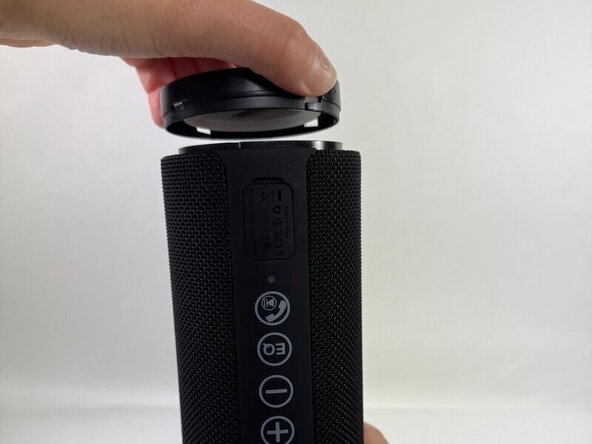
After removing the screws, firmly grip the top, stabilize the base, and turn the top counterclockwise (to the left) to loosen and detach it. Repeat the same steps to remove the other side.
-
-
-
Use a Phillips #00 screwdriver to remove the screw that secures the LED circuit board.
-
-
-
Use a pair of tweezers to carefully flip up the small locking flap on the ZIF connector.
-
-
-
Use tweezers to gently lift the locking flap on the ZIF connector to release the ribbon cable.
-


To reassemble your device, follow the above steps in reverse order.
Take your e-waste to an R2 or e-Stewards certified recycler.
Repair didn’t go as planned? Try some basic troubleshooting or ask our Answers community for help.
Team

UMass Dartmouth, Team 4-2, Konn Spring 2025 Member of UMass Dartmouth, Team 4-2, Konn Spring 2025
UMASSD-KONN-S25S4G2
4 Members
5 Guides authored