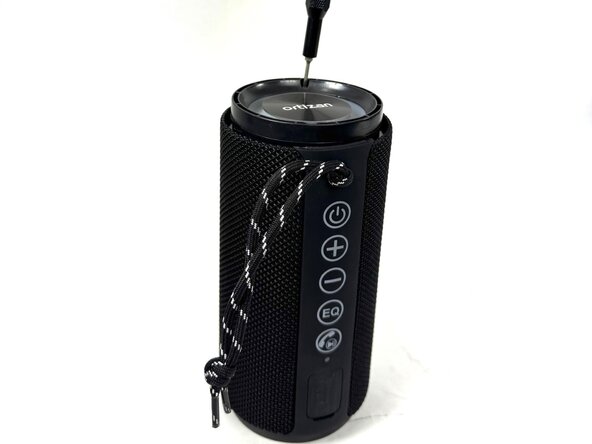
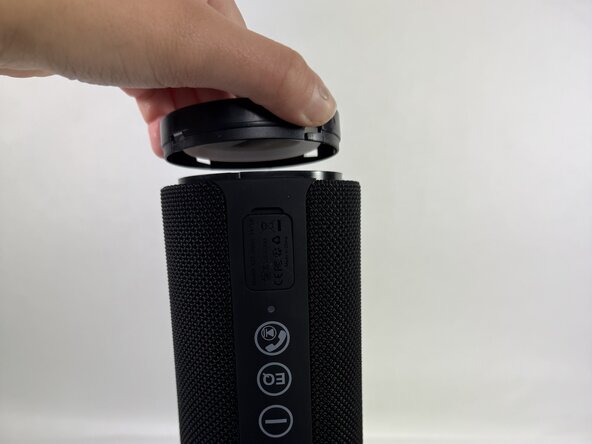
Free Shipping on Domestic Orders $75+

Ortizan X10 Grille Replacement

What you need

  1. Ortizan X10 Grille Replacement, Grille: step 1, image 1 of 2 Ortizan X10 Grille Replacement, Grille: step 1, image 2 of 2
    • Use an opening tool to remove the rubber end caps.

  2. Ortizan X10 Grille Replacement: step 2, image 1 of 3 Ortizan X10 Grille Replacement: step 2, image 2 of 3 Ortizan X10 Grille Replacement: step 2, image 3 of 3
    • Use a Phillips screwdriver to remove the four screws (two on each end).

    • Firmly grip the top of the speaker, stabilize the base, and twist the cap counterclockwise to loosen and remove. Repeat this step for the bottom cap.

  3. Ortizan X10 Grille Replacement: step 3, image 1 of 1
    • Insert an opening tool into the seam between the grille and body. Lift and crack it open just a little.

  4. Ortizan X10 Grille Replacement: step 4, image 1 of 1
    • Using your hands, pull the speaker out of the casing by holding the speaker in one hand and the shell in the other.

Conclusion

Replacing the outer shell on the Ortizan speaker can help keep the speaker protected, keep it looking well-maintained, and improve its sound quality.

Brooke

Member since: 03/18/25

159 Reputation

1 Guide authored

Team

0 Guide Comments

Add Comment

View Statistics:

Past 24 Hours: 1

Past 7 Days: 12

Past 30 Days: 53

All Time: 420