
Optoma PRO360W Bulb Replacement

Desiree Benitez and 4 other contributors
Last updated on Jan 15, 2026
Views: 1.4K
View statistics:
- Past 24 Hours:
- 4
- Past 7 Days:
- 19
- Past 30 Days:
- 104
- All Time:
- 1,431
Comments: 1
1 guide comment.
Go to guide commentsCompleted: 1 2
1 person has marked this guide "completed." Will you be next?
2 people have marked this guide "completed." Including you — great job!
Favorites: 0 1
No one has favorited (and subscribed to) this guide. Will you be the first?
1 person has favorited (and subscribed to) this guide — and that's you!
Step Trimmer
This guide has unnecessary steps. Trim them to be more concise!
Introduction
Go to step 1 ↓This guide will provide a step-by-step process on how to safely remove and replace a light bulb for an Optoma PRO360W projector. In the process of this removal, we will demonstrate how to clean the area of any dust and how to recycle the waste material- the old light bulb.
What you need
Tools

-
-
-
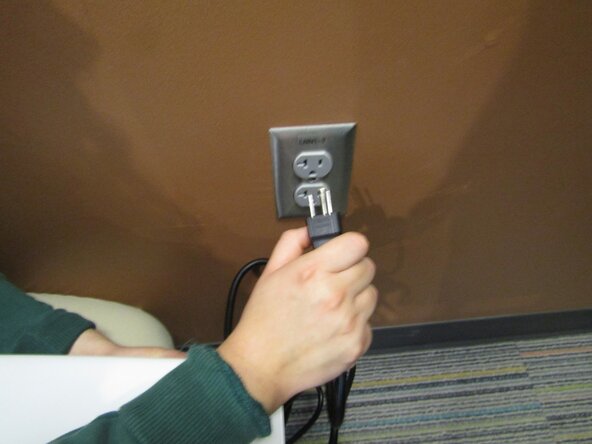
Unplug the projector from the wall outlet to allow for the light bulb to cool for at least 30 minutes.
 Ask FixBot
-
-
-
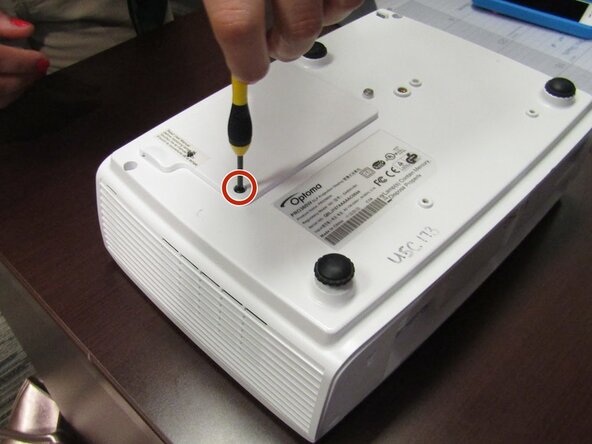
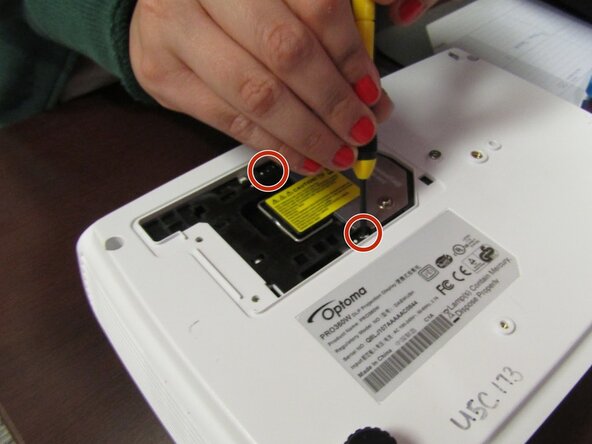
On the bottom side of the projector, locate and unscrew the back cover using a Philip's head screwdriver.
-
-
-
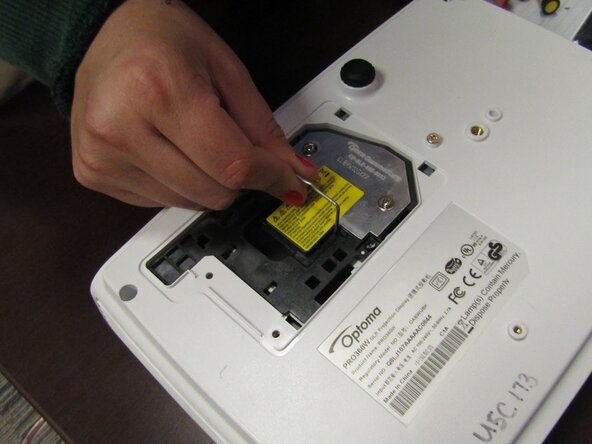
Remove the light bulb from the projector by lifting the silver handle and pulling up.
-
-
-
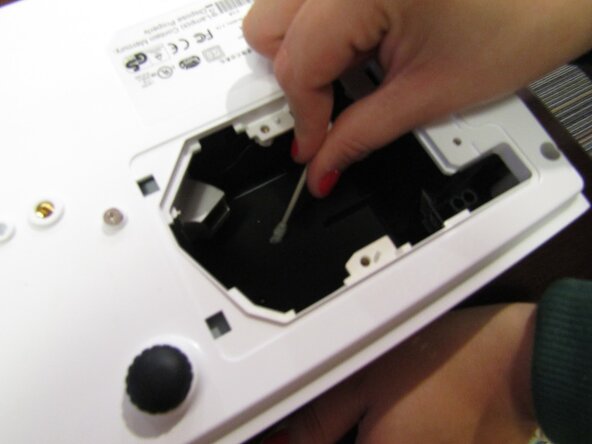
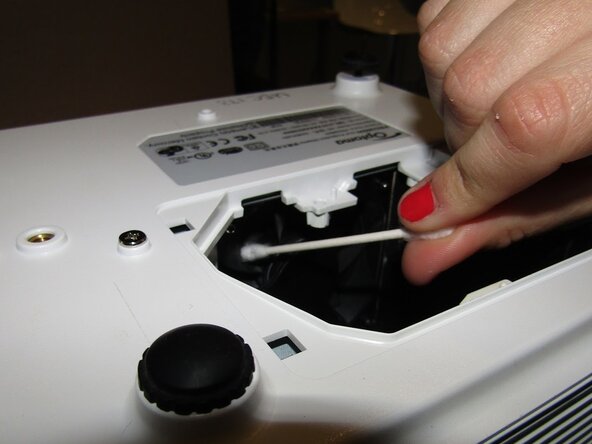
Clean the now vacant area where the light bulb once belonged of dust and particles using a Q-tip.
-
-
-
-
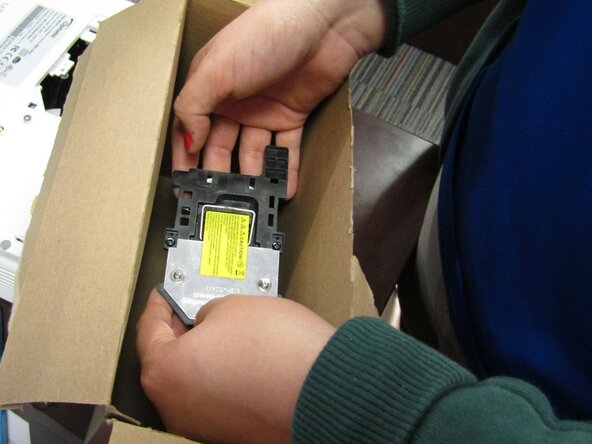
Open and remove the new light bulb from its box with clean hands to prevent from getting the bulb dirty.
-
-
-
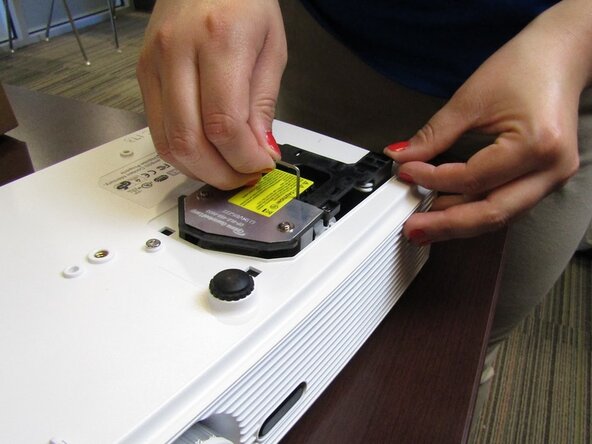
Place the new bulb inside making sure to align the bulb towards the light hole and the wire connector towards the wire receiver.
-
-
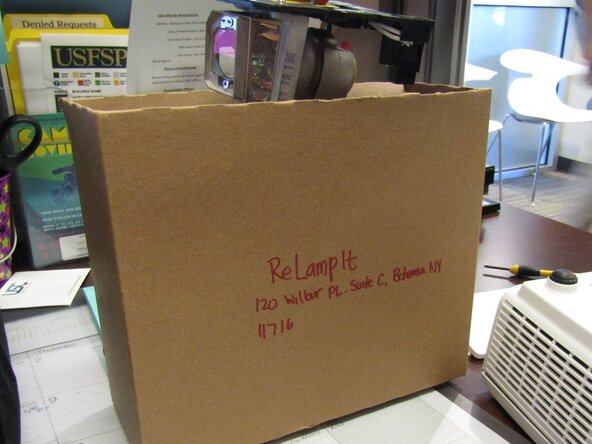
To reassemble your device, follow these instructions in reverse order. Take your e-waste to an R2 or e-Stewards certified recycler.
Cancel: I did not complete this guide.
One other person completed this guide.

Team

USF Sarasota-Manatee, Team 1-1, Stewart Spring 2017 Member of USF Sarasota-Manatee, Team 1-1, Stewart Spring 2017
USFSM-STEWART-S17S1G1
19 Members
180 Guides authored
1 Guide Comment
Thanks for your guide provide a step-by-step process on how to safely remove and replace a light bulb for a Ben-Q projector , how to projector Epson, is it same? because i have rental LCD Projector, definitely one day need
