
Optoma HD72 Projection Lamp Replacement

Oscar Garcia and one other contributor
Last updated on Jun 25, 2024
Views: 434
View statistics:
- Past 24 Hours:
- 3
- Past 7 Days:
- 14
- Past 30 Days:
- 87
- All Time:
- 434
Comments: 0
No one has left comments on this guide. Will you be first?
Go to guide commentsCompleted: 0 1
No one has marked this guide "completed." Will you be the first?
1 person has marked this guide "completed." It's you — great job!
Favorites: 0 1
No one has favorited (and subscribed to) this guide. Will you be the first?
1 person has favorited (and subscribed to) this guide — and that's you!
Introduction
Go to step 1 ↓Use this guide to replace the Projection Lamp on the Optoma HD72. A projection lamp is a very powerful bulb used to project images or a video. The projection lamp will need to be replaced if you are experiencing any of the following symptoms.
- Projection Lamp’s light is becoming dim
- The Lamp has burnt out completely
- A connection has become loose
A warning when replacing the bulb is to be wary of any electrostatic charge. Be sure to wear proper PPE i.e. rubber gloves, as well as ensure the device has been turned off for at least 5-10 minutes before disassembling.
What you need
Parts
Tools

-
-
-
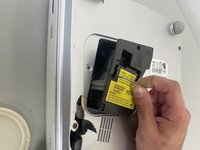
Use a Phillips screwdriver to loosen the single captive 2 mm screw that secures the small lamp panel on the lower case.
-
Remove the panel.
 Ask FixBot
-
-
-
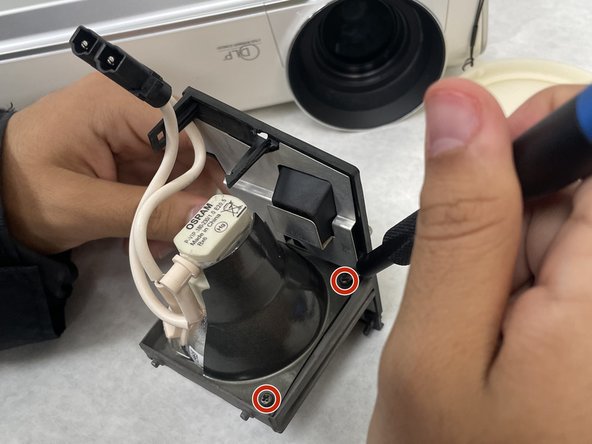
Use a Phillips screwdriver to loosen the two 2 mm screws on the bottom of the projection lamp housing.
-
-
-
Lift the panel off of the device using the metal handle.
-
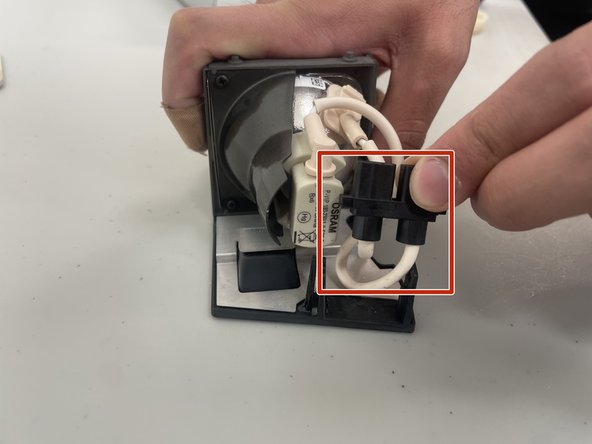
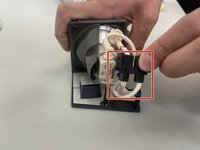
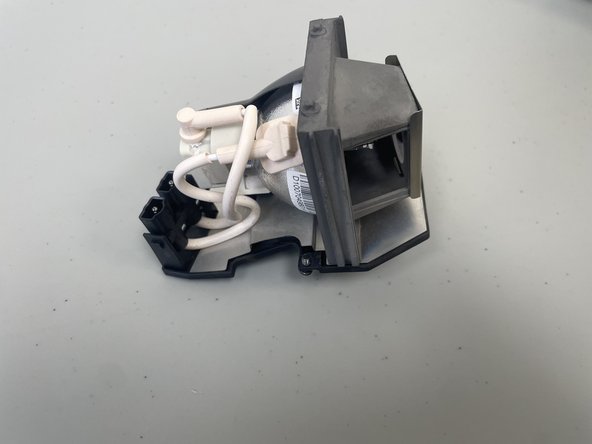
Disconnect the pink wires from the black plastic housing.
-
-
-
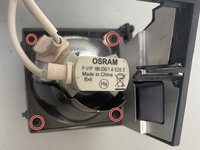
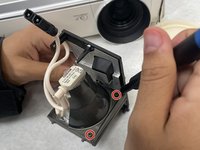
Use a Phillips #2 screwdriver to remove the four 2 mm screws that secure the lamp to its housing.
-
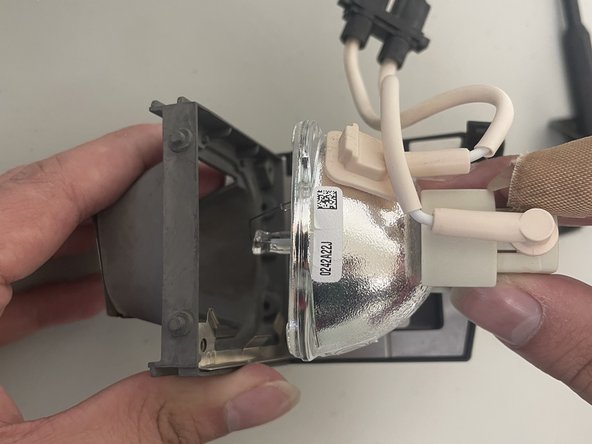
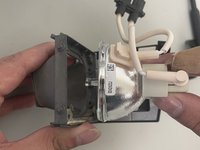
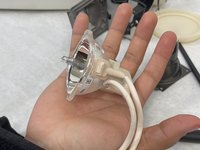
Remove the projection lamp casing by gently lifting the bulb from its housing.
-
-
-




To reassemble your device, follow these instructions in reverse order.

Team

University of North Texas, Team 2-5, Kilpatrick Spring 2024 Member of University of North Texas, Team 2-5, Kilpatrick Spring 2024
UNT-KILPATRICK-S24S2G5
3 Members
60 Guides authored
