Introduction
Use this guide to replace the Power Supply on the Optoma HD72. An essential part of the Optoma HD72 is the power supply, which changes the alternating current (AC) from the wall outlet into the direct current (DC) needed by the internal circuitry of the projector. The power supply is made to deliver the voltage and current required to run the electronics, lamp, and other parts of the projector.
The following symptoms may indicate a problem or need for replacement with the power supply.
- The projector won’t power on.
- Intermittent power issues: If the projector is randomly turning off or experiencing power fluctuations.
- Flickering image.
- Loud or unusual noises such as a buzzing or humming from the projector.
- Overheating: The power supply might not be supplying the correct amount of voltage.
- Reduced lamp life: Instead of this being a lamp issue, the power supply might be providing additional strain on the projector’s lamp.
A few warnings to consider when dissembling this device:
- Unplug the projector before starting disassembly.
- Avoid touching internal circuitry so as to not damage any sensitive parts.
- Electrostatic may be present and can cause harm. Be sure to wear proper PPE, and let the device be unplugged for at least 5-10 minutes prior to disassembly.
What you need
-
-
Use a Phillips screwdriver to remove the five 2 mm screws on the underside of the device.
 Ask FixBot
-
-
-
Flip the device over and slightly lift the upper case, with care not to strain the two cables.
-
Disconnect the two cables that connect the top case to the motherboard.
-
Lift the upper case up and off.
-
-
-
-
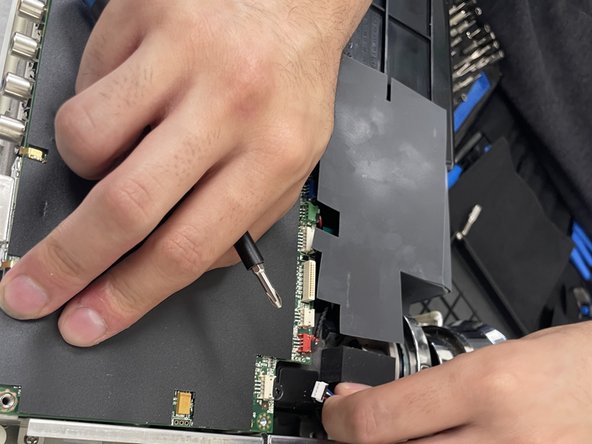
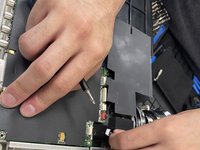
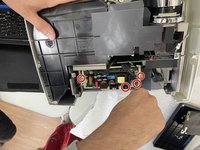
Remove the four 2 mm Phillips screws that secure the motherboard.
-
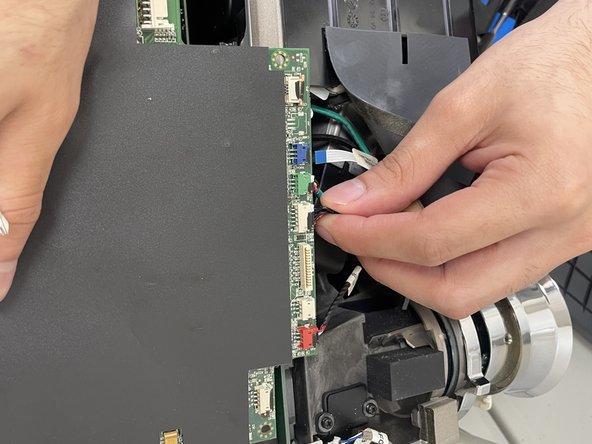
Remove the detachable wire bundles that connect to the ballast supply.
-
-
-
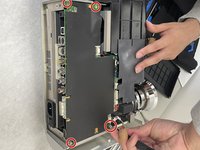
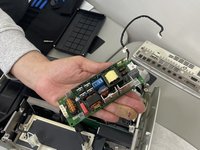
Remove the four 2 mm Phillips #2 screws that secure the power supply.
-
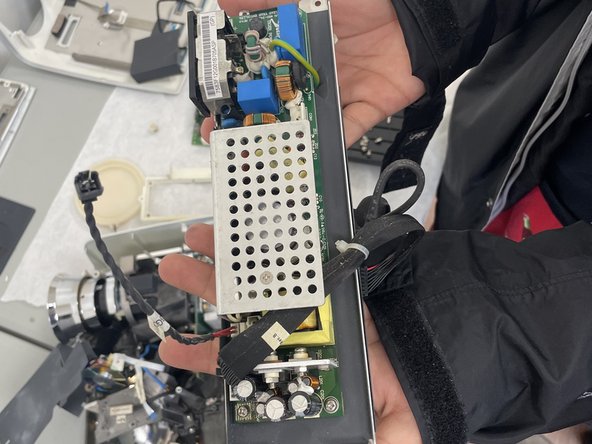
Remove the 2 2.0mm Phillips #2 screws that secure the ballast to the power supply using a Phillips #2 screwdriver
-
Disconnect all of the ballast connections.
-
Lift the ballast out of the device.
-
-
-
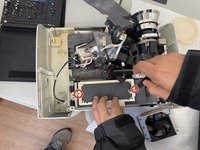
Remove the two Phillips screws that secure the power supply.
-
Disconnect the ballast from the power supply.
-
Remove the power supply.
-


To reassemble your device, follow these instructions in reverse order.

Team

University of North Texas, Team 2-5, Kilpatrick Spring 2024 Member of University of North Texas, Team 2-5, Kilpatrick Spring 2024
UNT-KILPATRICK-S24S2G5
3 Members
5 Guides authored