
Optoma HD72 Fan Replacement

Oscar Garcia and one other contributor
Last updated on Jun 25, 2024
Views: 938
View statistics:
- Past 24 Hours:
- 3
- Past 7 Days:
- 22
- Past 30 Days:
- 83
- All Time:
- 938
Comments: 0
No one has left comments on this guide. Will you be first?
Go to guide commentsCompleted: 0 1
No one has marked this guide "completed." Will you be the first?
1 person has marked this guide "completed." It's you — great job!
Favorites: 0 1
No one has favorited (and subscribed to) this guide. Will you be the first?
1 person has favorited (and subscribed to) this guide — and that's you!
Needs Better Images
Better photos will improve this guide. Help out by taking, editing, or uploading new ones!
Needs More Images
A few more images would make this guide's procedures crystal clear.
Missing Steps
Oops! This guide is currently missing one or more important steps.
Introduction
Go to step 1 ↓Use this guide to replace the fan on the Optoma HD72. The fan is essential to keeping the internal projector parts—particularly the high-intensity lamp—at the ideal operating temperature. This is achieved via the fan's constant intake of cool air and outflow of warm air, which guards against overheating that can harm delicate electronics.
The following symptoms may indicate a problem or need for replacement with the power supply.
- Excessive Noise: If the fan is whirling, grinding, or rattling, it may indicate that the bearings are becoming worn out.
- Reduced Airflow: If the air being released from the projector's vents is weaker than usual, it could indicate that the fan is not circulating air properly.
- Overheating: If the device appears to shut down automatically due to excessive heat, it is a strong indication that the fan is not functioning properly.
A few warnings to consider when dissembling this device:
- Electrical Hazard: Ensure the projector is unplugged and has been powered off for at least 5-10 minutes before beginning to disassemble the device.
- Delicate Components: Be sure to handle delicate components with care to avoid accidentally damaging any other parts.
- Thermal Paste: When reinstalling a new fan, apply a thin, even layer of thermal paste between the fan and any heat sinks or other components it interfaces with.
- Dust/Debris: Thoroughly clean the fan area and projector interior of any accumulated dust or debris before reinstalling or installing a new fan.
What you need
Tools

-
-
-
Use a Phillips screwdriver to remove the five 2 mm screws on the underside of the device.
 Ask FixBot
-
-
-
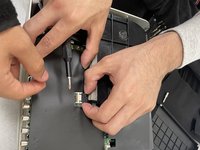
Flip the device over and slightly lift the upper case, with care not to strain the two cables.
-
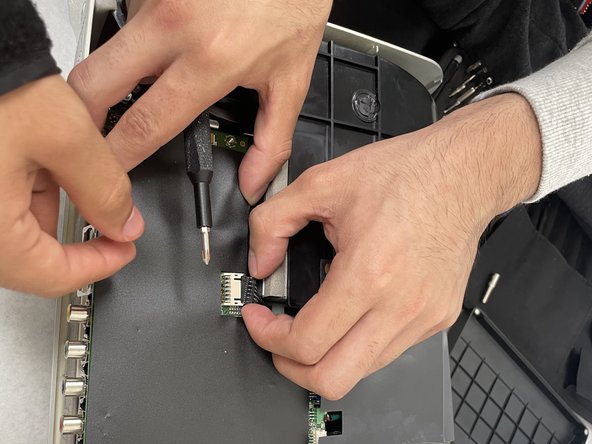
Disconnect the two cables that connect the top case to the motherboard.
-
Lift the upper case up and off.
-
-
-
-
-
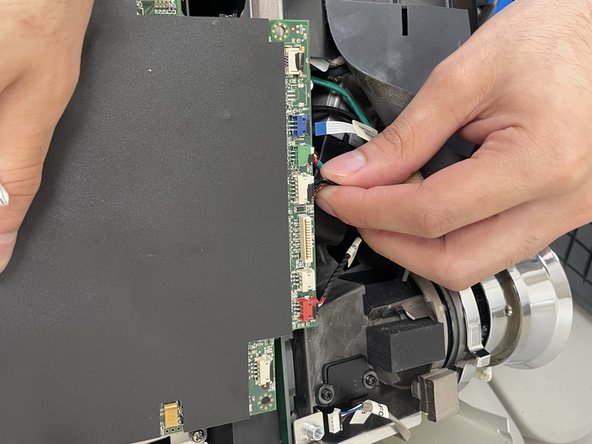
Disconnect all of the cables that are connected to the motherboard.
-
-
-
Remove the four 2 mm Phillips screws that secure the motherboard.
-
Lift the motherboard up and out of the chassis.
-
-
-
-
-
-
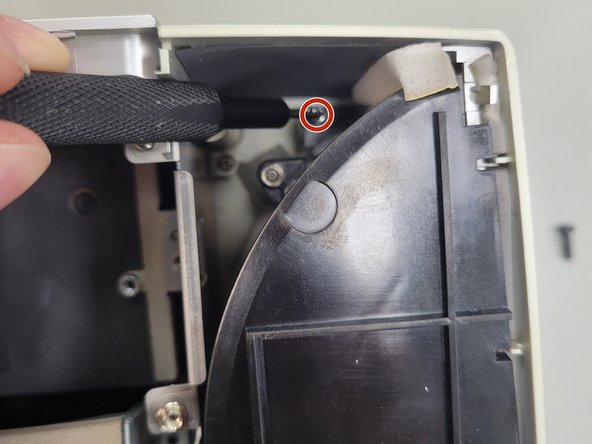
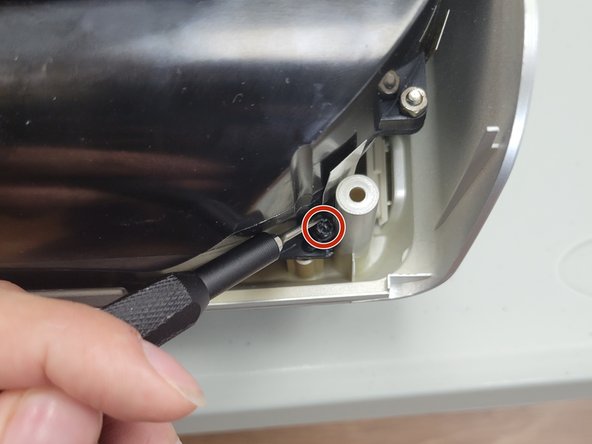
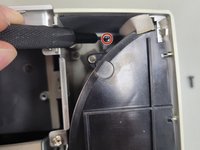
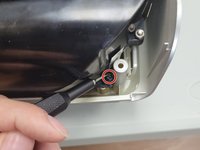
Remove the three 2 mm Phillips screws that secure the black housing.
-
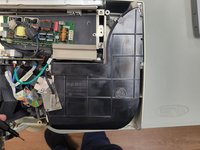
Lift the black housing off.
-
-
-
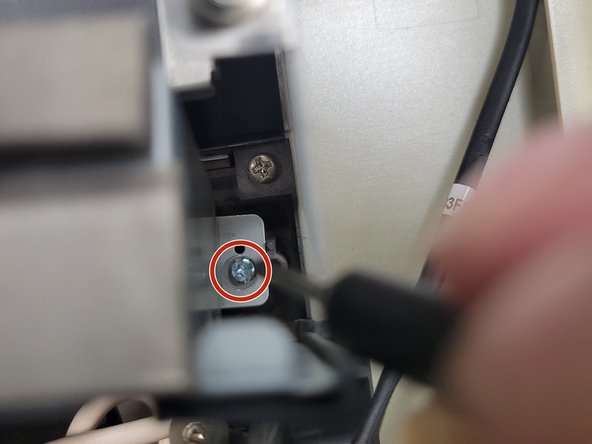
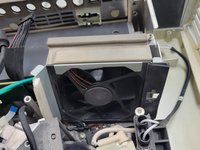
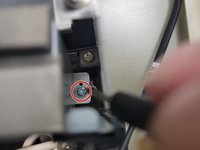
Remove the two 2 mm Phillips screws that secure the fan.
-
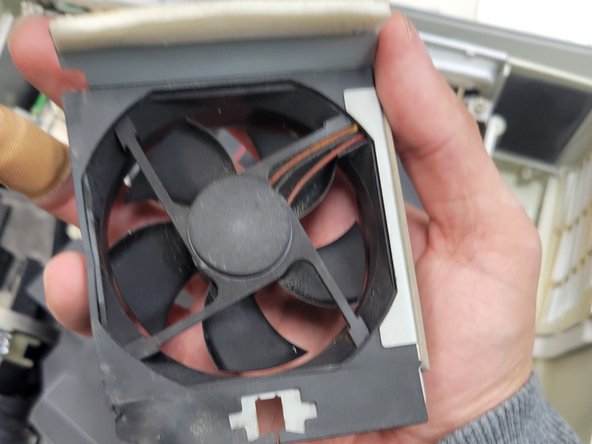
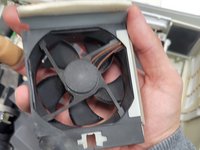
Lift the fan up and out of the chassis.
-
-





To reassemble your device, follow these instructions in reverse order.

Team

University of North Texas, Team 2-5, Kilpatrick Spring 2024 Member of University of North Texas, Team 2-5, Kilpatrick Spring 2024
UNT-KILPATRICK-S24S2G5
3 Members
60 Guides authored
