
Optoma HD72 Color Wheel Replacement

Oscar Garcia and one other contributor
Last updated on Jun 25, 2024
Views: 532
View statistics:
- Past 24 Hours:
- 2
- Past 7 Days:
- 14
- Past 30 Days:
- 74
- All Time:
- 532
Comments: 0
No one has left comments on this guide. Will you be first?
Go to guide commentsCompleted: 0 1
No one has marked this guide "completed." Will you be the first?
1 person has marked this guide "completed." It's you — great job!
Favorites: 0 1
No one has favorited (and subscribed to) this guide. Will you be the first?
1 person has favorited (and subscribed to) this guide — and that's you!
Introduction
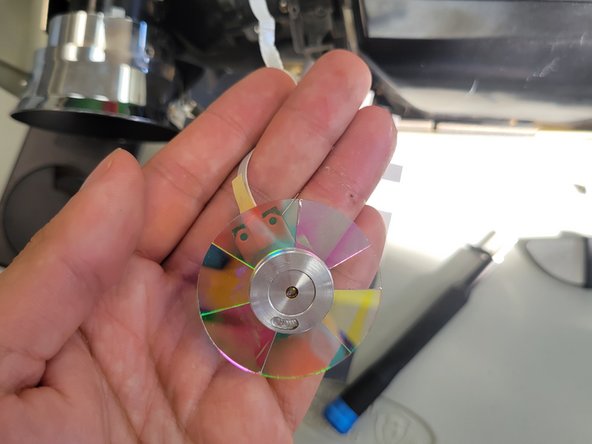
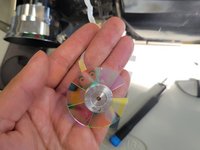
Go to step 1 ↓Use this guide to replace the Color Wheel on the Optoma HD72. The Optoma HD72 uses a 6-segment color wheel that includes red, green, blue, yellow, cyan, and magenta. The wide color range provided by this color combination enables the projector to create a more lifelike and immersive visual experience.
The following symptoms may indicate a problem or need for replacement with the power supply.
- Distorted Color Reproduction
- Flickering Colors
- Reduced Brightness or contrast
- Unusual Color Tints: This could be seen as an unnatural overall color to the images or video.
A few warnings to consider when dissembling this device:
- Electrical Hazards: The Optoma HD72 contains high-voltage components, so be wary of electrical shock by ensuring the device has been turned off for at least 5-10 minutes.
- The color wheel is delicate and can be easily damaged if not handled with care.
What you need
Tools

-
-
-
Use a Phillips screwdriver to remove the five 2 mm screws on the underside of the device.
 Ask FixBot
-
-
-
Flip the device over and slightly lift the upper case, with care not to strain the two cables.
-
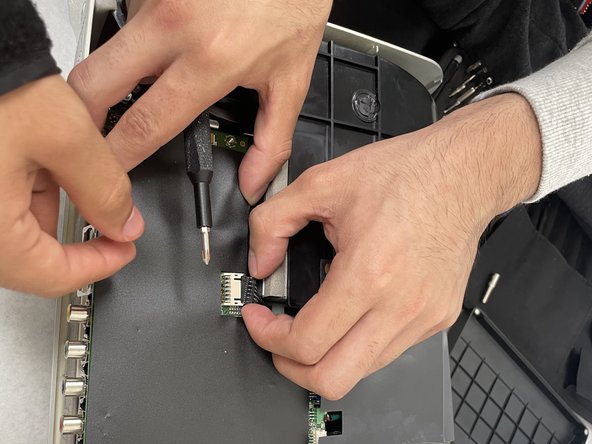
Disconnect the two cables that connect the top case to the motherboard.
-
Lift the upper case up and off.
-
-
-
-
-
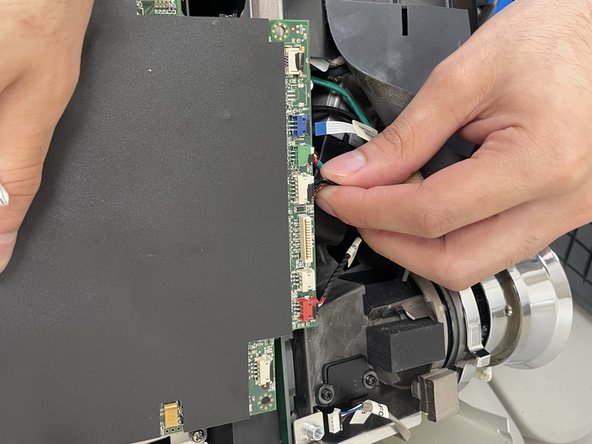
Disconnect all of the cables that are connected to the motherboard.
-
-
-
Remove the four 2 mm Phillips screws that secure the motherboard.
-
Lift the motherboard up and out of the chassis.
-
-
-
-
-
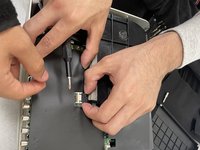
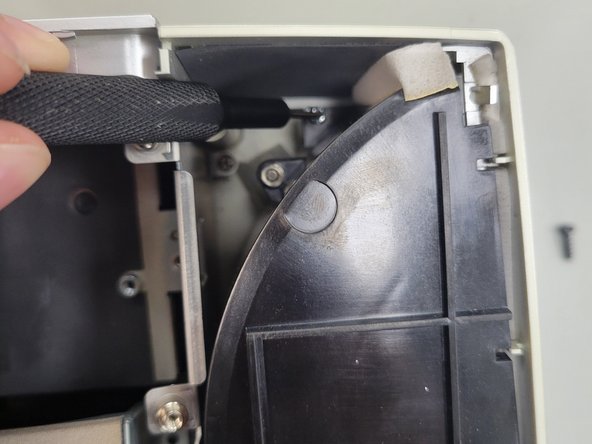
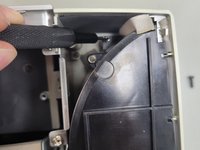
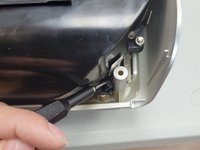
Remove the three 2 mm Phillips screws that secure the black housing.
-
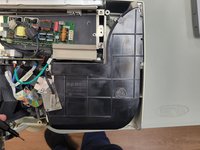
Lift the black housing off.
-
-
-
-
Remove the single 2 mm Phillips screw that secures the color wheel.
-
Lift the color wheel up and out of its housing.
-
-
-
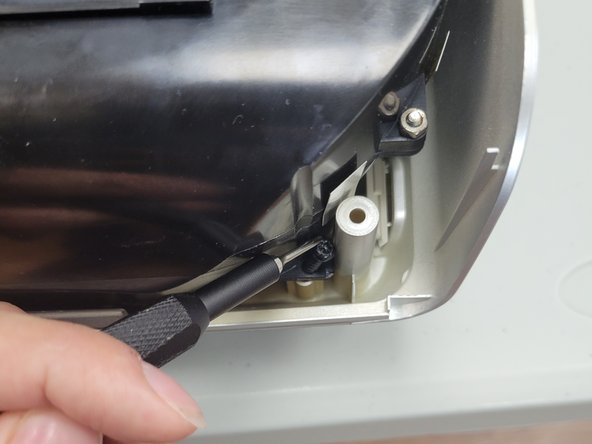
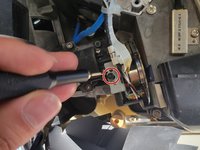
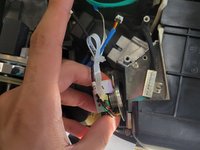
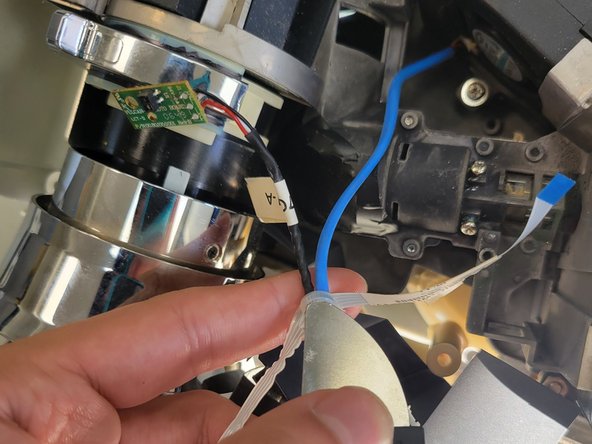
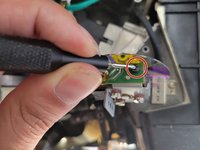
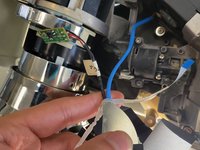
Remove the single 2 mm Phillips screw that secures the circuit board to the side of the color wheel.
-
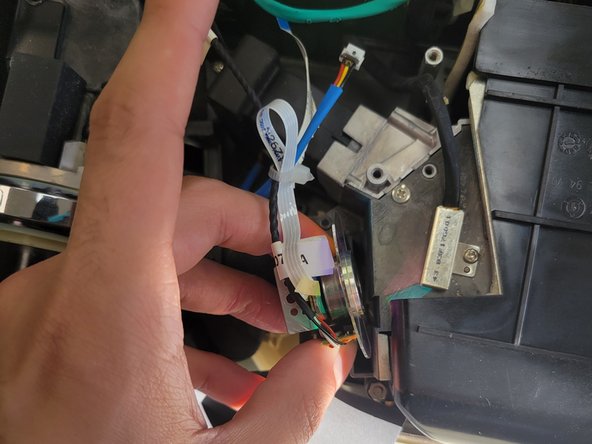
Use a sharp tool to cut the zip tie that secures the color wheel’s cables.
-
Remove the color wheel.
-
-






To reassemble your device, follow these instructions in reverse order.

Team

University of North Texas, Team 2-5, Kilpatrick Spring 2024 Member of University of North Texas, Team 2-5, Kilpatrick Spring 2024
UNT-KILPATRICK-S24S2G5
3 Members
60 Guides authored
