
Open and clean a Sodastream Crystal

VauWeh and one other contributor
Last updated on Dec 30, 2025
Views: 33K
View statistics:
- Past 24 Hours:
- 65
- Past 7 Days:
- 537
- Past 30 Days:
- 2,548
- All Time:
- 33,463
Comments: 27
13 comments on steps, 14 guide comments.
Go to guide commentsCompleted: 13 14
13 people have marked this guide "completed." Will you be next?
14 people have marked this guide "completed." Including you — great job!
Favorites: 3 4
3 people have favorited (and subscribed to) this guide. Will you be next?
4 people have favorited (and subscribed to) this guide — including you!
Introduction
Go to step 1 ↓These instructions show how to open a Sodastream Crystal carbonator. You can then clean it, adjust the valve and change the gaskets.
What you need
Tools


-
-
-
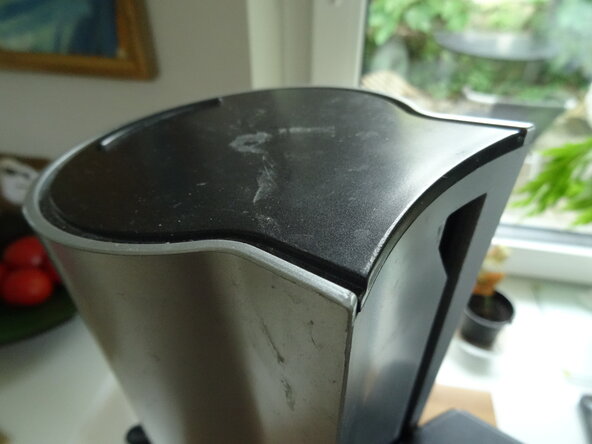
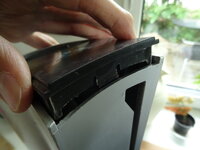
Lift the cover over the carbonation unit with a suitable tool, e.g. a metal spatula.
 Ask FixBot
-
-
-
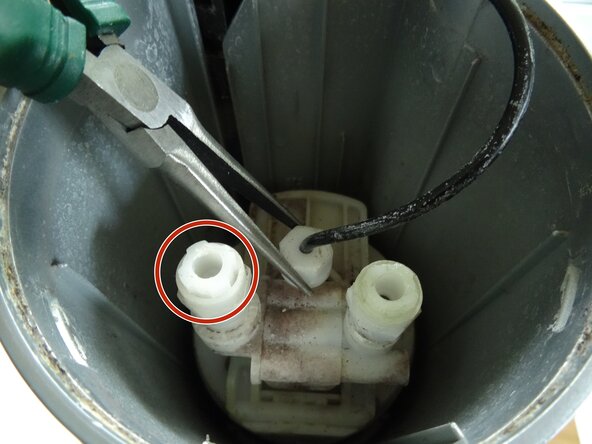
Carefully loosen the union nut on the gas supply line. Be very careful, all parts are made of plastic.
-
Pull off the hose.
-
If the water runs out of the side of the appliance, try tightening the valve slightly. Gradually turn the plastic screw clockwise about a quarter of a turn and then test each time until no more water is pressed out.
-
-
-
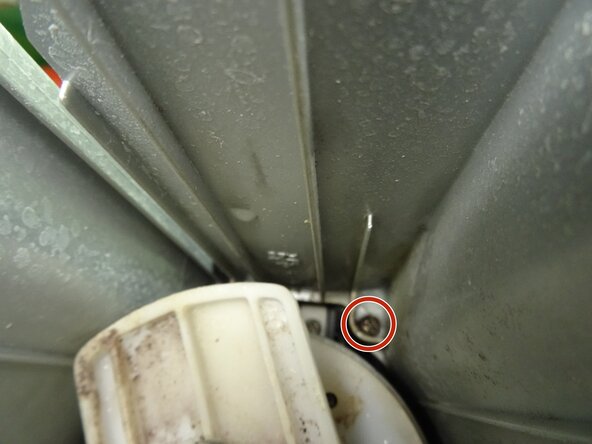
Loosen the two Phillips screws that secure the upper part of the housing.
-
Lift the housing part upwards. It will be stuck a little, you have to pull firmly with care.
-
Pay attention to the gas supply line. Unthread it from the slot at the top.
-
-
-
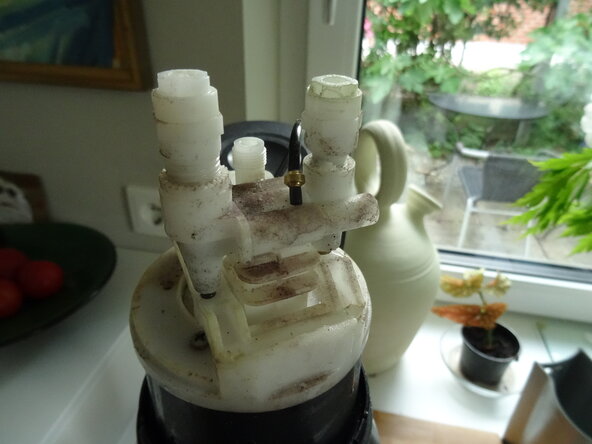
The two valves are now easily accessible. They were very dirty on this appliance and urgently needed cleaning.
-
-
-
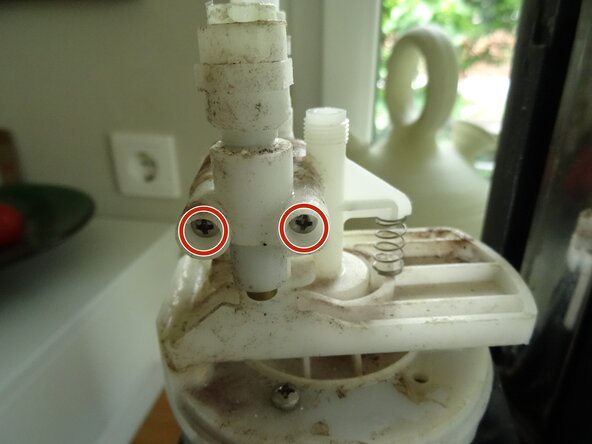
Unscrew the two long Phillips screws on the two valves.
-
Pull off the valves. Be careful not to loose the two O-rings.
-
-
-
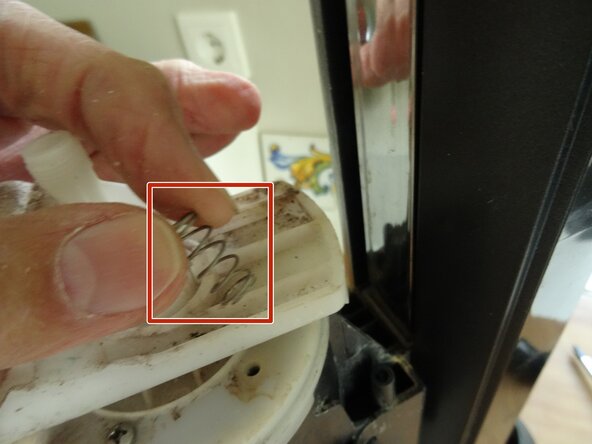
Remove the spring from the pressure plate with your fingers.
-
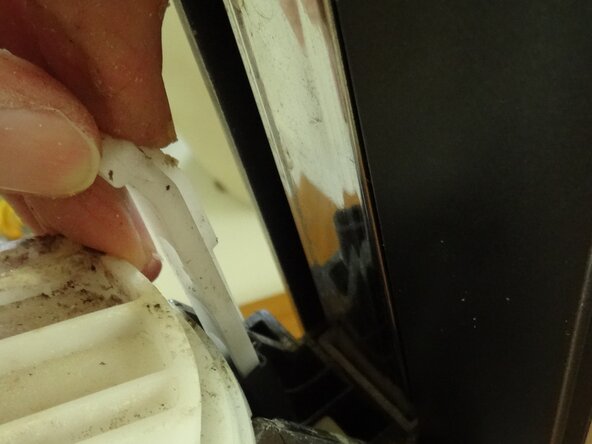
Lift the pressure plate at its rotation axis.
-
Remove the pressure plate.
-
-
-
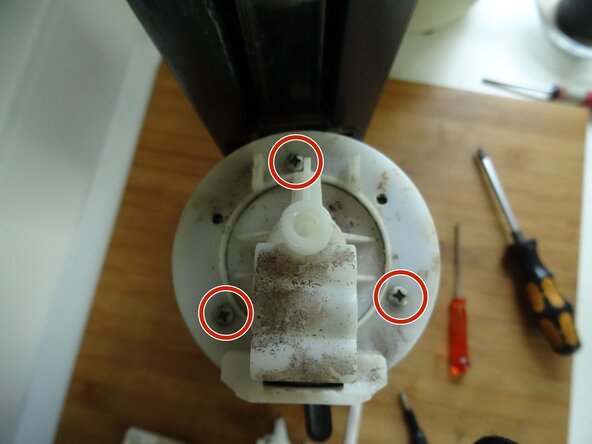
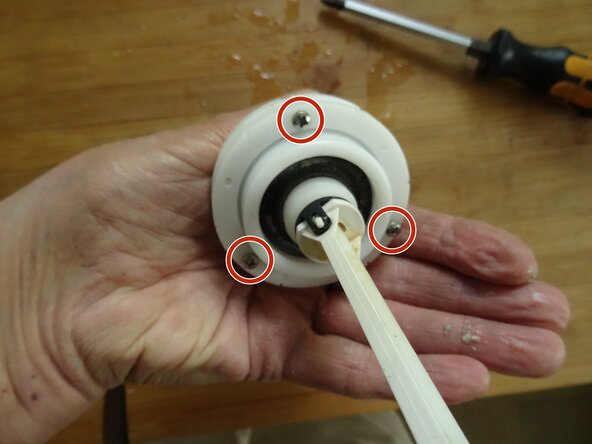
Remove the three Phillips screws securing the top cover of the carbonation unit.
-
Lift off the cover. Caution: The carbonation unit is loose and may fall out. It might be more convenient to work with the device lying flat on your work surface.
-
-
-
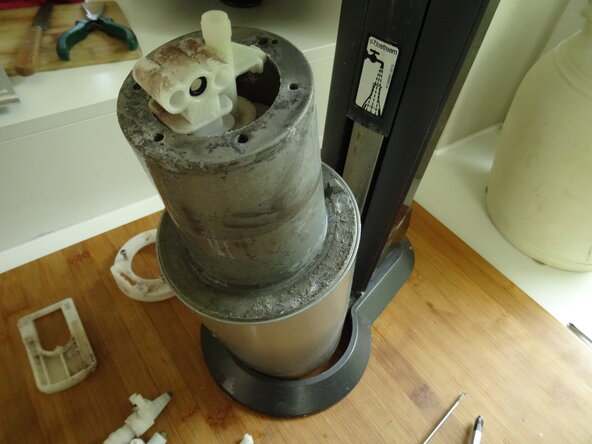
Press the carbonation unit downwards out of the metal cylinder.
-
-
-
-
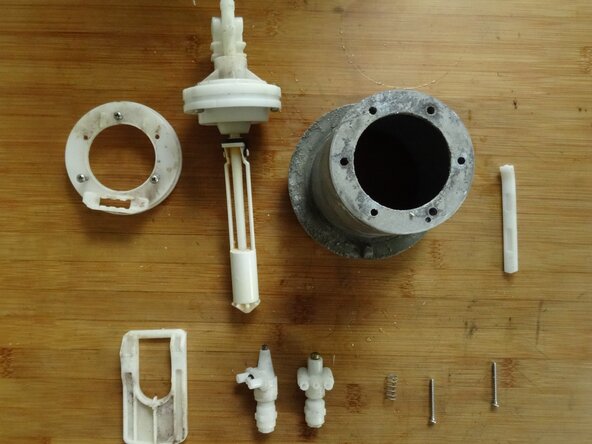
Here are the most important components.
-
Now you can descale, clean and disinfect all parts, e.g. with alcohol.
-
If gaskets are defective, replace them now.
-
The second picture shows a disassembled valve for information purposes. Normally, you should not open the valve. The O-ring on the valve piston may be defective.
-
-
-
Grease all moving parts with a little food-safe silicone grease.
-
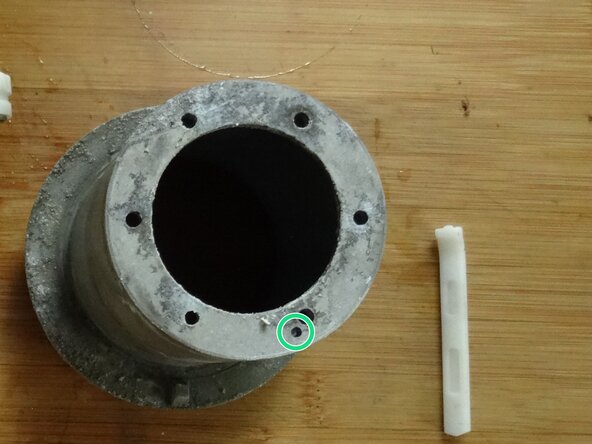
Make sure that the small pin at the top of the carbonation unit fits into the hole on the metal cylinder.
-
The cut-out in the top cover of the bubbler unit must fit over the bar to limit the angle of rotation.
-
When inserting the metal cylinder, make sure that the pin engages in the approx. 1.5 cm wide pocket on the large plastic ring, otherwise the cylinder will not be properly inserted.
-
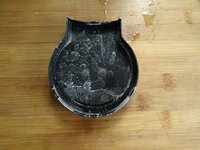
Before you push the black lid back in at the top, fill a carafe with water and check that everything is tight.
-
-




















Congratulations on your successful repair!
Cancel: I did not complete this guide.
13 other people completed this guide.
Special thanks to these translators:
100%


These translators are helping us fix the world! Want to contribute?
Start translating ›
14 Guide Comments
Super, danke für die Anleitung! Habe damit erfolgreich einen verschlissenen Dichtungsring am Ventilkolben getauscht und alles gereinigt. Die Anleitung war super leicht verständlich und eindeutig und die ganzen Hinweise super hilfreich. Ich war beim Zusammenbau erst zu vorsichtig beim Anziehen der Überwurfmutter der Gaszuleitung und musste dann auf die Suche nach dem Leck gehen. Kräftiges Anziehen mit den Fingern war aber tatsächlich ausreichend, um alles wieder dicht zu bekommen.
Danke auch von mir für die Anleitung, das Ding ist ein Biest, wenn man es auseinander bauen muss.
Bei mir klemmt nun nach einer angebrochenen Mutter der Metallzylinder und er lässt sich nicht mehr bewegen. Mein Problem beim Auseinanderbauen ist das abheben des oberen Gehäuses.
Du schreibst "Es klemmt etwas, du musst kräftig mit Gefühl ziehen." - bei mir hebt sich nur die linke Seite an, die rechte sitzt sehr fest. Gibt es da einen Trick?
