Introduction
If your Oontz Angle 3 ULTRA speaker is playing faulty audio, you may need to replace your speaker’s drivers. This replacement guide will walk you through replacing the drivers of your Oontz Angle 3 ULTRA Bluetooth speaker. For this guide, you will need a plastic opening tool, a Phillips #0 Screwdriver, a Soldering Iron with Solder Wick or a Solder Sucker, and a Jimmy. Follow this guide to learn how to solder and de-solder connections. How To Solder and Desolder Connections
You will need to match the resistance of the speaker’s default drivers with your replacements, or else your Oontz Angle 3 ULTRA will not function properly with the replacement drivers.
What you need
-
Tool used on this step:Tweezers$4.99
-
Remove the two black rubber sheaths around the edges of the speaker.
-
Under the symbol-marked sheath there is a white rubber covering for the buttons. Peel this away to reveal the panel underneath.
-
On two corners of its triangular face there is a small divot, which allows you to use your fingernails or a pair of tweezers to grip and peel away the covering.
 Ask FixBot
-
-
-
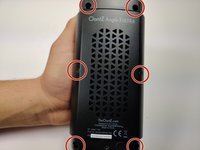
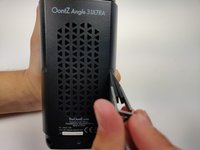
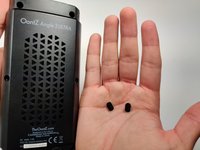
Using a pair of tweezers, pinch and pull the rubber fillings obstructing the screws.
-
-
-
-
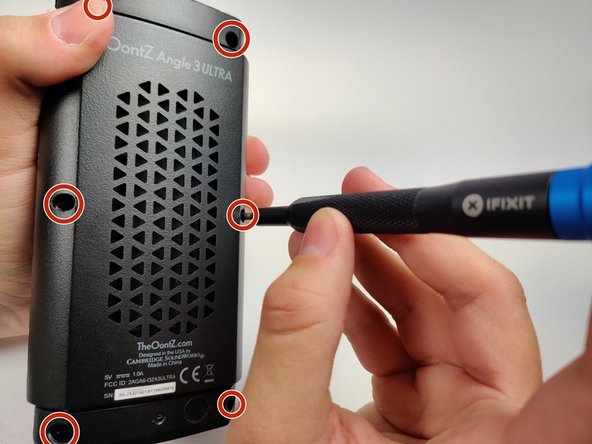
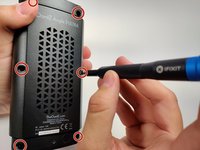
Using a JIS #0 screwdriver, remove the 6 screws holding the backplate in.
-
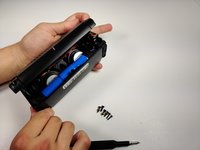
Remove the back panel off of the device.
-
-
-
Insert the Jimmy into the gap between the speaker's grill and the plastic enclosure.
-
Work the Jimmy around the gap to free it from the speaker enclosure.
-
-
Tool used on this step:Desoldering Pump$3.99
-
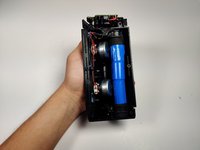
Locate the wires connecting to the driver. There will be a red wire connected to the driver’s positive terminal, and a black wire connected to the driver’s negative terminal.
-
With your soldering iron and solder sucker, remove the solder connecting the wires to each terminal, and then gently pull the wires away from the terminals to free them.
-
For more information on soldering and desoldering connections, please read the How to Solder and Desolder Connections Guide.
-
-
-
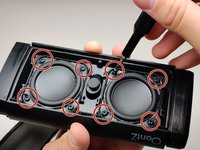
Remove the eight screws with the Phillips #0 screwdriver.
-
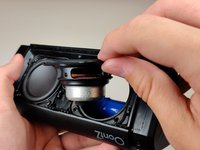
Gently push the driver from the rear out of the enclosure to remove it.
-






To reassemble your device, follow these instructions in reverse order.
Cancel: I did not complete this guide.
One other person completed this guide.

Team

Embry-Riddle Aeronautical University, Team S6-G9, Rauch Spring 2020 Member of Embry-Riddle Aeronautical University, Team S6-G9, Rauch Spring 2020
ERAU-RAUCH-S20S6G9
3 Members
6 Guides authored
3 Guide Comments
Where can i purchase replacement speaker
reference of speakers of Oontz Angle 3 ULTRA U12A pls to replacement speaker
any luck on replacement speakers?
