Introduction
Is the rear glass on your OnePlus 9 Pro cracked and shattered? If so, use this guide to remove and replace the glass on the back of your OnePlus 9 Pro.
Use caution during this guide since glass is always dangerous to deal with, especially when it is broken.
Adhesive is needed to put the back glass back on the phone. This phone is also water resistant and will only retain that water resistance if the adhesive is properly put down while repairing.
For your safety, discharge your battery below 25% before disassembling your phone.
This reduces the risk of a dangerous thermal event if the battery is accidentally damaged during the repair. If your battery is swollen, take appropriate precautions.
What you need
-
-
-
Use a hair dryer to lightly heat the perimeter of the rear glass.
-
Additionally, heat the top-right corner, as there is adhesive further inside of phone in that one spot.
-
-
-
Apply a suction handle as close to the bottom edge as possible.
-
Pull up on the suction handle with strong, steady force to create a gap between the glass and the frame.
-
Insert an opening pick into the gap.
-
-
-
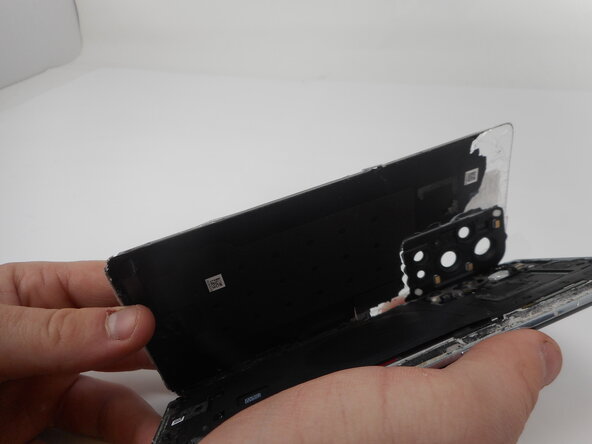
Slide the opening pick around the perimeter of the rear glass to slice the adhesive.
-
Insert additional opening picks as you slice the adhesive to prevent the adhesive from resealing.
-


To reassemble your device, follow the above steps in reverse order.
Repair didn’t go as planned? Try some basic troubleshooting or ask our Answers community for help.

Team

University of Memphis, Team 1-1, Sneed Spring 2025 Member of University of Memphis, Team 1-1, Sneed Spring 2025
UM-SNEED-S25S1G1
4 Members
12 Guides authored