Free Shipping on Domestic Orders $75+

OnePlus 8 Rear Glass Replacement

What you need

    1. OnePlus 8 Rear Glass Replacement, Heat the rear glass: step 1, image 1 of 1
      • Power off your phone and unplug any cables.

      • Heat an iOpener and apply it to the rear glass for two minutes.

      • You can also use a hair dryer, heat gun, or hot plate—but extreme heat can damage the display and internal battery, so proceed with care.

      Ask FixBot

      Add Comment

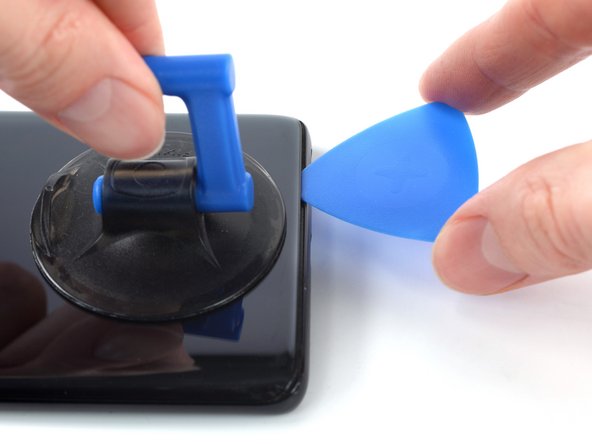
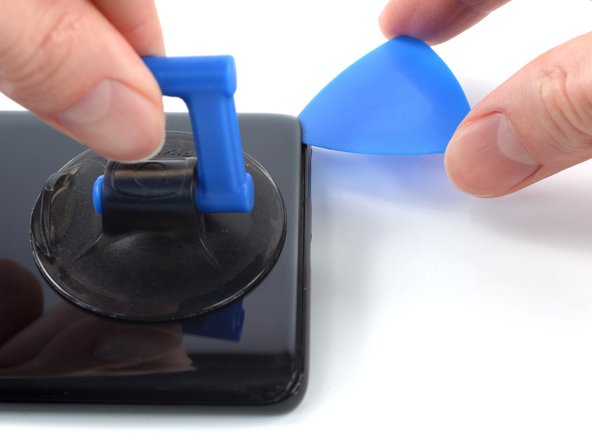
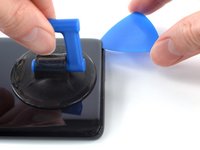
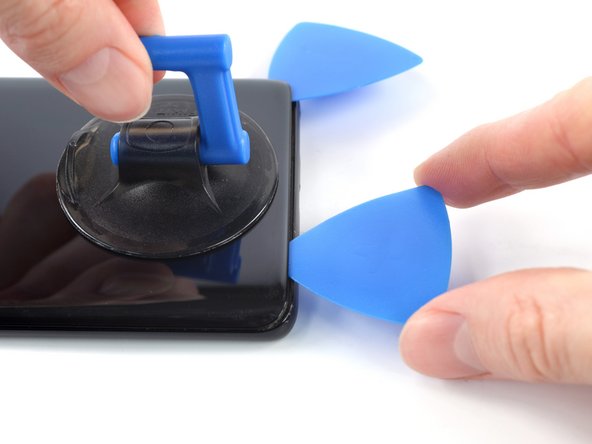
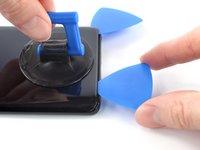
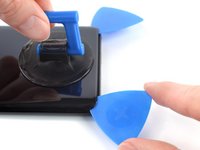
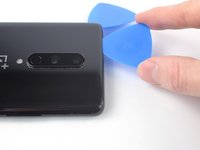
    2. OnePlus 8 Rear Glass Replacement, Insert an opening pick: step 2, image 1 of 3 OnePlus 8 Rear Glass Replacement, Insert an opening pick: step 2, image 2 of 3 OnePlus 8 Rear Glass Replacement, Insert an opening pick: step 2, image 3 of 3
      • Apply a suction handle to the center of the bottom edge of the rear glass, as close to the edge as possible.

      • If your display is badly cracked, cover it with a layer of clear packing tape to help the suction cup adhere. Alternatively, you can pull using very strong tape instead of a suction cup. If all else fails, try supergluing the suction cup to the broken screen.

      • Pull up on the suction handle with strong, steady force to create a gap between the rear glass and frame.

      • Insert an opening pick into the gap.

      Ask FixBot

      Add Comment

    3. OnePlus 8 Rear Glass Replacement, Slice the bottom edge adhesive: step 3, image 1 of 3 OnePlus 8 Rear Glass Replacement, Slice the bottom edge adhesive: step 3, image 2 of 3 OnePlus 8 Rear Glass Replacement, Slice the bottom edge adhesive: step 3, image 3 of 3
      • Slide the opening pick to the bottom right corner to slice the adhesive securing the rear glass.

      • Leave the opening pick in the bottom right corner to prevent the adhesive from resealing.

      Ask FixBot

      Add Comment

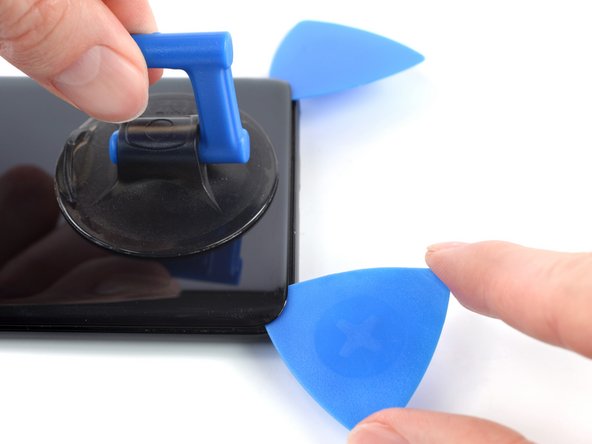
    4. OnePlus 8 Rear Glass Replacement: step 4, image 1 of 3 OnePlus 8 Rear Glass Replacement: step 4, image 2 of 3 OnePlus 8 Rear Glass Replacement: step 4, image 3 of 3
      • Insert a second opening pick under the bottom edge of the rear glass, into the gap you just created.

      • Slide the opening pick to the bottom left corner to slice the adhesive.

      • Leave the opening pick in the bottom left corner to prevent the adhesive from resealing.

      Ask FixBot

      Add Comment

    5. OnePlus 8 Rear Glass Replacement, Slice the left edge adhesive: step 5, image 1 of 3 OnePlus 8 Rear Glass Replacement, Slice the left edge adhesive: step 5, image 2 of 3 OnePlus 8 Rear Glass Replacement, Slice the left edge adhesive: step 5, image 3 of 3
      • If you have trouble slicing, reheat the iOpener and apply it to the edge for two minutes to soften the adhesive.

      • Insert a third opening pick under the bottom left corner of the rear glass.

      • Slide the opening pick up the left edge to slice the adhesive.

      • Leave the opening pick in the top left corner to prevent the adhesive from resealing.

      Ask FixBot

      Add Comment

    6. OnePlus 8 Rear Glass Replacement, Slice the top edge adhesive: step 6, image 1 of 3 OnePlus 8 Rear Glass Replacement, Slice the top edge adhesive: step 6, image 2 of 3 OnePlus 8 Rear Glass Replacement, Slice the top edge adhesive: step 6, image 3 of 3
      • Insert a fourth opening pick under the top left corner of the rear glass.

      • Slide the opening pick along the top edge to slice the adhesive.

      • Leave the opening pick in the top right corner to prevent the adhesive from resealing.

      Ask FixBot

      Add Comment

    7. OnePlus 8 Rear Glass Replacement, Slice the right edge adhesive: step 7, image 1 of 3 OnePlus 8 Rear Glass Replacement, Slice the right edge adhesive: step 7, image 2 of 3 OnePlus 8 Rear Glass Replacement, Slice the right edge adhesive: step 7, image 3 of 3
      • Insert a fifth opening pick under the top right corner of the rear glass.

      • Slide the opening pick down the right edge to slice the remaining adhesive.

      Ask FixBot

      Add Comment

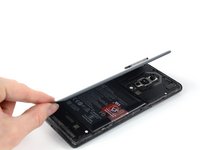
    8. OnePlus 8 Rear Glass Replacement, Remove the rear glass: step 8, image 1 of 3 OnePlus 8 Rear Glass Replacement, Remove the rear glass: step 8, image 2 of 3 OnePlus 8 Rear Glass Replacement, Remove the rear glass: step 8, image 3 of 3
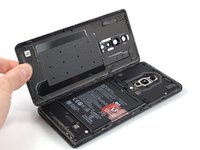
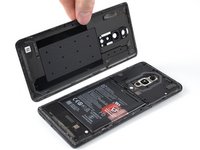
      • Remove the rear glass.

      • If the rear glass still feels stuck to the frame, slide an opening pick around the entire perimeter until the rear glass separates completely.

      • During reassembly:

      • Secure the rear glass with pre-cut adhesive or double-sided adhesive tape.

      • After installing the rear glass, apply strong, steady pressure to your phone for several minutes to help the adhesive form a good bond.

      Ask FixBot

      Add Comment

Conclusion

To reassemble your device, follow these instructions in reverse order.

Take your e-waste to an R2 or e-Stewards certified recycler.

Repair didn’t go as planned? Try some basic troubleshooting, or ask our Answers Community for help.

Cancel: I did not complete this guide.

One other person completed this guide.

Manuel Haeussermann

Member since: 07/13/22

26,644 Reputation

72 Guides authored

Team

iFixit Member of iFixit

Staff

123 Members

85,566 Guides authored

1 Guide Comment

hi, vielen Dank für die detaillierte Anleitung! Das hilft mega! Habt ihr evtl. noch eine Quelle, wo man das Backglass beziehen kann?

Thilo Cestonaro - Reply Share

Add Comment

View Statistics:

Past 24 Hours: 4

Past 7 Days: 19

Past 30 Days: 98

All Time: 4,037