Free Shipping on Domestic Orders $75+

OneLink Safe and Sound Speaker Replacement

What you need

  1. OneLink Safe and Sound Speaker Replacement, Cover: step 1, image 1 of 2 OneLink Safe and Sound Speaker Replacement, Cover: step 1, image 2 of 2
    • Run the metal spudger under the plastic rim and around the perimeter, on the top of the device to loosen the adhesive.

    • Remove plastic rim.

    Ask FixBot

    Add Comment

  2. OneLink Safe and Sound Speaker Replacement: step 2, image 1 of 2 OneLink Safe and Sound Speaker Replacement: step 2, image 2 of 2
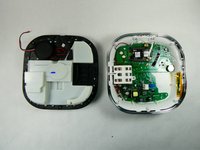
    • Use a Phillips #0 screwdriver to remove nine screws from the top of the device.

    Ask FixBot

    Add Comment

  3. OneLink Safe and Sound Speaker Replacement: step 3, image 1 of 2 OneLink Safe and Sound Speaker Replacement: step 3, image 2 of 2
    Tool used on this step:
    Tweezers
    $4.99
    Buy
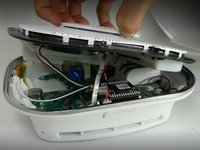
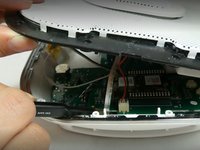
    • Don't yank or pull the lid off as there are ribbons and cables connecting the top of the device to the motherboard. They need to be disconnected before the top is removed.

    • Use tweezers or a spudger to disconnect the ribbon from the motherboard.

    Ask FixBot

    Add Comment

  4. OneLink Safe and Sound Speaker Replacement: step 4, image 1 of 1
    • Use tweezers to unplug the speaker cable from the motherboard.

    Ask FixBot

    Add Comment

  5. OneLink Safe and Sound Speaker Replacement: step 5, image 1 of 2 OneLink Safe and Sound Speaker Replacement: step 5, image 2 of 2
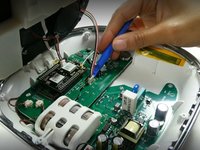
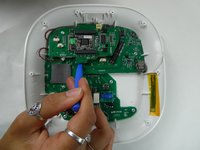
    • Use the plastic opening tool to remove the microphone connection from the motherboard.

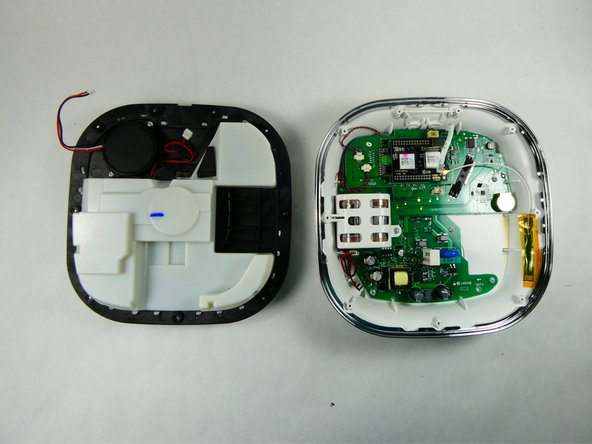
    • Remove the top of the device.

    Ask FixBot

    Add Comment

  6. OneLink Safe and Sound Speaker Replacement, Battery: step 6, image 1 of 1
    • Use the plastic opening tool to disconnect the cable from the motherboard.

    Ask FixBot

    Add Comment

  7. OneLink Safe and Sound Speaker Replacement: step 7, image 1 of 2 OneLink Safe and Sound Speaker Replacement: step 7, image 2 of 2
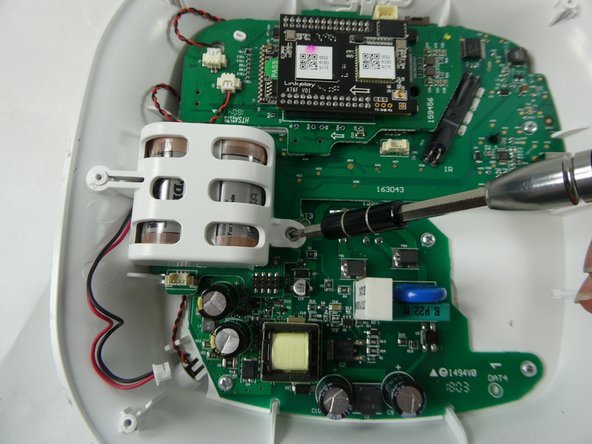
    • Use a Phillips #0 screwdriver to remove the single screw securing the plastic battery cage.

    Ask FixBot

    Add Comment

  8. OneLink Safe and Sound Speaker Replacement: step 8, image 1 of 2 OneLink Safe and Sound Speaker Replacement: step 8, image 2 of 2
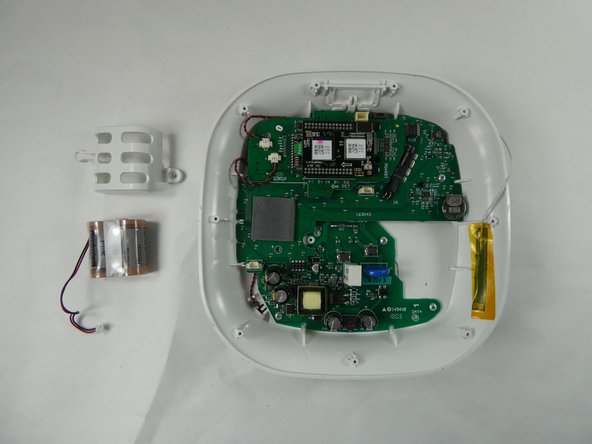
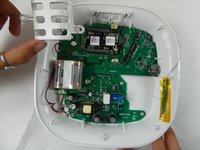
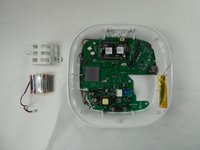
    • Remove the plastic cage holding the battery in place.

    • Remove the battery from the device.

    Ask FixBot

    Add Comment

  9. OneLink Safe and Sound Speaker Replacement, Bluetooth Module: step 9, image 1 of 1
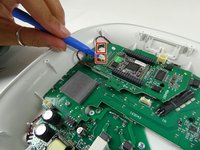
    • Use the opening tool to disconnect the Wi-Fi cable from the Bluetooth module.

    Ask FixBot

    Add Comment

  10. OneLink Safe and Sound Speaker Replacement: step 10, image 1 of 2 OneLink Safe and Sound Speaker Replacement: step 10, image 2 of 2
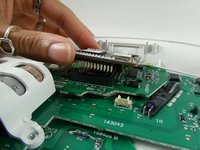
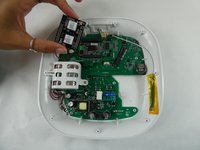
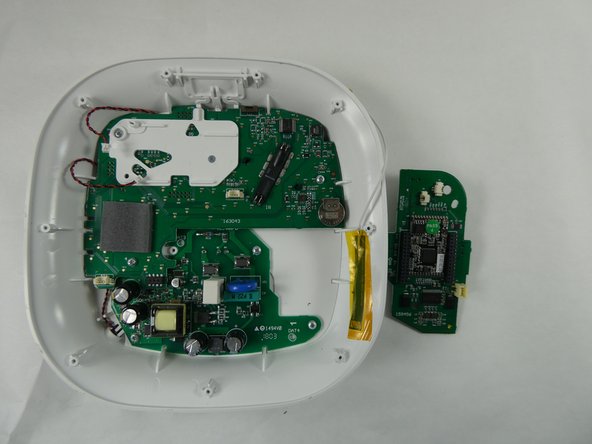
    • Lift the Bluetooth module off of the daughterboard.

    • Lift it straight up to avoid bending the delicate pins that connect the Bluetooth module to the board.

    Ask FixBot

    Add Comment

  11. OneLink Safe and Sound Speaker Replacement, Motherboard: step 11, image 1 of 3 OneLink Safe and Sound Speaker Replacement, Motherboard: step 11, image 2 of 3 OneLink Safe and Sound Speaker Replacement, Motherboard: step 11, image 3 of 3
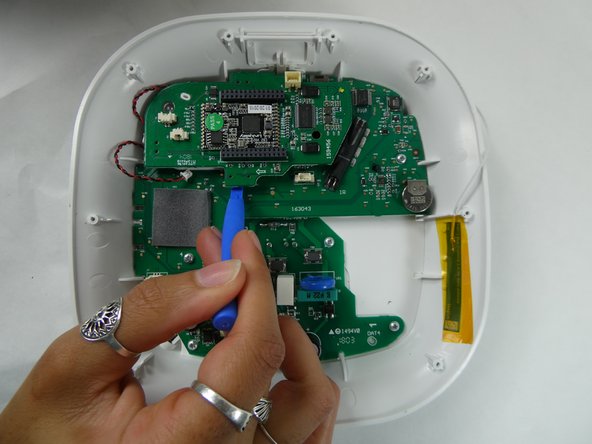
    • Use the opening tool to disconnect the speaker cables from the daughterboard.

    • Use the opening to lift the daughterboard off of the motherboard.

    • The daughterboard is sitting on a white plastic base on top of the motherboard.

    Ask FixBot

    Add Comment

  12. OneLink Safe and Sound Speaker Replacement: step 12, image 1 of 2 OneLink Safe and Sound Speaker Replacement: step 12, image 2 of 2
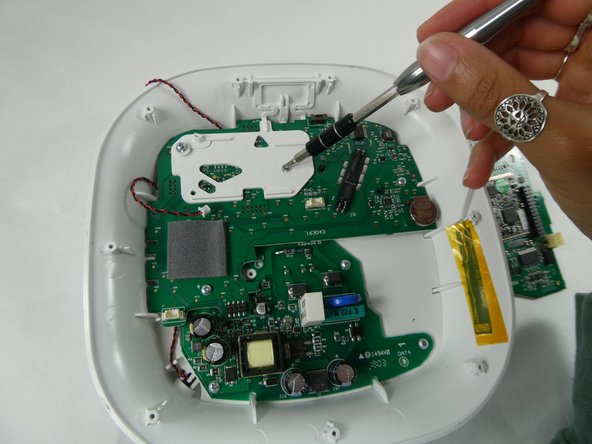
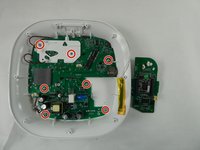
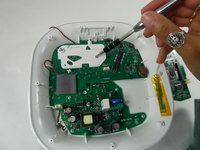
    • Use a Phillips #0 screwdriver to remove seven screws securing the white base and motherboard.

    Ask FixBot

    Add Comment

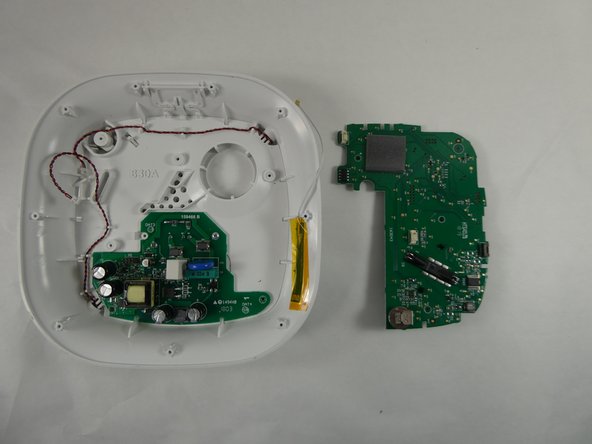
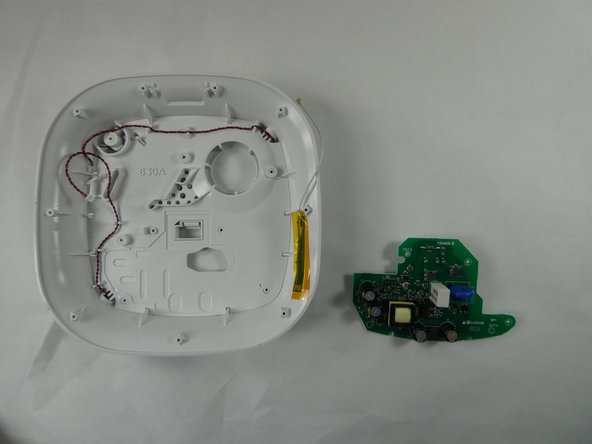
  13. OneLink Safe and Sound Speaker Replacement: step 13, image 1 of 3 OneLink Safe and Sound Speaker Replacement: step 13, image 2 of 3 OneLink Safe and Sound Speaker Replacement: step 13, image 3 of 3
    • Gently remove the motherboard.

    Ask FixBot

    Add Comment

  14. OneLink Safe and Sound Speaker Replacement, Speaker: step 14, image 1 of 2 OneLink Safe and Sound Speaker Replacement, Speaker: step 14, image 2 of 2
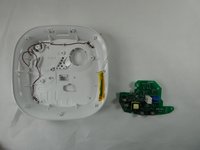
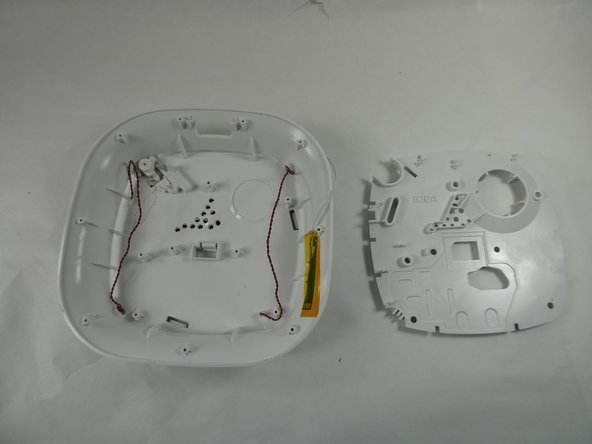
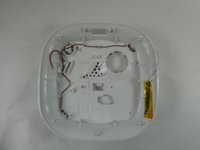
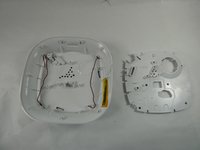
    • Remove the speaker cables from the channels along the edge of the speaker cover.

    • Use an opening tool or your fingers to lift the speaker cover off of the back cover which houses the speakers.

    Ask FixBot

    Add Comment

  15. OneLink Safe and Sound Speaker Replacement: step 15, image 1 of 1
    • When the speaker cover is removed the speakers can be replaced.

    Ask FixBot

    Add Comment

Conclusion

To reassemble your device, follow these instructions in reverse order.

Cancel: I did not complete this guide.

Arianna Roberts

Member since: 11/10/22

687 Reputation

6 Guides authored

Team

UMass Dartmouth, Team 2-2, Petersen Fall 2022 Member of UMass Dartmouth, Team 2-2, Petersen Fall 2022

UMASSD-PETERSEN-F22S2G2

3 Members

72 Guides authored

1 Guide Comment

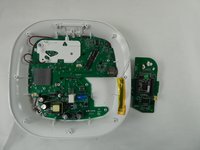
I read in some review that the replacement speakers are 10 watts and they have a diameter of 6.8 inches. Can you add a picture of the actual speaker so I can purchase a replacement for my damaged OneLink Safe and Sound speaker?

BBQ 572 - Reply Share
Add Comment

View Statistics:

Past 24 Hours: 0

Past 7 Days: 4

Past 30 Days: 62

All Time: 460