
OneLink Safe and Sound Bluetooth Module Replacement

Arianna Roberts and 4 other contributors
Last updated on Jan 13, 2026
Views: 579
View statistics:
- Past 24 Hours:
- 2
- Past 7 Days:
- 11
- Past 30 Days:
- 58
- All Time:
- 579
Comments: 1
1 comment on steps.
Completed: 0 1
No one has marked this guide "completed." Will you be the first?
1 person has marked this guide "completed." It's you — great job!
Favorites: 0 1
No one has favorited (and subscribed to) this guide. Will you be the first?
1 person has favorited (and subscribed to) this guide — and that's you!
Introduction
Go to step 1 ↓If your OneLink Safe and Sound won't connect to your phone via Bluetooth it could be due to a malfunctioning Bluetooth module. This guide will walk you through opening the device and removing/replacing the Bluetooth module. The only knowledge needed is identifying the different cables used to connect the top half to the bottom half. Before replacing the Bluetooth module, please refer to the OneLink Safe and Sound Troubleshooting page for other fixes to this problem. Also before removing the OneLink from the ceiling, make sure to turn off power at your building's junction box. With the right tools you can expect to completely replace the Bluetooth module and restore it to working order.
What you need
Tools


-
-
-
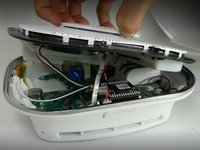
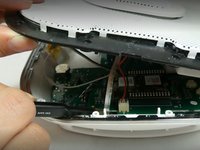
Run the metal spudger under the plastic rim and around the perimeter, on the top of the device to loosen the adhesive.
-
Remove plastic rim.
 Ask FixBot
-
-
-
Use a Phillips #0 screwdriver to remove nine screws from the top of the device.
-
-
Tool used on this step:Tweezers$4.99
-
Use tweezers or a spudger to disconnect the ribbon from the motherboard.
-
-
-
Use the plastic opening tool to remove the microphone connection from the motherboard.
-
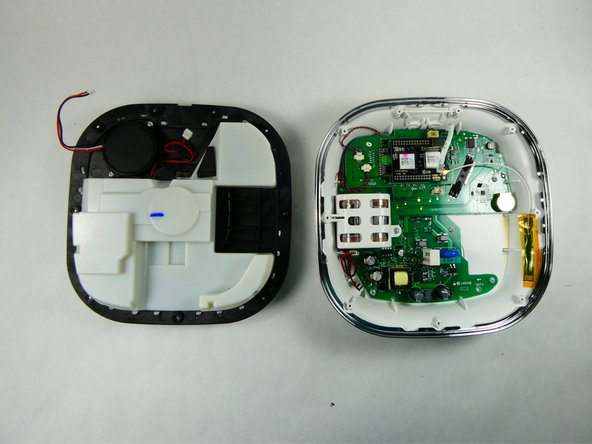
Remove the top of the device.
-
-
-
-
-
-
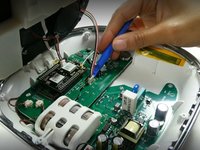
Use the opening tool to disconnect the Wi-Fi cable from the Bluetooth module.
-
-




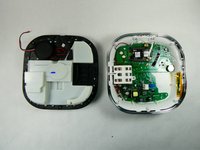


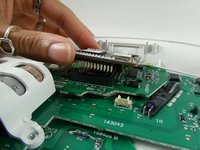
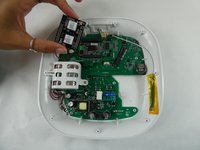
To reassemble your device, follow these instructions in reverse order.

Team

UMass Dartmouth, Team 2-2, Petersen Fall 2022 Member of UMass Dartmouth, Team 2-2, Petersen Fall 2022
UMASSD-PETERSEN-F22S2G2
3 Members
72 Guides authored
