Free Shipping on Domestic Orders $75+

One Education Infinity:One Camera Assembly Replacement

Views: 699

View statistics:

Past 24 Hours:
1
Past 7 Days:
17
Past 30 Days:
82
All Time:
699
Comments: 0

No one has left comments on this guide. Will you be first?

Go to guide comments
Completed: 1

1 person has marked this guide "completed." Will you be next?

Favorites: 0

No one has favorited (and subscribed to) this guide. Will you be the first?

Time Required: 20 - 35 minutes
Difficulty: Moderate
One Education Infinity:One Camera Assembly Replacement

Introduction

Go to step 1 ↓

In the One Education Infinity:One laptop, the front and rear facing cameras are one component. If you are experiencing performance issues with either camera this guide will help you replace them.

What you need

Tools

    1. One Education Infinity:One Camera Assembly Replacement, Battery: step 1, image 1 of 2 One Education Infinity:One Camera Assembly Replacement, Battery: step 1, image 2 of 2
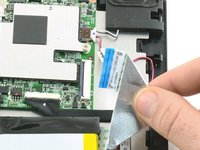
      • Use a spudger to disconnect the black bundled cable connector from the motherboard.

      Ask FixBot

      Add Comment

    2. One Education Infinity:One Camera Assembly Replacement: step 2, image 1 of 3 One Education Infinity:One Camera Assembly Replacement: step 2, image 2 of 3 One Education Infinity:One Camera Assembly Replacement: step 2, image 3 of 3
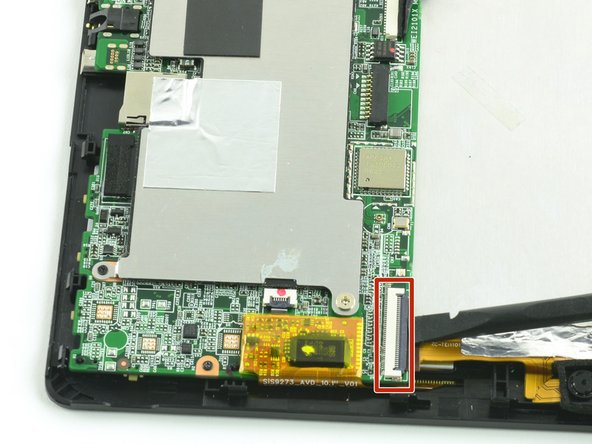
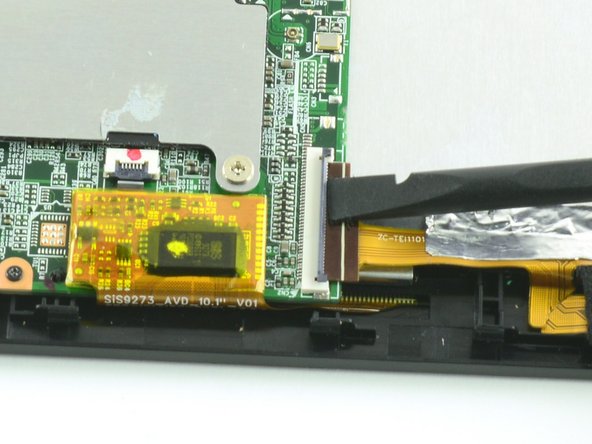
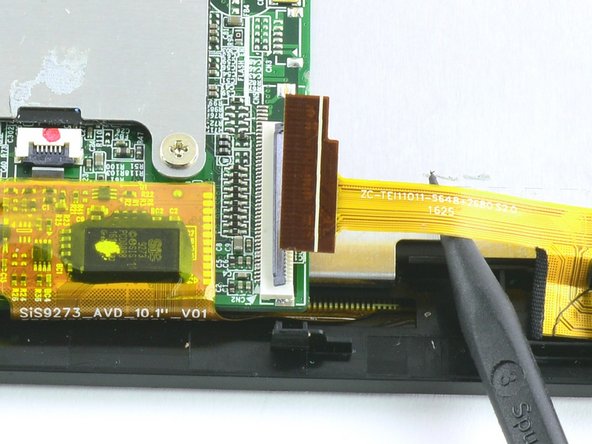
      • Use a spudger to lift the black tab on top of the ZIF connector.

      • Slide the ribbon cable out of the connector.

      Ask FixBot

      Add Comment

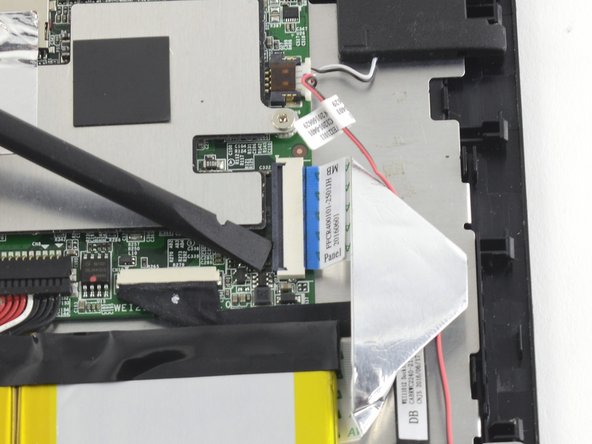
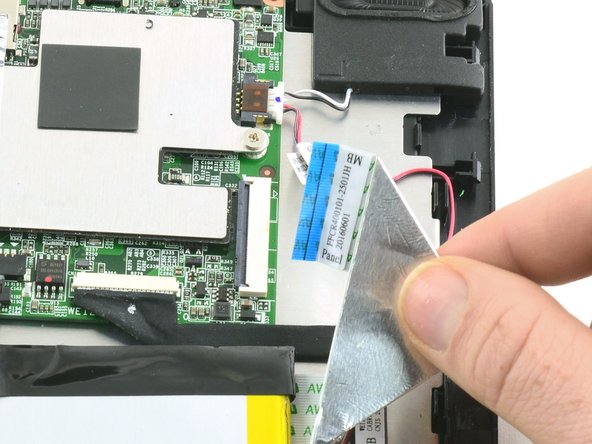
    3. One Education Infinity:One Camera Assembly Replacement: step 3, image 1 of 3 One Education Infinity:One Camera Assembly Replacement: step 3, image 2 of 3 One Education Infinity:One Camera Assembly Replacement: step 3, image 3 of 3
      • Use a spudger to flip up the black retaining flap on the ZIF connector.

      • Pull the folded ribbon cable straight out of the connector.

      • This ribbon cable must be disconnected before removing the battery because it is attached to the battery with adhesive.

      Ask FixBot

      Add Comment

    4. One Education Infinity:One Camera Assembly Replacement: step 4, image 1 of 1
      • Use a spudger to pry the battery away from the device.

      • Always use ESD safe tools when working with delicate electrical components.

      Ask FixBot

      Add Comment

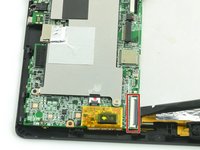
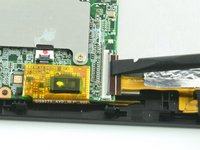
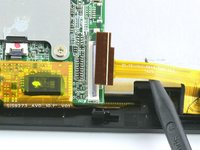
    1. One Education Infinity:One Camera Assembly Replacement, Camera Assembly: step 5, image 1 of 3 One Education Infinity:One Camera Assembly Replacement, Camera Assembly: step 5, image 2 of 3 One Education Infinity:One Camera Assembly Replacement, Camera Assembly: step 5, image 3 of 3
      • Use a spudger to flip up the black flap on the camera's ZIF connector.

      • Pull the ribbon cable straight out of the connector.

      Ask FixBot

      Add Comment

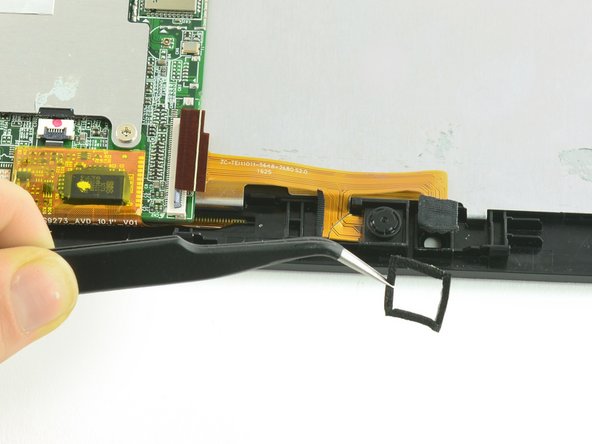
    2. One Education Infinity:One Camera Assembly Replacement: step 6, image 1 of 2 One Education Infinity:One Camera Assembly Replacement: step 6, image 2 of 2
      Tool used on this step:
      Tweezers
      $4.99
      Buy
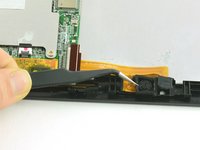
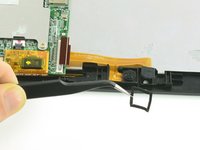
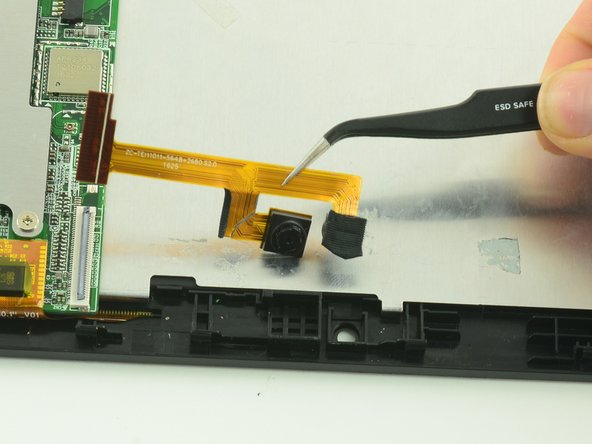
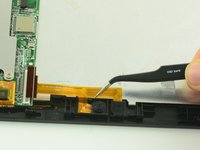
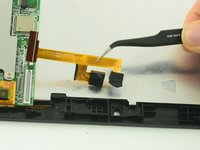
      • Use tweezers to remove the black cushion surrounding the camera lens.

      Ask FixBot

      Add Comment

    3. One Education Infinity:One Camera Assembly Replacement: step 7, image 1 of 2 One Education Infinity:One Camera Assembly Replacement: step 7, image 2 of 2
      • Use tweezers to lift the camera assembly away from the device.

      • Lift straight up to avoid tearing the delicate ribbon cable on the retaining wall.

      Ask FixBot

      Add Comment

Conclusion

To reassemble your device, follow these instructions in reverse order.

Cancel: I did not complete this guide.

One other person completed this guide.

Taylor Bratsch

Member since: 09/06/16

6,186 Reputation

14 Guides authored

0 Guide Comments

Add Comment

View Statistics:

Past 24 Hours: 1

Past 7 Days: 17

Past 30 Days: 82

All Time: 699