
OnHub Outer Casing Replacement

Joseph Ainsworth and 3 other contributors
Last updated on May 10, 2016
Views: 836
View statistics:
- Past 24 Hours:
- 3
- Past 7 Days:
- 15
- Past 30 Days:
- 84
- All Time:
- 836
Comments: 0
No one has left comments on this guide. Will you be first?
Go to guide commentsCompleted: 2 3
2 people have marked this guide "completed." Will you be next?
3 people have marked this guide "completed." Including you — great job!
Favorites: 0 1
No one has favorited (and subscribed to) this guide. Will you be the first?
1 person has favorited (and subscribed to) this guide — and that's you!
Introduction
Go to step 1 ↓When replacing parts within the OnHub device, it is imperative that you can remove the outer casing. In this guide we will detail the steps taken to remove the outer casing, so that you may replace the casing itself or access the part that you are trying to reach.
What you need
Tools


-
-
-
While holding the base firmly using the palm of one hand, remove the cowl (cover) by turning the cowl counterclockwise until a snap is heard. Once disengaged, pull upwards.
 Ask FixBot
-
-
-
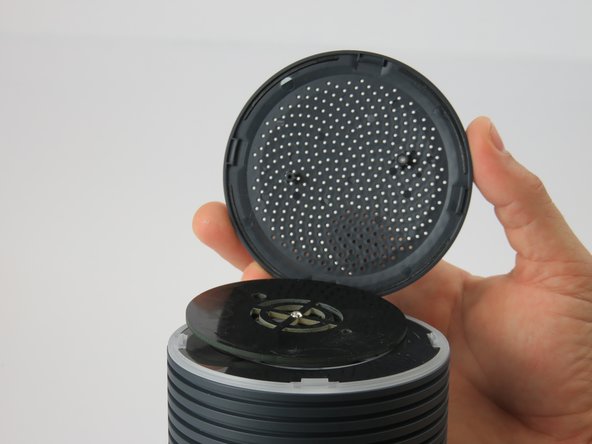
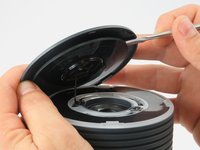
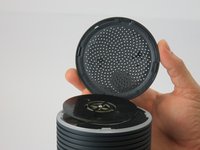
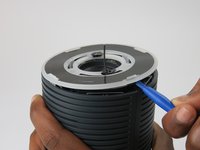
Place the plastic opening tool under the speaker grille, and just above the light ring.
-
Move the plastic opening tool around the groove while applying upward force to pry loose the 4 clips holding the grille in place.
-
-
-
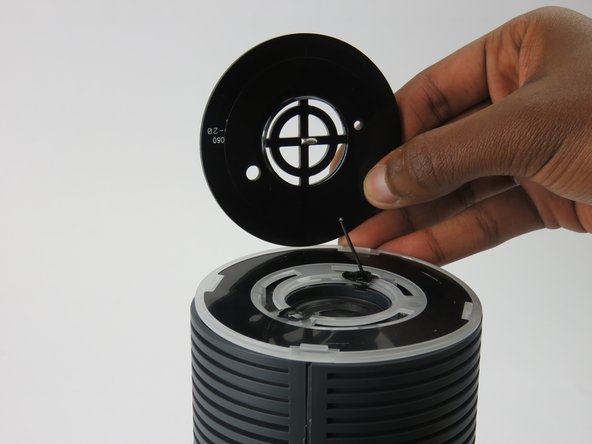
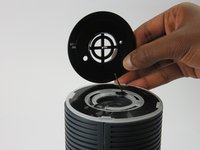
Using a metal spudger, carefully remove the congestion-sensor antenna by undoing the two clips.
-
-
-
-
-
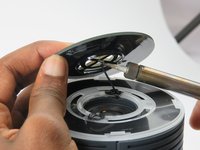
Remove the wire connection to the antenna by soldering it off.
-
For help with soldering and de-soldering check out the iFixit Soldering Guide
-
-
-
-
-
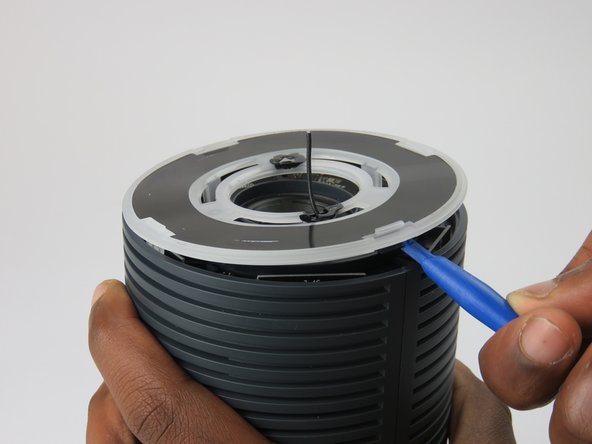
You must remove the plastic cover found just above the speaker.
-
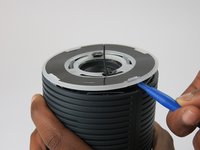
Wedge the plastic opening tool under the cover and apply pressure in an upward direction.
-
There are four clips that you are removing. When disengaged, these clips will make a snapping noise.
-
-
-
Upon removing the cover, four screws and the speaker housing will be exposed.
-
Unscrew the four 12mm screws using a #1 Phillips head screwdriver.
-
This unlocks the speaker housing and antenna array from the casing.
-
-
-
On the bottom of the OnHub is two screws holding the casing to the base.
-
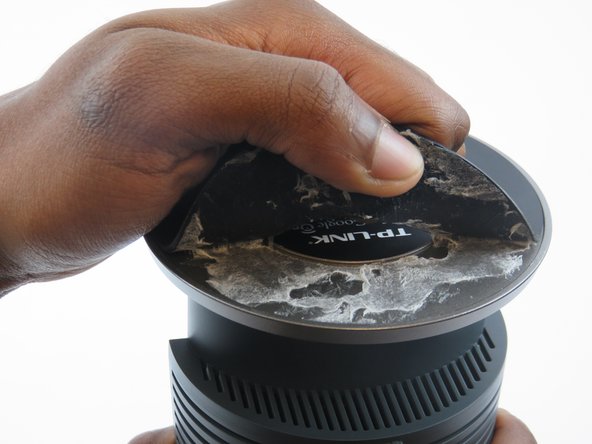
To access these screws, you must remove the rubber pad that is glued to the base.
-
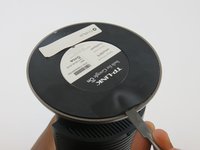
To remove the pad, slide a metal spudger under the edge of the pad. Pry the pad away from the base, removing the glue.
-
Once the pad is pulled up enough to grab, peel it the rest of the way exposing the screws.
-
-
-
-
Remove the two 12mm screws under the base of the OnHub by using a #1 Phillips head screwdriver.
-
-
-
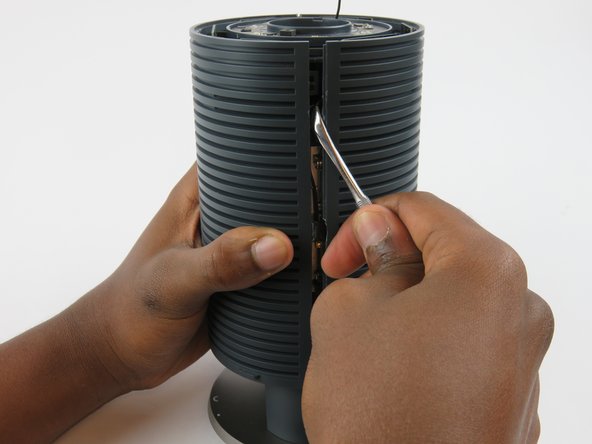
Once the two screws are removed from the base, it is time to split the casing apart.
-
Wedge a spudger between the two casing halves, and pry the clips apart starting from the top
-
There are three hooking style clips in total.
-
-
-
Once unclipped, you can slide the two casing halves apart, and remove the casing.
-
-









To reassemble your device, follow these instructions in reverse order.
Cancel: I did not complete this guide.
2 other people completed this guide.

Team

USF Tampa, Team 3-3, Sullivan Spring 2016 Member of USF Tampa, Team 3-3, Sullivan Spring 2016
USFT-SULLIVAN-S16S3G3
3 Members
60 Guides authored
