Introduction
With organic design like Photato, there can sometimes be irregularity. Is Potato!
It seems glue has gotten into the shutter button. Here we remove the outer photato shell, remove the camera module, open the camera remove the mainboard, unstick the bezzel button and reassemble.
What you need
-
-
-
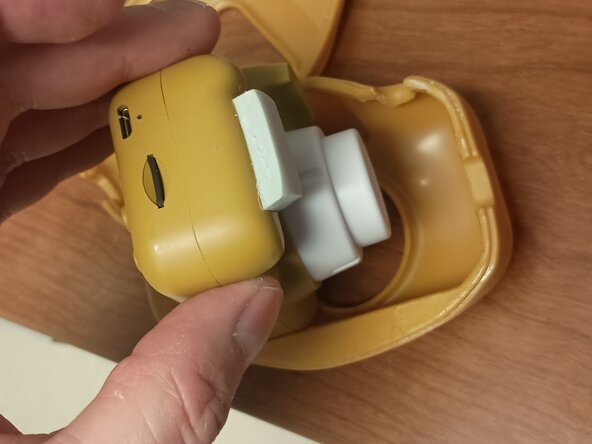
Make sure USB connector and the SD card are removed.
-
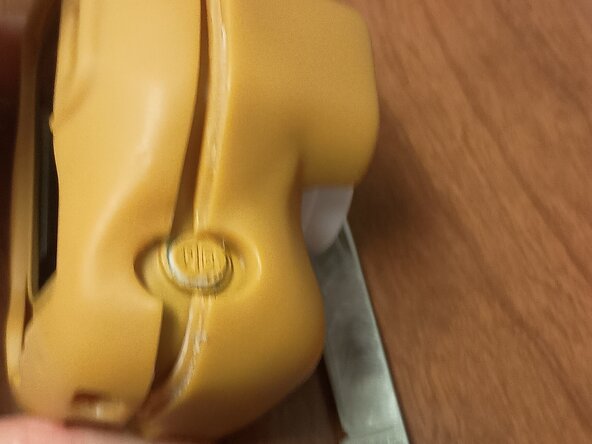
Crack free the adhesive around the seam of the potato cover.
 Ask FixBot
-
-
-
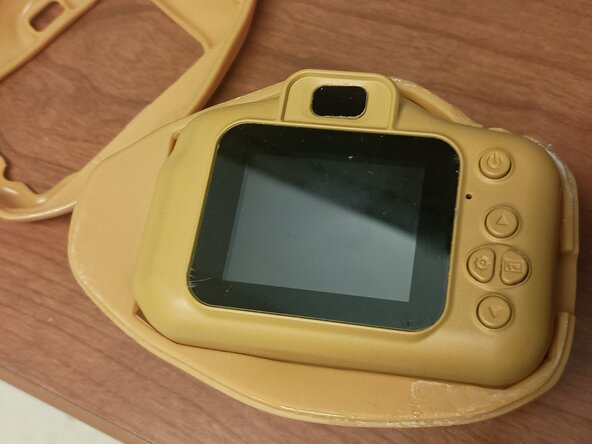
Lift on the left side of the inner camera module until the double sided tape breaks free. You can push on the Lense bezel a bit.
-
-
-
Spudge the camera module apart at the seam and release the detents. Use care when apart not to rip the flex cable.
-
-
-
-
Gently lift the front edge of the flex cable latch. Once open gently remove the flex cable detaching the front of the camera module fully.
-
-
-
In the same manor as step 5 carefully lift the front edge of the flex cable latch holding the back display flex cable and detach the flex cable.
-
-
-
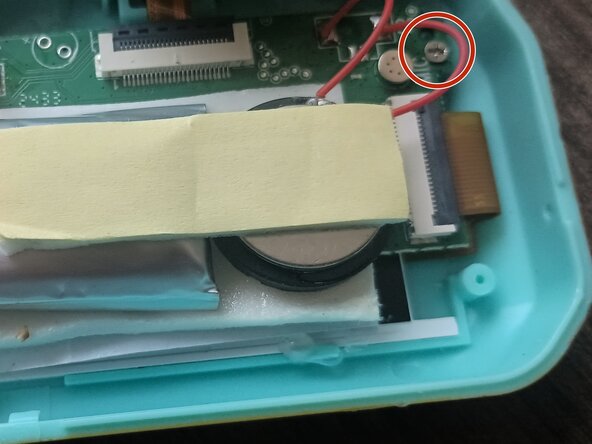
Use the small Phillips screwdriver to remove the three screws holding the main board in place. (Ignore that the flex cable is attached in the photo, It was harder that way.)
-
-
-
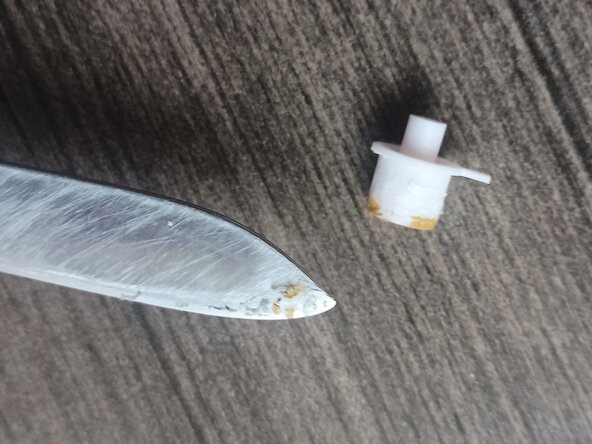
Careful not to damage the display. Use the needle nose pliers to squeeze and force the bezel button out of the rear camera. You may have to break the glue with a knife. Be Careful not to cut yourself.
-
Scrape and trim the glue from the bezel button and the hole until, when inserted in the hole, the bezel button can move freely.
-
-
-
Reassemble the bezel button into the hole.
-
Make sure you have the menu bezel buttons in place
-
Place the mainboard back into the back shell. making sure it lies flat and the rear flex cable is not trapped underneath. make sure the three screw holes line up.
-
Replace the three mainboard screws. They're the short ones. I usually turn the screws backwards to find the original thread. Put them all in loosely first then gently tighten them. Three Screws!
-
Insert the rear flex cable into its connector and carfully close the latch.
-
Bring the front shell close and line it up, then tip it forward so the front flex cable is lined up with its connector. It's difficult but fully insert the front flex cable into its connector and carefully close its latch while holding it in.
-
Just set the front of the camera together and test its function first, before snapping it together. Also make sure the usb cable can connect to the charge port. MAKE SURE IT WORKS. This way you can retry the connections if there's a problem.
-
Snap the camera module together and reinsert and gently tighten the side screw.
-
-
-
Place the camera module back into the potato shell. Use a couple drops of super glue on the seams, BUT NOT THE BUTTONS!
-
IS POTATO!
-
-











To reassemble your device, follow these instructions in reverse order.

