
Omaker M4 Motherboard Replacement
![[deleted]](https://assets.cdn.ifixit.com/static/images/avatars/User/ifixit/avatar-4.thumbnail)
[deleted] and 5 other contributors
Last updated on May 10, 2016
Views: 1.9K
View statistics:
- Past 24 Hours:
- 4
- Past 7 Days:
- 19
- Past 30 Days:
- 112
- All Time:
- 1,876
Comments: 0
No one has left comments on this guide. Will you be first?
Go to guide commentsCompleted: 2 3
2 people have marked this guide "completed." Will you be next?
3 people have marked this guide "completed." Including you — great job!
Favorites: 0 1
No one has favorited (and subscribed to) this guide. Will you be the first?
1 person has favorited (and subscribed to) this guide — and that's you!
Featured Student Guide
This guide has been the hard work of our awesome students and is found to be exceptionally cool by the iFixit staff.
Introduction
Go to step 1 ↓Removing the motherboard from the device is fairly simple. However, be careful not to remove the motherboard without removing the three screws and the wires from the speaker and microphone.
What you need
Tools


-
-
-
Flip the device over so the front of the speaker is facing down. Make sure to place the speaker on a flat surface
 Ask FixBot
-
-
-
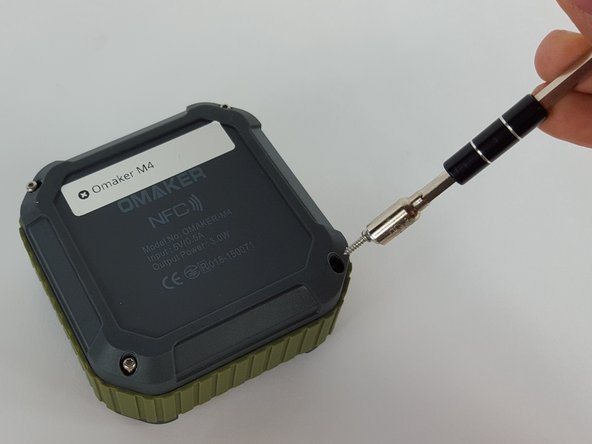
Use a T6 Torx screwdriver to remove the four 9mm screws from the back of the device.
-
-
-
Use a magnet to remove the screws after unscrewing them and place them aside.
-
-
Tool used on this step:Tweezers$4.99
-
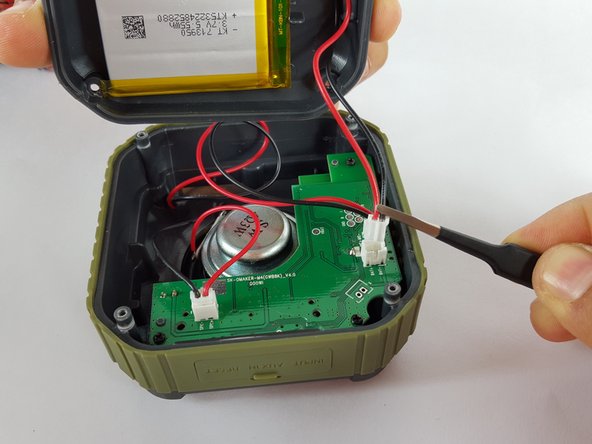
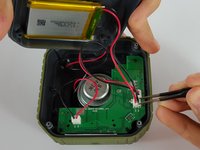
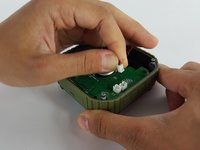
Remove the end of the battery connection from the motherboard by holding the end of the wire and carefully pulling it out of the socket using tweezers.
-
-
-
-
-
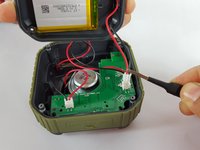
Remove the mic wire by carefully pulling the plug out of the socket.
-
-
-
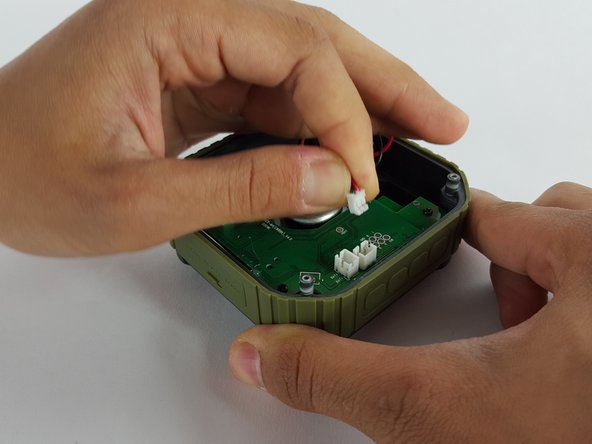
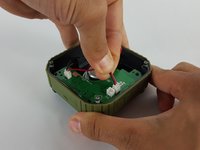
Remove the speaker wire by carefully pulling the plug out of the socket on the motherboard.
-
-
-
-
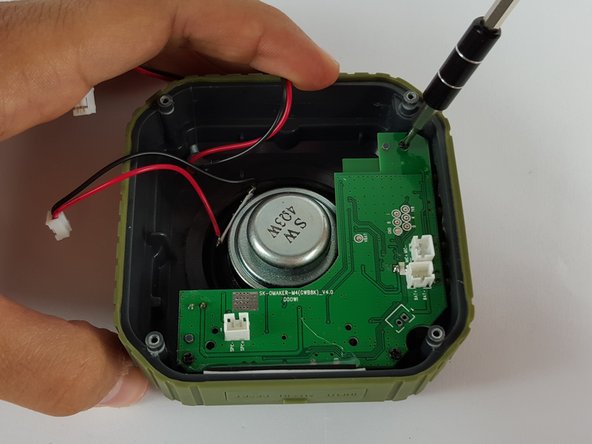
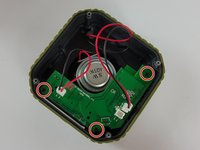
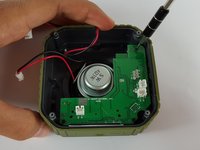
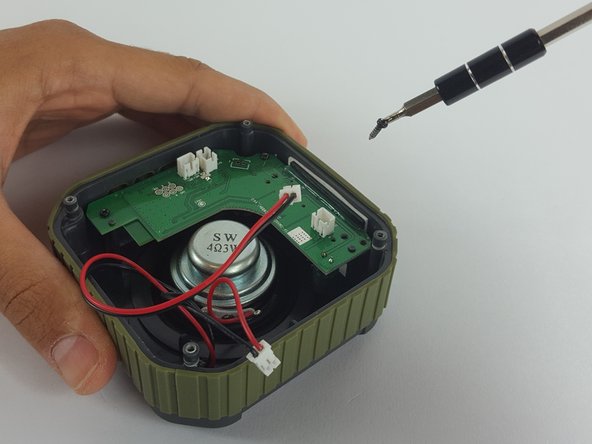
Use Phillips PH00 screwdriver to remove the three screws holding the motherboard in place.
-
-
-
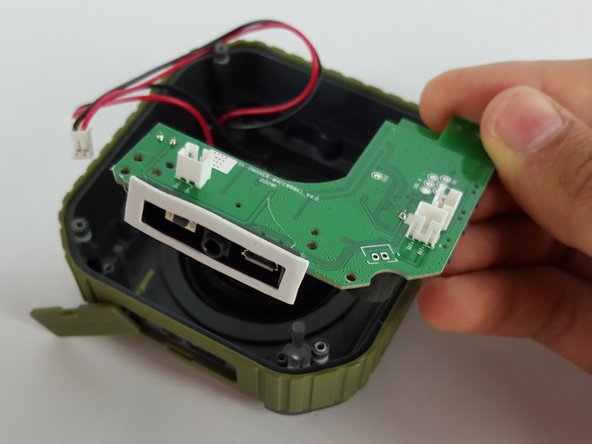
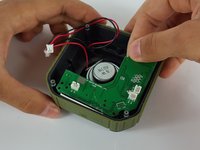
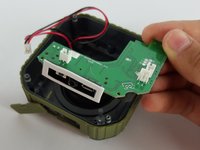
Carefully remove the motherboard with your hand by lifting it from the device.
-
-









To reassemble your device, follow these instructions in reverse order.
Cancel: I did not complete this guide.
2 other people completed this guide.

