Introduction
This guide demonstrates how to replace the lens assembly on your Olympus Tough TG-1 camera. If your camera's lens has been damaged or isn’t working properly, this step-by-step guide will walk you through the process of safely removing and replacing the lens assembly.
Known for its rugged, waterproof design, the TG-1 is built to withstand tough conditions—but even the toughest cameras can need repairs. If your camera’s lens is jammed, scratched, or misaligned, replacing the lens box may resolve these issues and restore proper lens functionality.
Before you start, make sure to remove your camera's battery and unplug it from the charger.
What you need
-
-
The top of the camera does not contain screws. You do not need to remove anything from the top of the camera.
 Ask FixBot
-
-
-
Remove the two 5 mm screws on the side of the camera with the plug.
-
Open the compartment door and remove both 6 cm screws inside of the compartment door. This will allow you to remove the tan piece held by the screws.
-
-
-
Turn the camera so that you are looking at the bottom of the camera.
-
Remove the two 4 mm screws from the bottom of the camera.
-
-
-
-
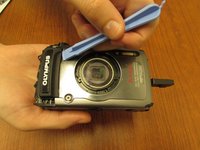
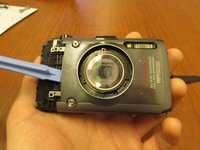
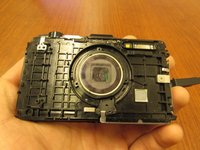
Use the plastic opening tool to remove both components of the front panel. This includes the black part on the outside of the front panel and the main silver panel.
-
-
-
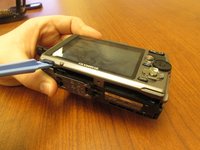
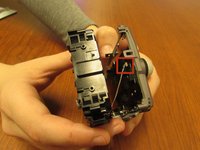
Using the plastic opening tools, carefully open the case.
-
-
-
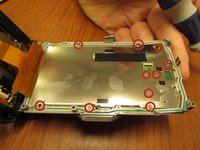
Using the screwdriver, remove the ten 3mm anchor screws.
-
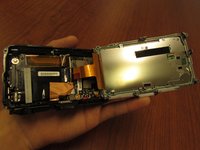
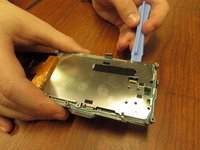
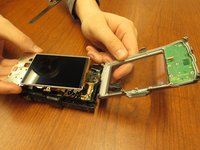
Using the plastic opening tool, open the protective cover so that the screen is exposed.
-
-
-
Carefully unclip the screen from its circuit ribbon.
-
-
-
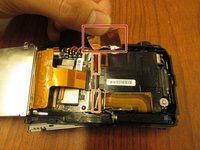
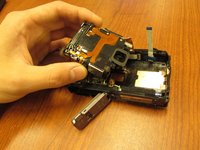
Lift the copper foiled ribbon away from the lens box.
-
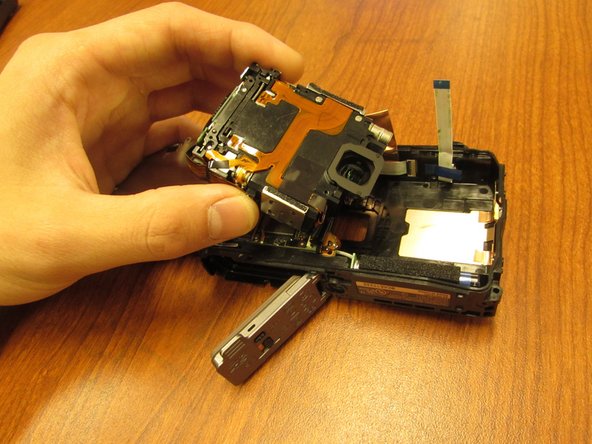
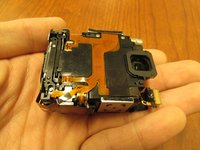
Detach the box by unclipping the ribbons connected to the motherboard.
-
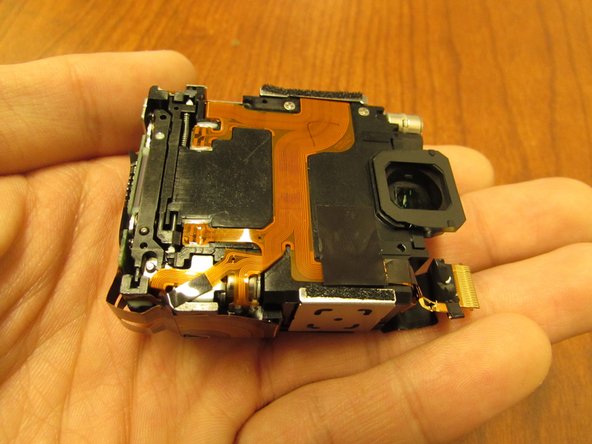
Lift the box out of the camera.
-








To reassemble your device, follow these instructions in reverse order. Take your e-waste to an R2 or e-Stewards certified recycler.

Team

USF Tampa, Team 4-6, Brown Winter 2015 Member of USF Tampa, Team 4-6, Brown Winter 2015
USFT-BROWN-W15S4G6
4 Members
12 Guides authored
