
Olympus FE-210 Lens Assembly Replacement

Last updated on Aug 24, 2020
Views: 7.6K
View statistics:
- Past 24 Hours:
- 6
- Past 7 Days:
- 32
- Past 30 Days:
- 145
- All Time:
- 7,583
Comments: 1
1 guide comment.
Go to guide commentsCompleted: 0 1
No one has marked this guide "completed." Will you be the first?
1 person has marked this guide "completed." It's you — great job!
Favorites: 6 7
6 people have favorited (and subscribed to) this guide. Will you be next?
7 people have favorited (and subscribed to) this guide — including you!
Featured Guide
This guide has been found to be exceptionally cool by the iFixit staff.
Markup Mishap
This guide needs better markups. Help out by correcting or making some markup annotations.
Introduction
Go to step 1 ↓You must remove the batteries, the front casing, the rear casing, and the motherboard before removing the lens assembly.
What you need
Tools

-
-
-
The battery compartment is located on the bottom side of the camera. Push the button in, and slide the cover to get access to the batteries.
 Ask FixBot
-
-
-
-
-
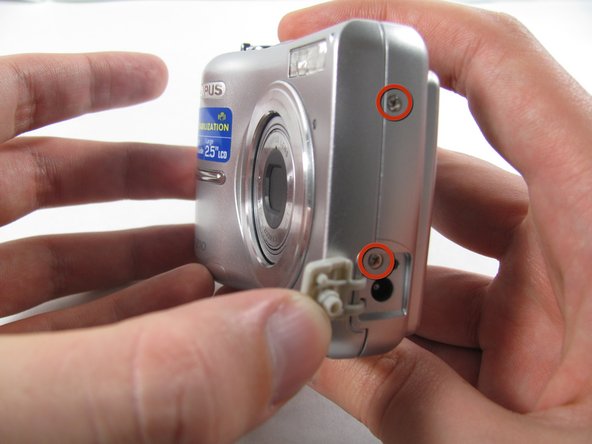
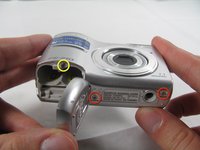
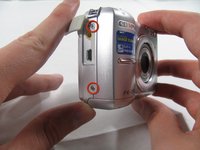
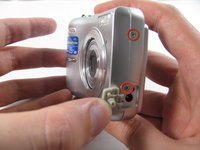
Remove the seven screws holding the front case in place, with a Phillips #00 screwdriver.
-
Six screws are 3.6 mm.
-
The seventh screw is 3.2 mm.
-
-
-
Insert an opening tool or spudger into the seam between the front case and body of the camera to release the clips holding it together.
-
These three places are located:
-
At the top and bottom of the battery side (opposite of side pictured) of the case.
-
Right in the middle of the DC-in side (side pictured) of the case.
-
Top of the camera, to the left of the power button.
-
Once those places are disconnected, the front case will pop right off.
-
-
-
-
-
Remove the 3.2 mm screw in the battery compartment using a #00 screwdriver.
-
-
-
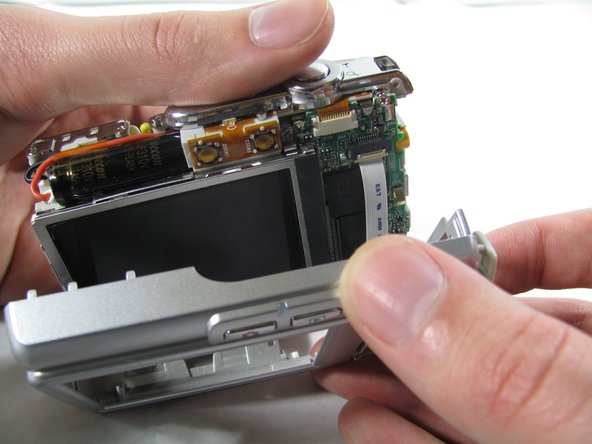
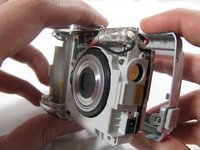
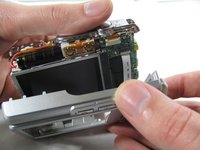
Carefully pull the rear case away from the camera until you have access to the cord connected to the motherboard.
-
Lift the white latch using a fingernail or a spudger.
-
Pull the cord from its connector.
-
-
-
-
Tool used on this step:Tweezers$4.99
-
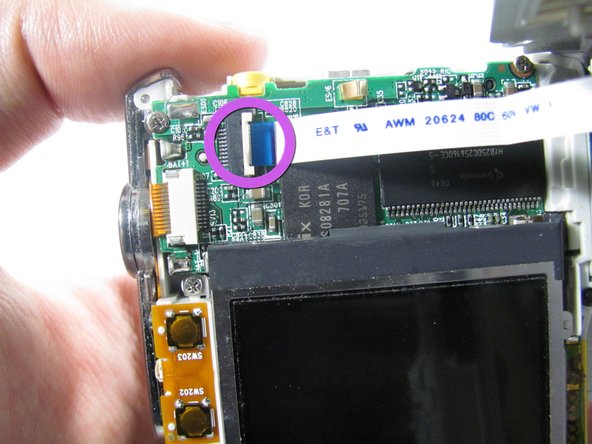
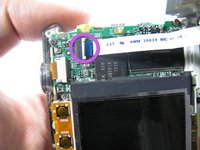
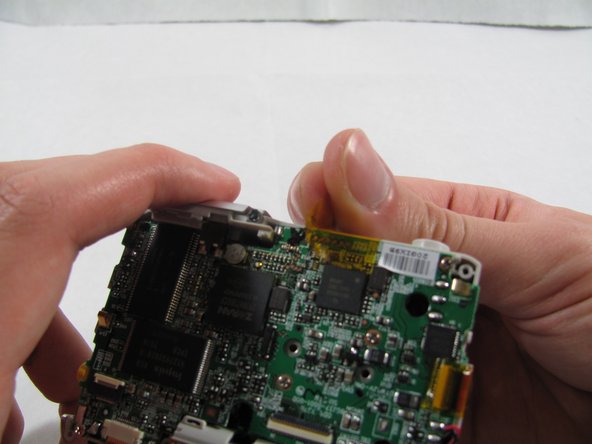
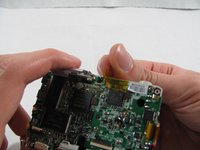
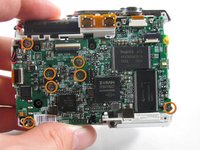
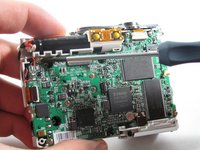
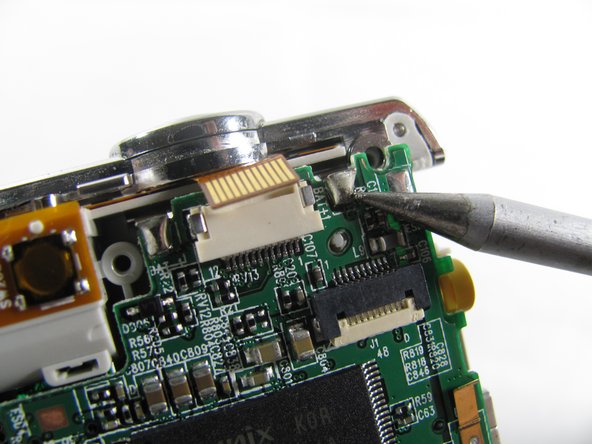
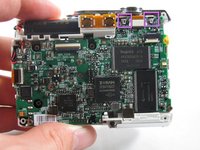
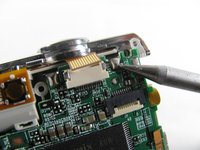
Remove the ribbon cord located near the top right corner of the motherboard. Do this by carefully pulling the cord out of the socket using a pair of tweezers.
-
-
-
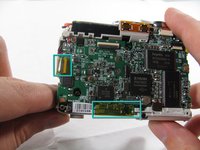
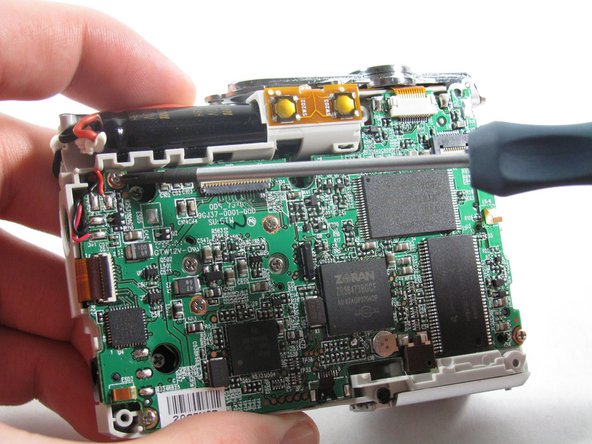
Disconnect the ribbon cord located on the left side of the motherboard.
-
Use tweezers or a spudger to lift the latch on the connector.
-
Carefully remove the cord from the connector.
-
-
-
-
-
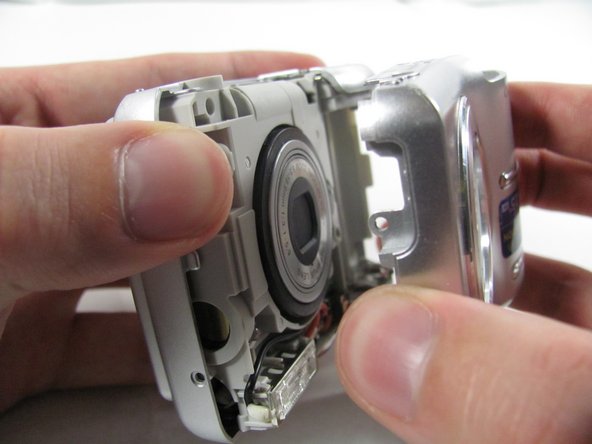
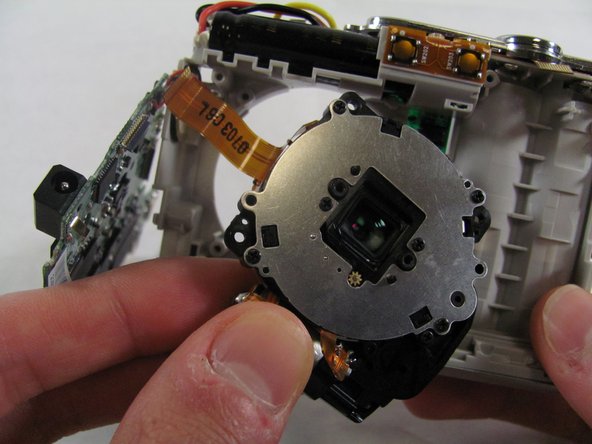
Slide the lens to the left and pull up. The lens should easily come loose and slide right out.
-












To reassemble your device, follow these instructions in reverse order.

Team

Cal Poly, Team 4-36, Regan Winter 2011 Member of Cal Poly, Team 4-36, Regan Winter 2011
CPSU-REGAN-W11S4G36
3 Members
84 Guides authored
