Free Shipping on Domestic Orders $75+

Olympus Camedia D560 LCD Screen Replacement

What you need

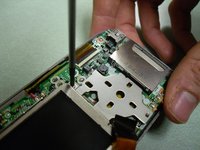
  1. Olympus Camedia D560 LCD Screen Replacement, LCD Screen: step 1, image 1 of 2 Olympus Camedia D560 LCD Screen Replacement, LCD Screen: step 1, image 2 of 2
    • Unscrew all immediately visible screws on the body of the camera.

    • Locations (# of screws): Bottom of camera (3), left side near video port (2), under cover of USB slot (3), memory card slot (1).

    Ask FixBot

    Add Comment

  2. Olympus Camedia D560 LCD Screen Replacement: step 2, image 1 of 3 Olympus Camedia D560 LCD Screen Replacement: step 2, image 2 of 3 Olympus Camedia D560 LCD Screen Replacement: step 2, image 3 of 3
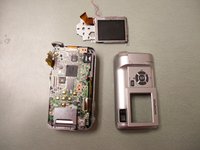
    • Use the plastic opening tool to separate the back cover from the camera.

    Ask FixBot

    Add Comment

  3. Olympus Camedia D560 LCD Screen Replacement: step 3, image 1 of 3 Olympus Camedia D560 LCD Screen Replacement: step 3, image 2 of 3 Olympus Camedia D560 LCD Screen Replacement: step 3, image 3 of 3
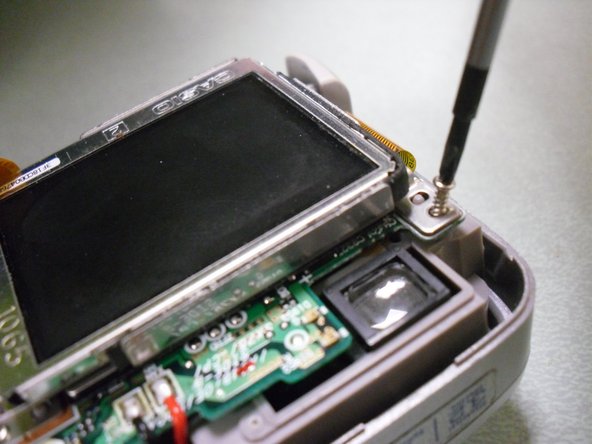
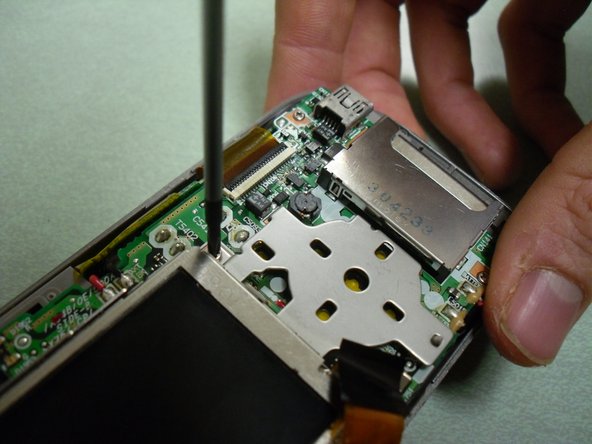
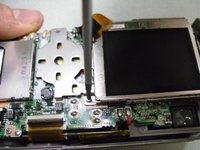
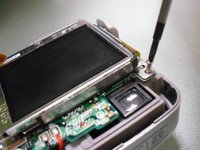
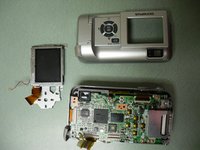
    • With the back plate off, locate two screws: one diagonal from the top left of the LCD screen and one diagonal from the top right of the LCD screen.

    • Unscrew both of these screws.

    Ask FixBot

    Add Comment

  4. Olympus Camedia D560 LCD Screen Replacement: step 4, image 1 of 1
    • Flip the LCD screen over.

    Ask FixBot

    Add Comment

  5. Olympus Camedia D560 LCD Screen Replacement: step 5, image 1 of 1
    • Undo the clip holding the ribbon cable that attaches the LCD screen to the motherboard.

    Ask FixBot

    Add Comment

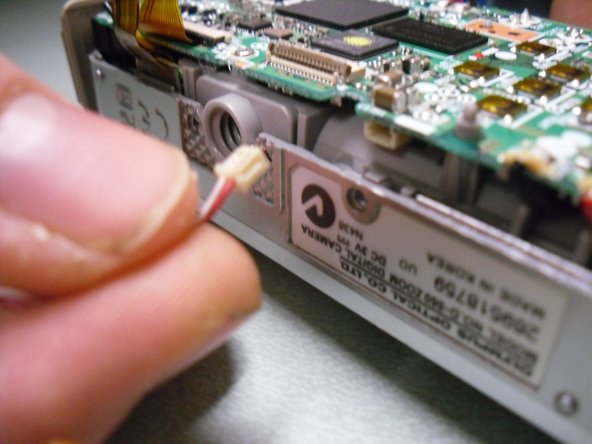
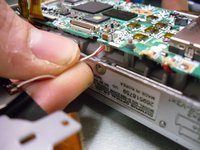
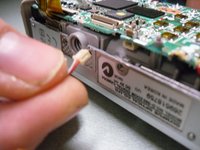
  6. Olympus Camedia D560 LCD Screen Replacement: step 6, image 1 of 2 Olympus Camedia D560 LCD Screen Replacement: step 6, image 2 of 2
    • Unclip the plug attached to the red and white wires that connects the LCD screen to the motherboard.

    Ask FixBot

    Add Comment

  7. Olympus Camedia D560 LCD Screen Replacement: step 7, image 1 of 3 Olympus Camedia D560 LCD Screen Replacement: step 7, image 2 of 3 Olympus Camedia D560 LCD Screen Replacement: step 7, image 3 of 3
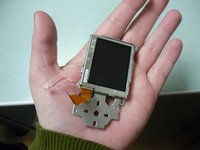
    • The LCD screen housing should now be free of the camera.

    Ask FixBot

    Add Comment

Conclusion

To reassemble your device, follow these instructions in reverse order.

Cancel: I did not complete this guide.

GradStudents2011

Member since: 09/08/11

48 Reputation

3 Guides authored

0 Guide Comments

Add Comment

View Statistics:

Past 24 Hours: 4

Past 7 Days: 10

Past 30 Days: 33

All Time: 1,957