Free Shipping on Domestic Orders $75+

Oculus Rift Development Kit 2 Headset Motherboard Replacement

What you need

  1. Oculus Rift Development Kit 2 Headset Motherboard Replacement, Eye Relief Adjustment Screw: step 1, image 1 of 3 Oculus Rift Development Kit 2 Headset Motherboard Replacement, Eye Relief Adjustment Screw: step 1, image 2 of 3 Oculus Rift Development Kit 2 Headset Motherboard Replacement, Eye Relief Adjustment Screw: step 1, image 3 of 3
    • Remove front cover plate.

    • Unplug the USB and HDMI cables from the Oculus Rift DK2.

    Ask FixBot

    Add Comment

  2. Oculus Rift Development Kit 2 Headset Motherboard Replacement: step 2, image 1 of 3 Oculus Rift Development Kit 2 Headset Motherboard Replacement: step 2, image 2 of 3 Oculus Rift Development Kit 2 Headset Motherboard Replacement: step 2, image 3 of 3
    • Remove the four 3/8" Phillips #0 screws from the inner portion of the headset.

    Ask FixBot

    Add Comment

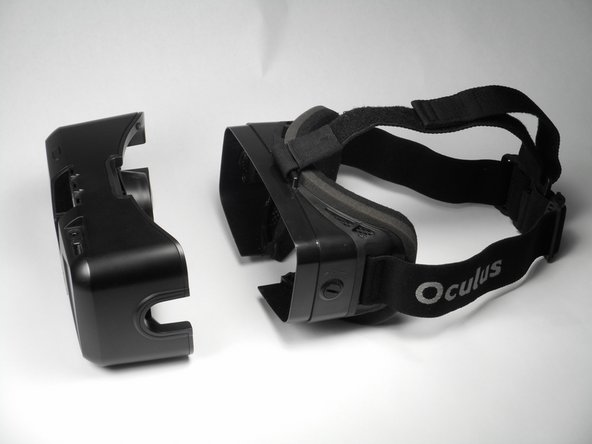
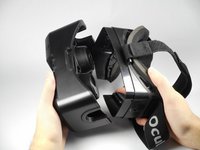
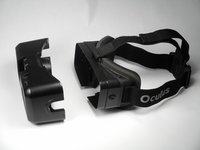
  3. Oculus Rift Development Kit 2 Headset Motherboard Replacement: step 3, image 1 of 2 Oculus Rift Development Kit 2 Headset Motherboard Replacement: step 3, image 2 of 2
    • With the screws removed, gently pull the headband frame apart from the headset.

    Ask FixBot

    Add Comment

  4. Oculus Rift Development Kit 2 Headset Motherboard Replacement, Remove Lens: step 4, image 1 of 2 Oculus Rift Development Kit 2 Headset Motherboard Replacement, Remove Lens: step 4, image 2 of 2
    • With the Oculus facing up, twist the right lens clockwise and lift it out. Repeat for the left lens twisting counterclockwise instead.

    Ask FixBot

    Add Comment

  5. Oculus Rift Development Kit 2 Headset Motherboard Replacement, Headset Motherboard: step 5, image 1 of 1
    Tool used on this step:
    Tweezers
    $4.99
    Buy
    • Using tweezers, carefully lift the four rubber plugs as shown. They are a bit snug and you may need to jiggle them free with the tweezers.

    Ask FixBot

    Add Comment

  6. Oculus Rift Development Kit 2 Headset Motherboard Replacement: step 6, image 1 of 1
    • Remove the four 3/8" screws attaching the eyewear enclosure to the front casing.

    • Read the next step before removing the faceplate!

    Ask FixBot

    Add Comment

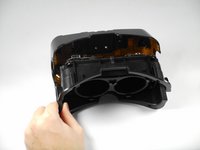
  7. Oculus Rift Development Kit 2 Headset Motherboard Replacement: step 7, image 1 of 2 Oculus Rift Development Kit 2 Headset Motherboard Replacement: step 7, image 2 of 2
    • Carefully separate the faceplate and the cover. Gently rest the cover plate on top of the faceplate as shown in the pictures.

    • Do not use excessive force when separating these two pieces. There is a delicate ribbon cable connected to each.

    Ask FixBot

    Add Comment

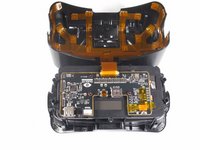
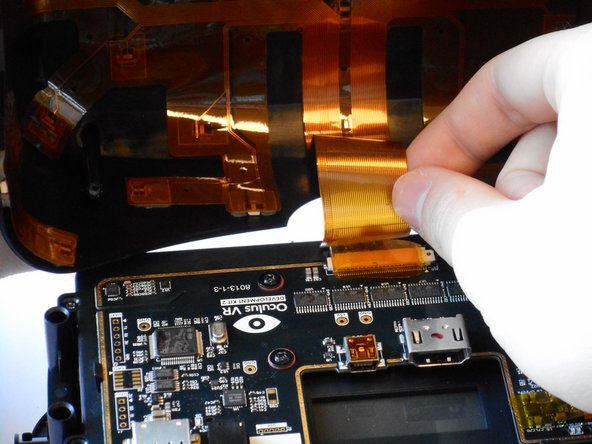
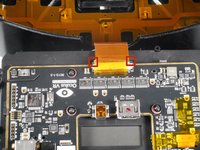
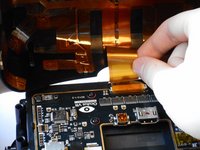
  8. Oculus Rift Development Kit 2 Headset Motherboard Replacement: step 8, image 1 of 2 Oculus Rift Development Kit 2 Headset Motherboard Replacement: step 8, image 2 of 2
    • Gently pull out the small side tabs on the ribbon cable connector as shown to release the cable.

    • Push the tabs away from you, with the headset oriented as pictured. Carefully slide the ribbon cable out.

    • The headset should now be two separate pieces.

    Ask FixBot

    Add Comment

  9. Oculus Rift Development Kit 2 Headset Motherboard Replacement: step 9, image 1 of 3 Oculus Rift Development Kit 2 Headset Motherboard Replacement: step 9, image 2 of 3 Oculus Rift Development Kit 2 Headset Motherboard Replacement: step 9, image 3 of 3
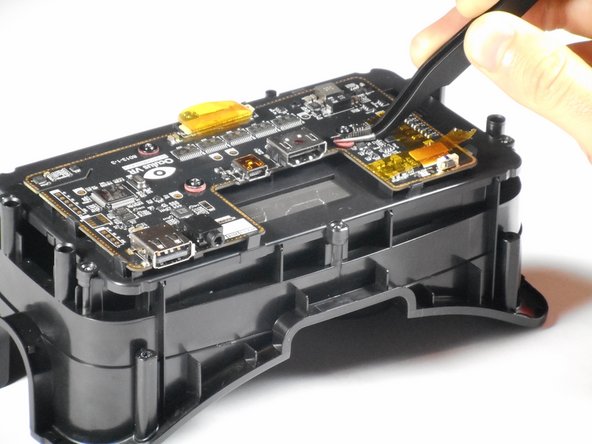
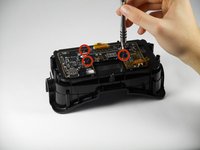
    • Unscrew the three 1/4" Phillips #00 screws as pictured and use the tweezers to lift them out.

    Ask FixBot

    Add Comment

  10. Oculus Rift Development Kit 2 Headset Motherboard Replacement: step 10, image 1 of 1
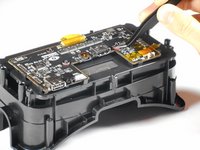
    • Lift the tape and gently pry up the video data ribbon cable using the plastic opening tool as shown.

    Ask FixBot

    Add Comment

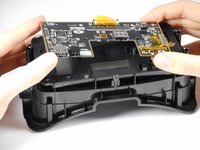
  11. Oculus Rift Development Kit 2 Headset Motherboard Replacement: step 11, image 1 of 3 Oculus Rift Development Kit 2 Headset Motherboard Replacement: step 11, image 2 of 3 Oculus Rift Development Kit 2 Headset Motherboard Replacement: step 11, image 3 of 3
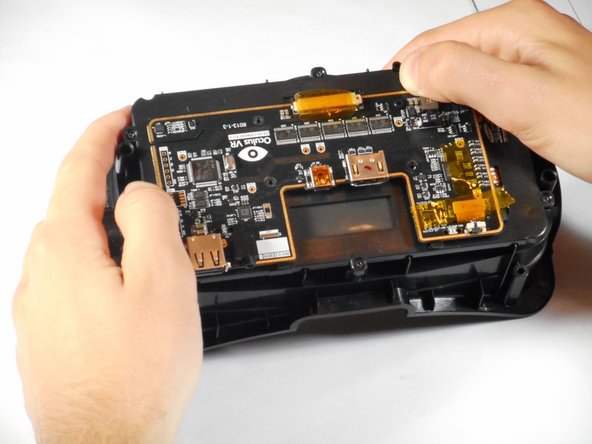
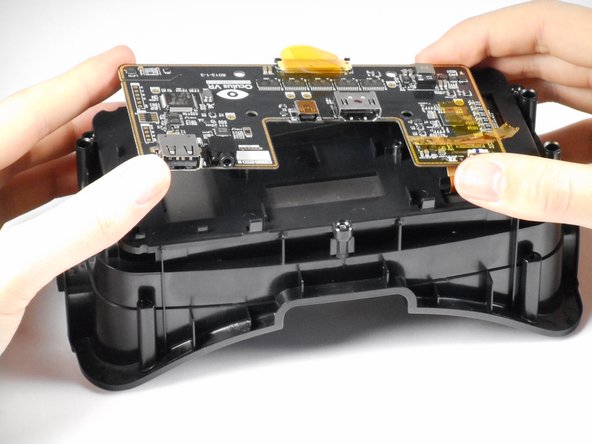
    • Gently pry back the motherboard clips to release the motherboard. The motherboard should now lift free.

    Ask FixBot

    Add Comment

Conclusion

To reassemble your device, follow these instructions in reverse order.

Cancel: I did not complete this guide.

7 other people completed this guide.

Adam

Member since: 01/20/15

661 Reputation

4 Guides authored

Team

Cal Poly, Team 18-5, Maness Winter 2015 Member of Cal Poly, Team 18-5, Maness Winter 2015

CPSU-MANESS-W15S18G5

4 Members

6 Guides authored

1 Guide Comment

hi.

you know where possible buy the new motherboard?

Szatmari Attila - Reply Share

Add Comment

View Statistics:

Past 24 Hours: 1

Past 7 Days: 3

Past 30 Days: 39

All Time: 2,944