
Oculus Rift Development Kit 2 Display Screen Replacement

Last updated on Jun 9, 2015
Views: 3.5K
View statistics:
- Past 24 Hours:
- 0
- Past 7 Days:
- 9
- Past 30 Days:
- 91
- All Time:
- 3,479
Comments: 3
1 comment on steps, 2 guide comments.
Go to guide commentsCompleted: 4 5
4 people have marked this guide "completed." Will you be next?
5 people have marked this guide "completed." Including you — great job!
Favorites: 0 1
No one has favorited (and subscribed to) this guide. Will you be the first?
1 person has favorited (and subscribed to) this guide — and that's you!
Introduction
Go to step 1 ↓If there are cracks or mars in the video display, the display screen may be broken.
What you need
Tools


-
-
-
Remove front cover plate.
-
Unplug the USB and HDMI cables from the Oculus Rift DK2.
 Ask FixBot
-
-
-
Remove the four 3/8" Phillips #0 screws from the inner portion of the headset.
-
-
-
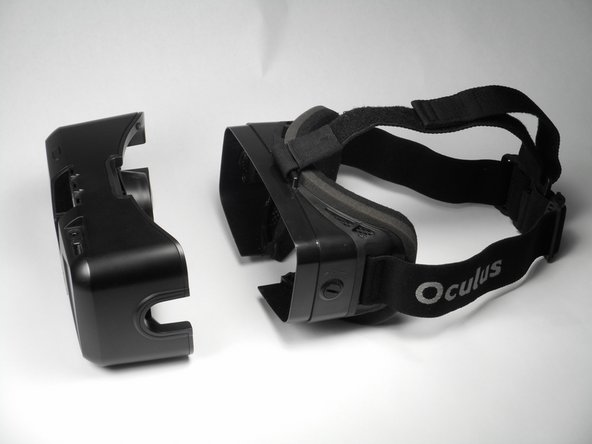
With the screws removed, gently pull the headband frame apart from the headset.
-
-
-
-
-
With the Oculus facing up, twist the right lens clockwise and lift it out. Repeat for the left lens twisting counterclockwise instead.
-
-
-
-
Tool used on this step:Tweezers$4.99
-
Using tweezers, carefully lift the four rubber plugs as shown. They are a bit snug and you may need to jiggle them free with the tweezers.
-
-
-
Remove the four 3/8" screws attaching the eyewear enclosure to the front casing.
-
-
-
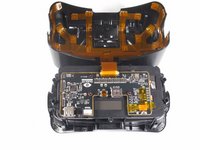
Carefully separate the faceplate and the cover. Gently rest the cover plate on top of the faceplate as shown in the pictures.
-
-
-
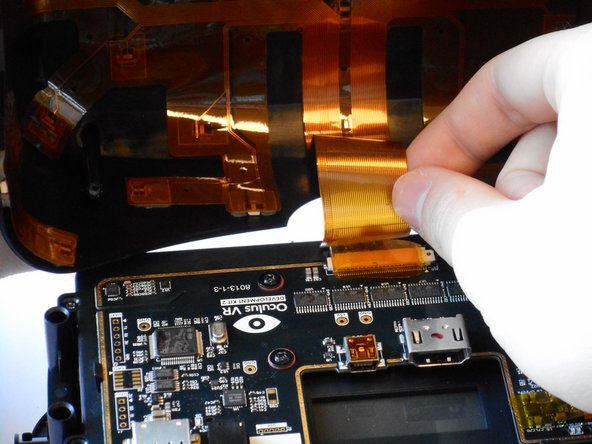
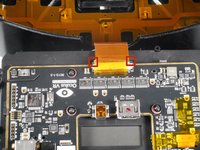
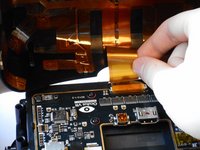
Gently pull out the small side tabs on the ribbon cable connector as shown to release the cable.
-
Push the tabs away from you, with the headset oriented as pictured. Carefully slide the ribbon cable out.
-
-
-
-
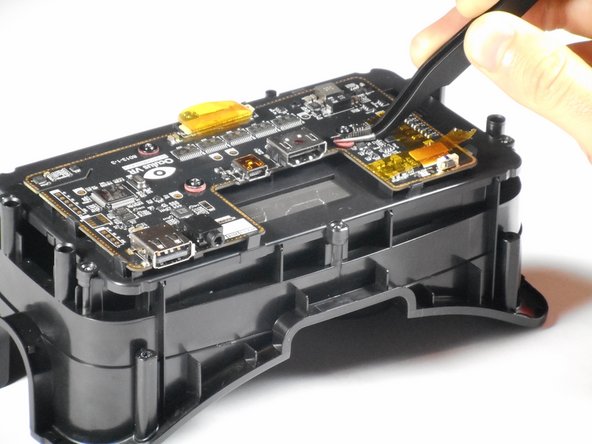
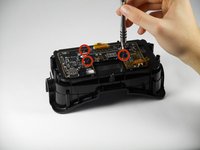
Unscrew the three 1/4" Phillips #00 screws as pictured and use the tweezers to lift them out.
-
-
-
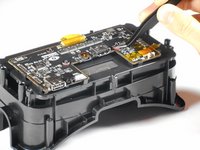
Lift the tape and gently pry up the video data ribbon cable using the plastic opening tool as shown.
-
-
-
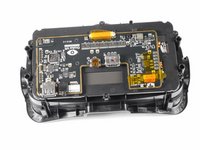
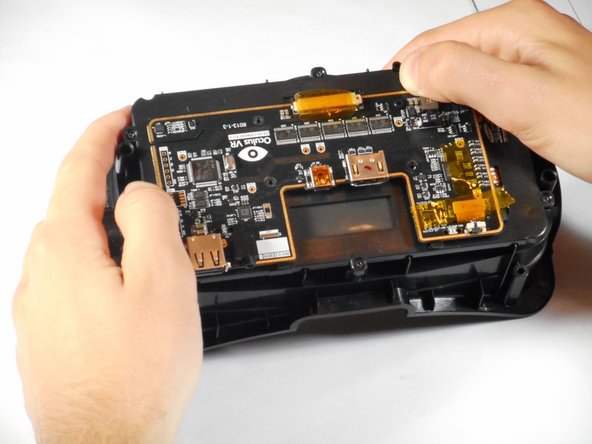
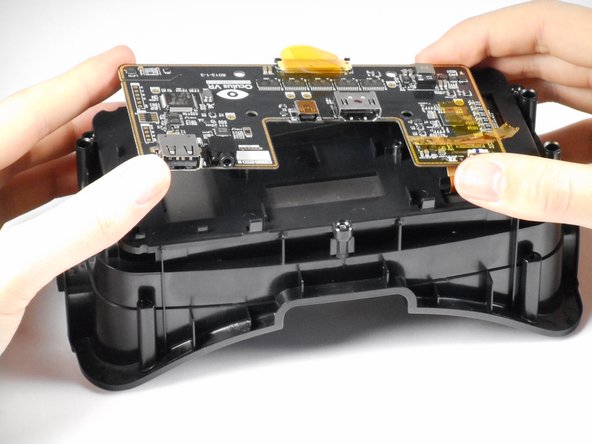
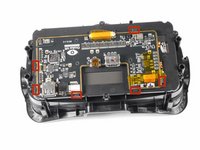
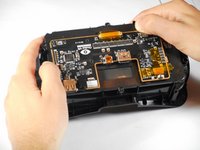
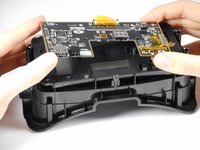
Gently pry back the motherboard clips to release the motherboard. The motherboard should now lift free.
-
-
-
-
-
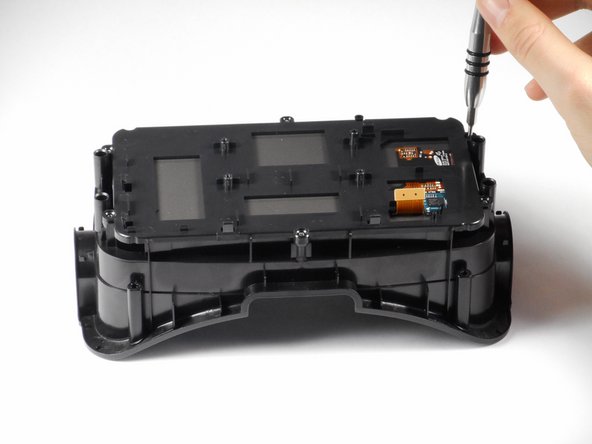
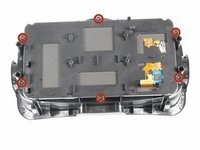
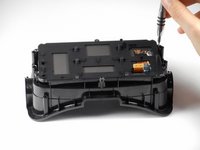
Remove the six 1/4" Phillips #1 screws as shown. There should be two on each short side, and one on each long side.
-
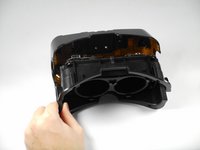
Gently lift the plastic screen holder and display screen away from the remaining piece of the faceplate.
-
-











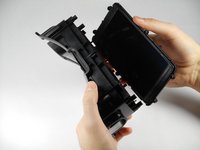
To reassemble your device, follow these instructions in reverse order.
Cancel: I did not complete this guide.
4 other people completed this guide.

Team

Cal Poly, Team 18-5, Maness Winter 2015 Member of Cal Poly, Team 18-5, Maness Winter 2015
CPSU-MANESS-W15S18G5
4 Members
72 Guides authored
2 Guide Comments
It's possible to use the Samsung Galaxy Note 4 screen?
possible to use the Samsung Galaxy Note 4 screen?
