
Oculus Rift CV1 - open it

MGueydan and one other contributor
Last updated on Mar 19, 2021
Views: 5.7K
View statistics:
- Past 24 Hours:
- 7
- Past 7 Days:
- 28
- Past 30 Days:
- 120
- All Time:
- 5,671
Comments: 12
12 comments on steps.
Completed: 4 5
4 people have marked this guide "completed." Will you be next?
5 people have marked this guide "completed." Including you — great job!
Favorites: 1 2
1 person has favorited (and subscribed to) this guide. Will you be next?
2 people have favorited (and subscribed to) this guide — including you!
Community-Contributed Guide
An awesome member of our community made this guide. It was not created by iFixit staff.
What you need
Tools


-
-
-
First step is to remove the foam around the Oculus.
-
Foam is glued on a plastic frame that is clipped on the main box. You need to remove foam and plastic frame together.
-
There is no complexity in removing this part. As far as I can tell, it is not even clipped. It's just laid inside the box.
-
First picture shows the part once removed
-
Second picture is the delimitation of this part on the box
-
Third picture show how the cable is running under the foam. Which means removing the foam doesn't affect the cable.
 Ask FixBot
-
-
-
Second step is to unplug the Oculus.
-
There is a single cable plugged inside the box using a regular HDMI-looking-like cable.
-
You just need to gently pull this cable
-
First picture is the socket, once the cable is unplugged
-
Additionally, you have to remove a plastic clip that is holding the cable to the oculus frame (shown on picture 2)
-
-
-
That's where it really begins. We are now trying to remove the mask inside the oculus (shown on the first picture)
-
There are three parts on this mask (see second picture) 1. the outside plastic frame (green), 2. two inside plastic frame (purple) 3. A black fabric .
-
Both frames are fixed on the box, you have to release both of them.
-
In following steps we'll see how to release it.
-
-
-
The outside frame is fixed by 6 screws and multiple clips. You first have to release screws.
-
Screws position are shown on picture one and detailed on other pictures.
-
You need a very small T3 torx screwdriver to remove them. I had to buy a specific one, because the one I owned was too thick.
-
-
-
Additionally to the screws, the outside frame of the mask has clips on the left-most and the right-most part of the mask.
-
You can see it on the first picture.
-
To remove them I just had to put a silicon opening tool like shown on the second picture and to slide it like to the position shown on the third picture.
-
-
-
The inside frames are firmly gripped on the lens by three clips. They are *not* easy to release.
-
First picture shows the clips on the inside frame (once removed)
-
Second and third pictures shows 3 of the 6 clips sockets (once the mask removed)
-
Next step shows how I released the first of the 6 clips
-
-
-
This part really is tricky. I assume they are many way to do it, here is the one I figured out.
-
Once the outside frame is released (as seen in previous steps), you may pull this frame to see one of the six clips. As shown in picture 1.
-
Using the nose shape you are able to slide an opening tool under this clip.
-
The position of the opening tool is shown on the first picture.
-
On the second picture I tried to show how the opening tool is able to slide under the clip (highlighted in green)
-
It is not easy to access. Therefore it is not easy to do. I also is not easy to take a picture of. So I added the third picture, hopefully you may see what you need on one of them.
-
Once the first clip is released, the other ones are easier to access.
-
-
-
Now the inside mask is released you may watch what is inside your Oculus.
-
Specifically, you can see that the rear ribbon cable is completely messed up and torn (green part on the picture one)
-
According to other internet sources, including iFixIt teardown , we now are supposed to release the electronic part from the box as shown on (borrowed) picture 3
-
Unfortunately, that's what I failed to completely achieve. See below the issue.
-
-
-
There are 4 main screws that are holding the electronic to the box.
-
On this step's pictures you can see the screw holes once those four scews are removed.
-
I used a standard screwdriver to easily release them.
-
-
-
-
There are at least two tiny screws that are holding the electronic frame to the google. You can see them on pictures 1 and 2.
-
And another one that is holding the lens button you will need to remove in the next step. You can see it on picture 3
-
I used T3 torx screwdriver to release them.
-
-
-
Be aware you need to release one screw in the previous step if you want to do this step
-
You just need an opening tool to disassemble the lens button.
-
Pictures are self-explanatory.
-
-
-
At this stage, you will almost be able to release the electronic frame from the googles (see picture 1).
-
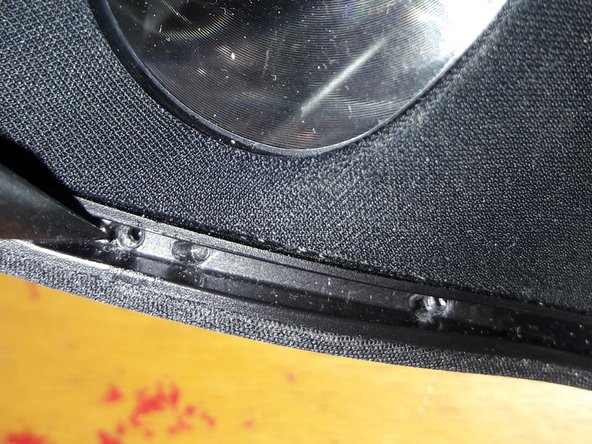
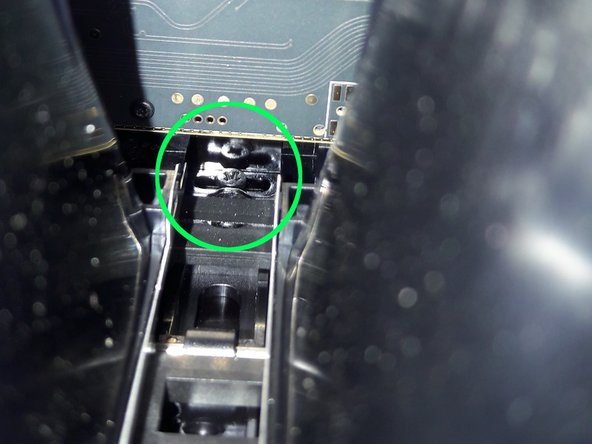
But on the upper side of the googles there is one inaccessible screw I don't know how to reach (see pictures 2 and 3)
-
If someone knows how to do that, please reach me, I'll push this tutorial further
-
-
-
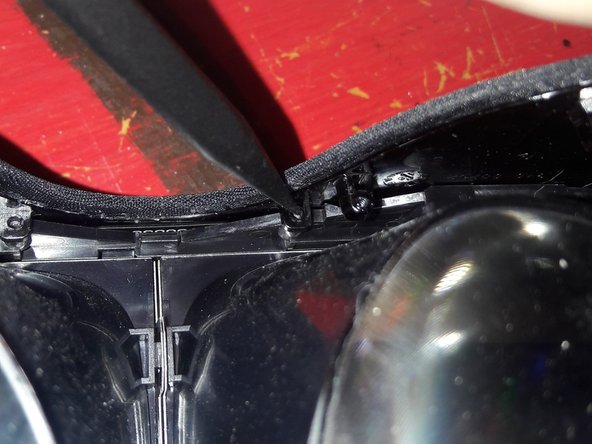
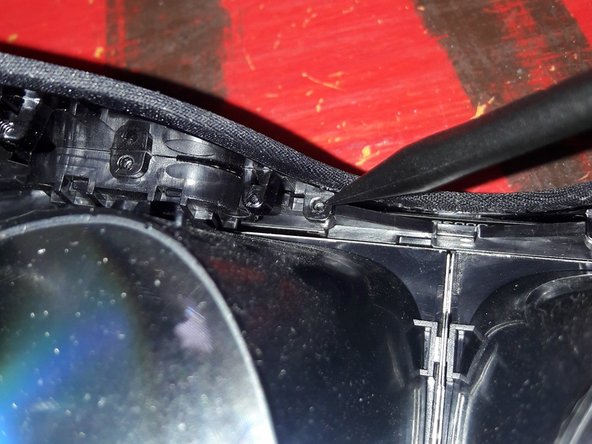
As you can see, sliding an opening tool between the electronic frame and the googles, confirms that there is something to release at the place where this screw is.
-
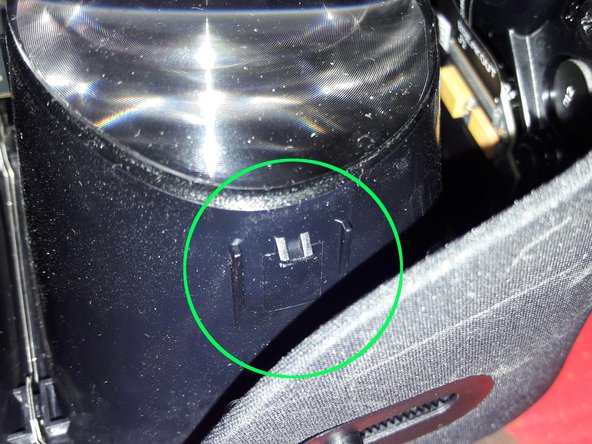
On this other borrowed picture (picture 2) we can see there is a socket for either the screw I cannot remove or a clip I do not understand.
-
-










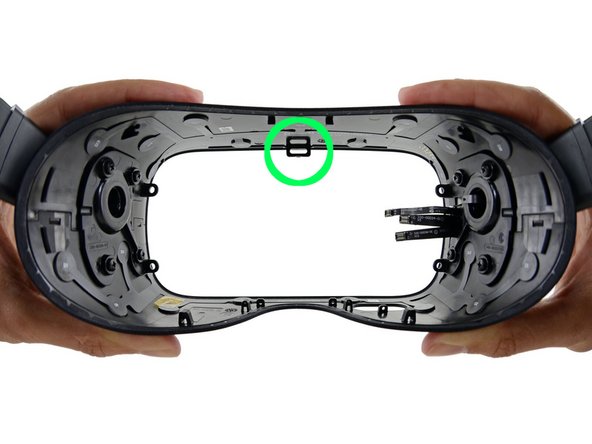


If someone is able to help for the last step I’ll be pleased to go further.
Cancel: I did not complete this guide.
4 other people completed this guide.

